I. Introduction
This is the second phase of me building a website. The first one is the Yunohost.
The summer course is finally over, and I only have about 9 days to build a website, finish my flight controller, and other things. Since I was pretty clear on how to build a website using Yunohost, it should be done very easily, I thought.
II. Preparation
First, I bought a mini PC from Amazon (07/29/2023). It’s $150 off! I only paid $350! But, things didn’t go as I expected.
- I booted up the computer, Windows 11 works fine. (07/31/2023)
- After I turned it on and off several times, I figured out it’s DELETE to get into BIOS settings.
- … and where in the world is the USB boot and its related settings!
- The setting system is so lite that none of the settings from online tutorials could be found on THIS computer.
- Ok, let me try to install Ubuntu. It read and was booted into Ubuntu installation.
- … and try the Yunohost USB drive again… no such option. So this computer only detected the USB drive for Ubuntu, not for Yunohost.
- I tried with boot sequence, boot system manager, security boot setting, another USB, another etching software, 64-bit and 32-bit ISO, to “actually reboot“, and other things. It’s running out of options I can set quickly.
- So I decided to return it (08/02/2023), bought new components (08/01/2023), and built a new one.
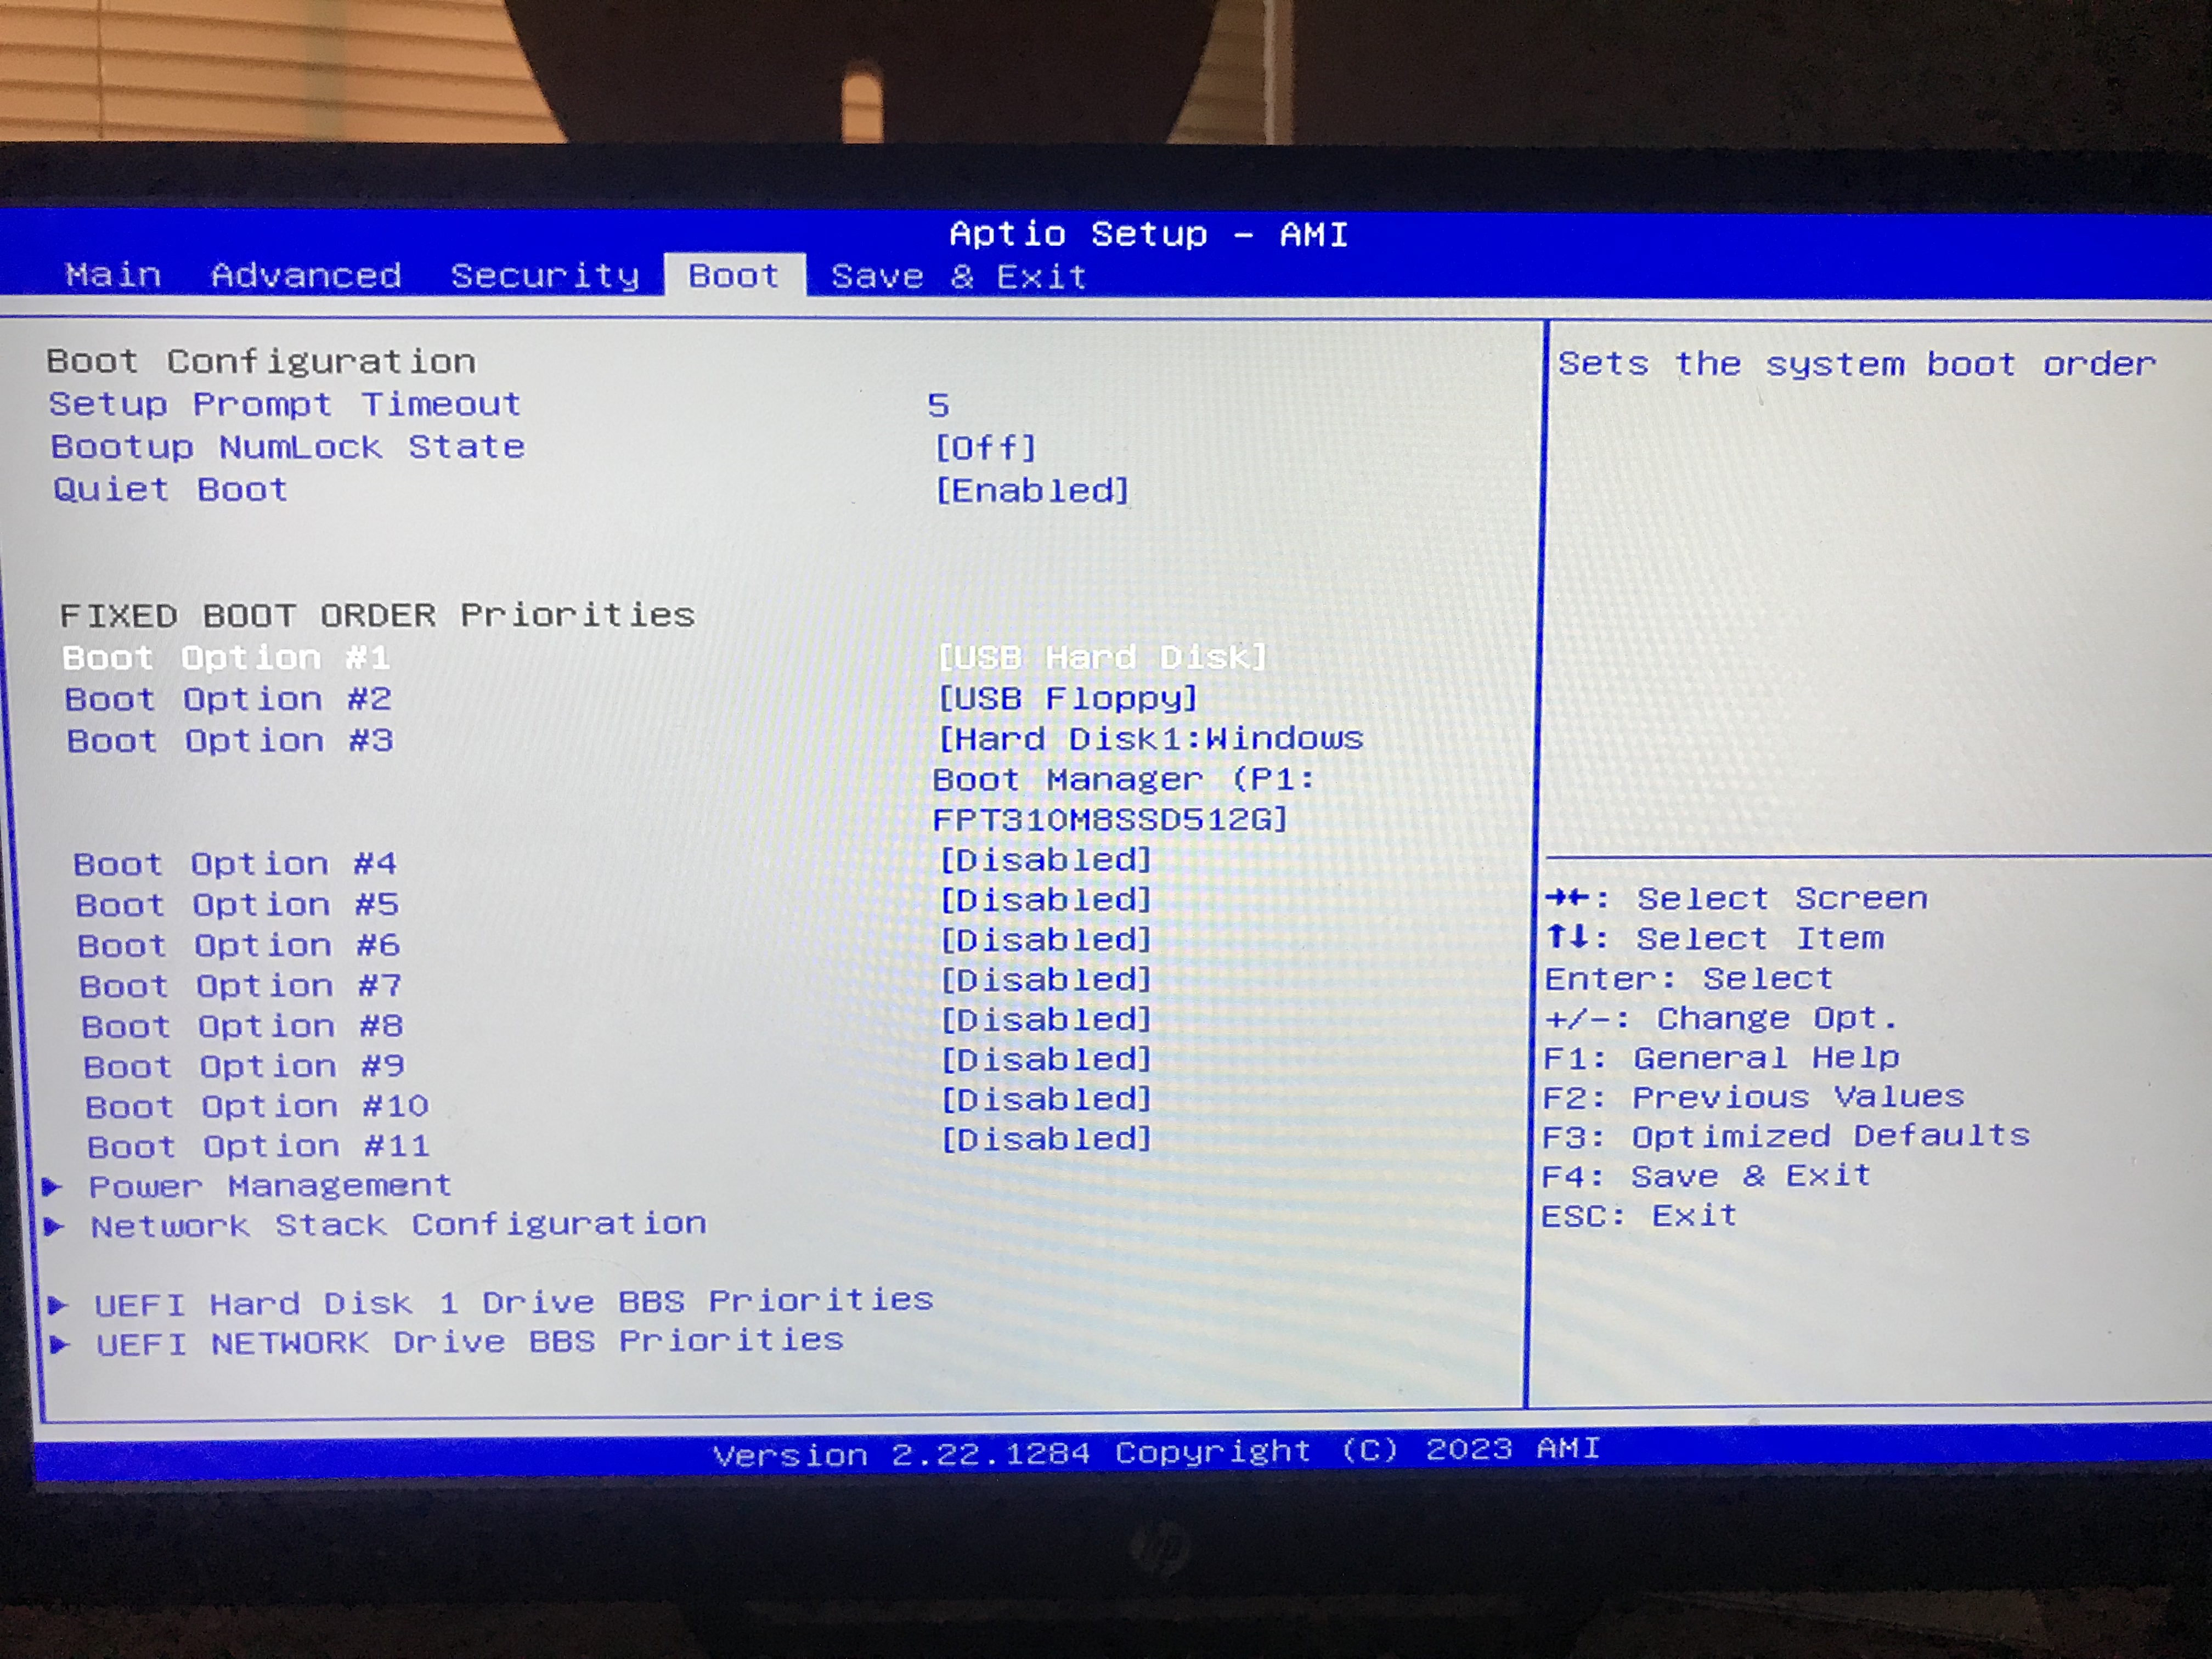
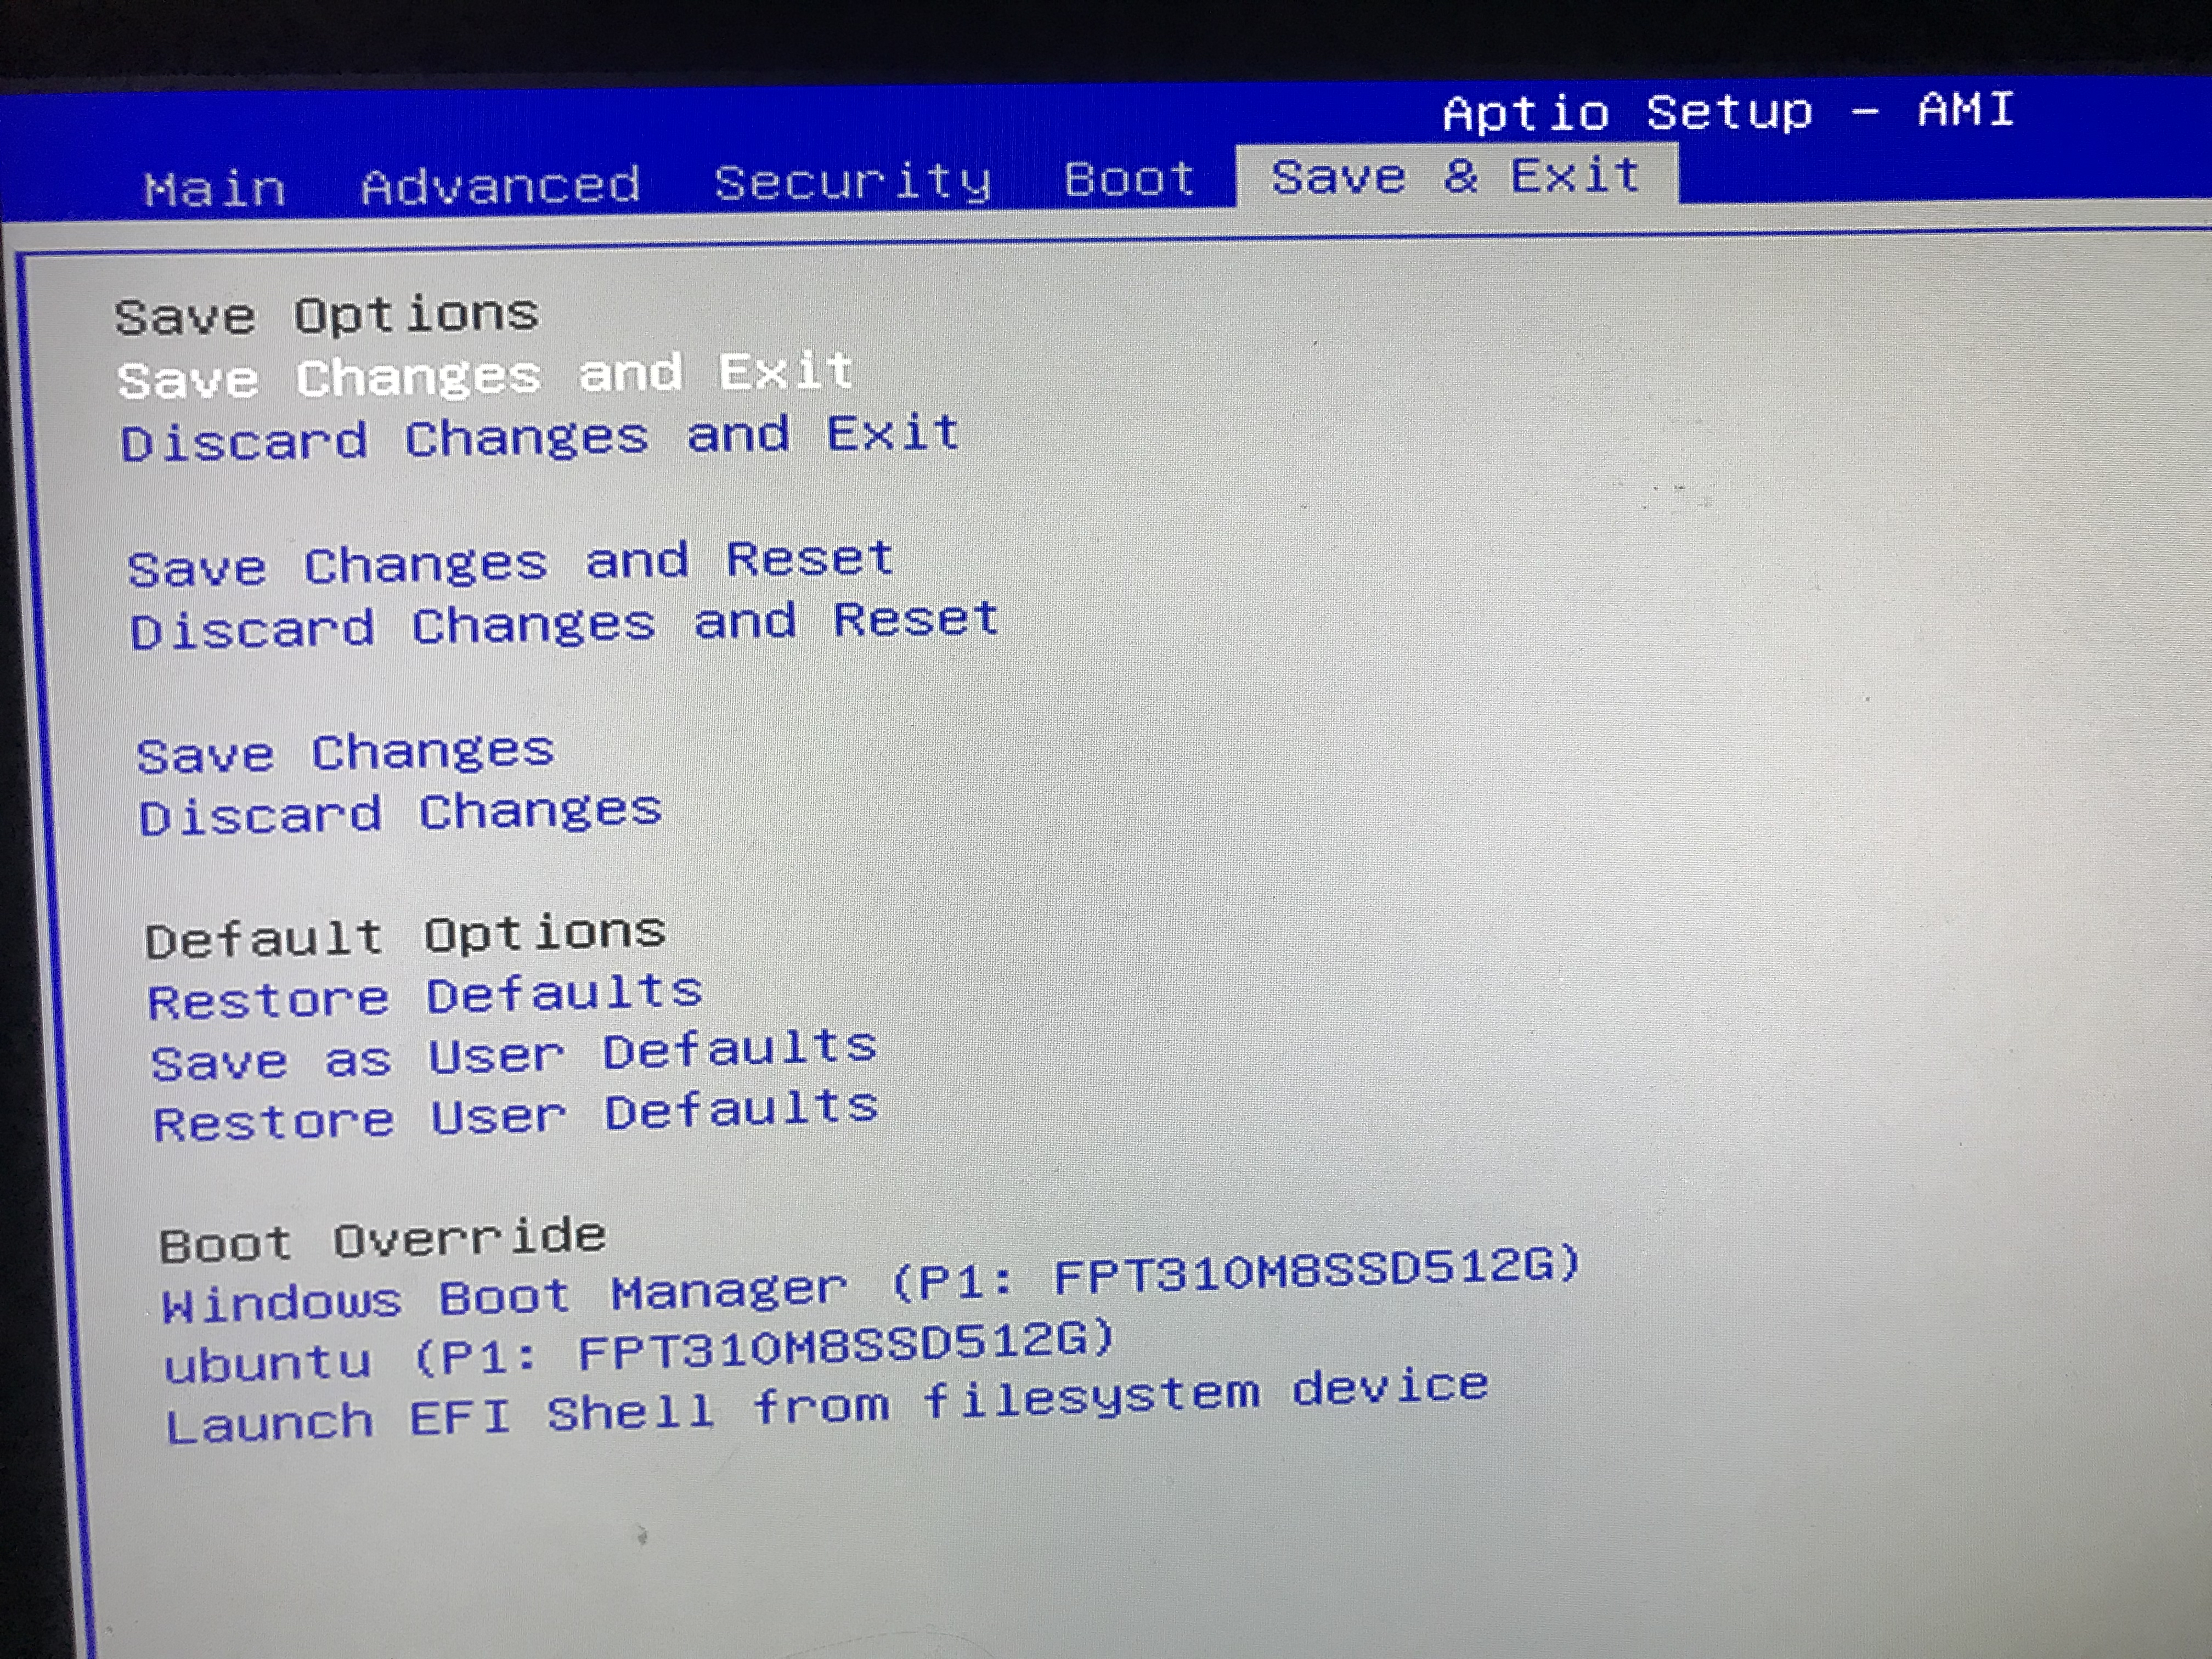
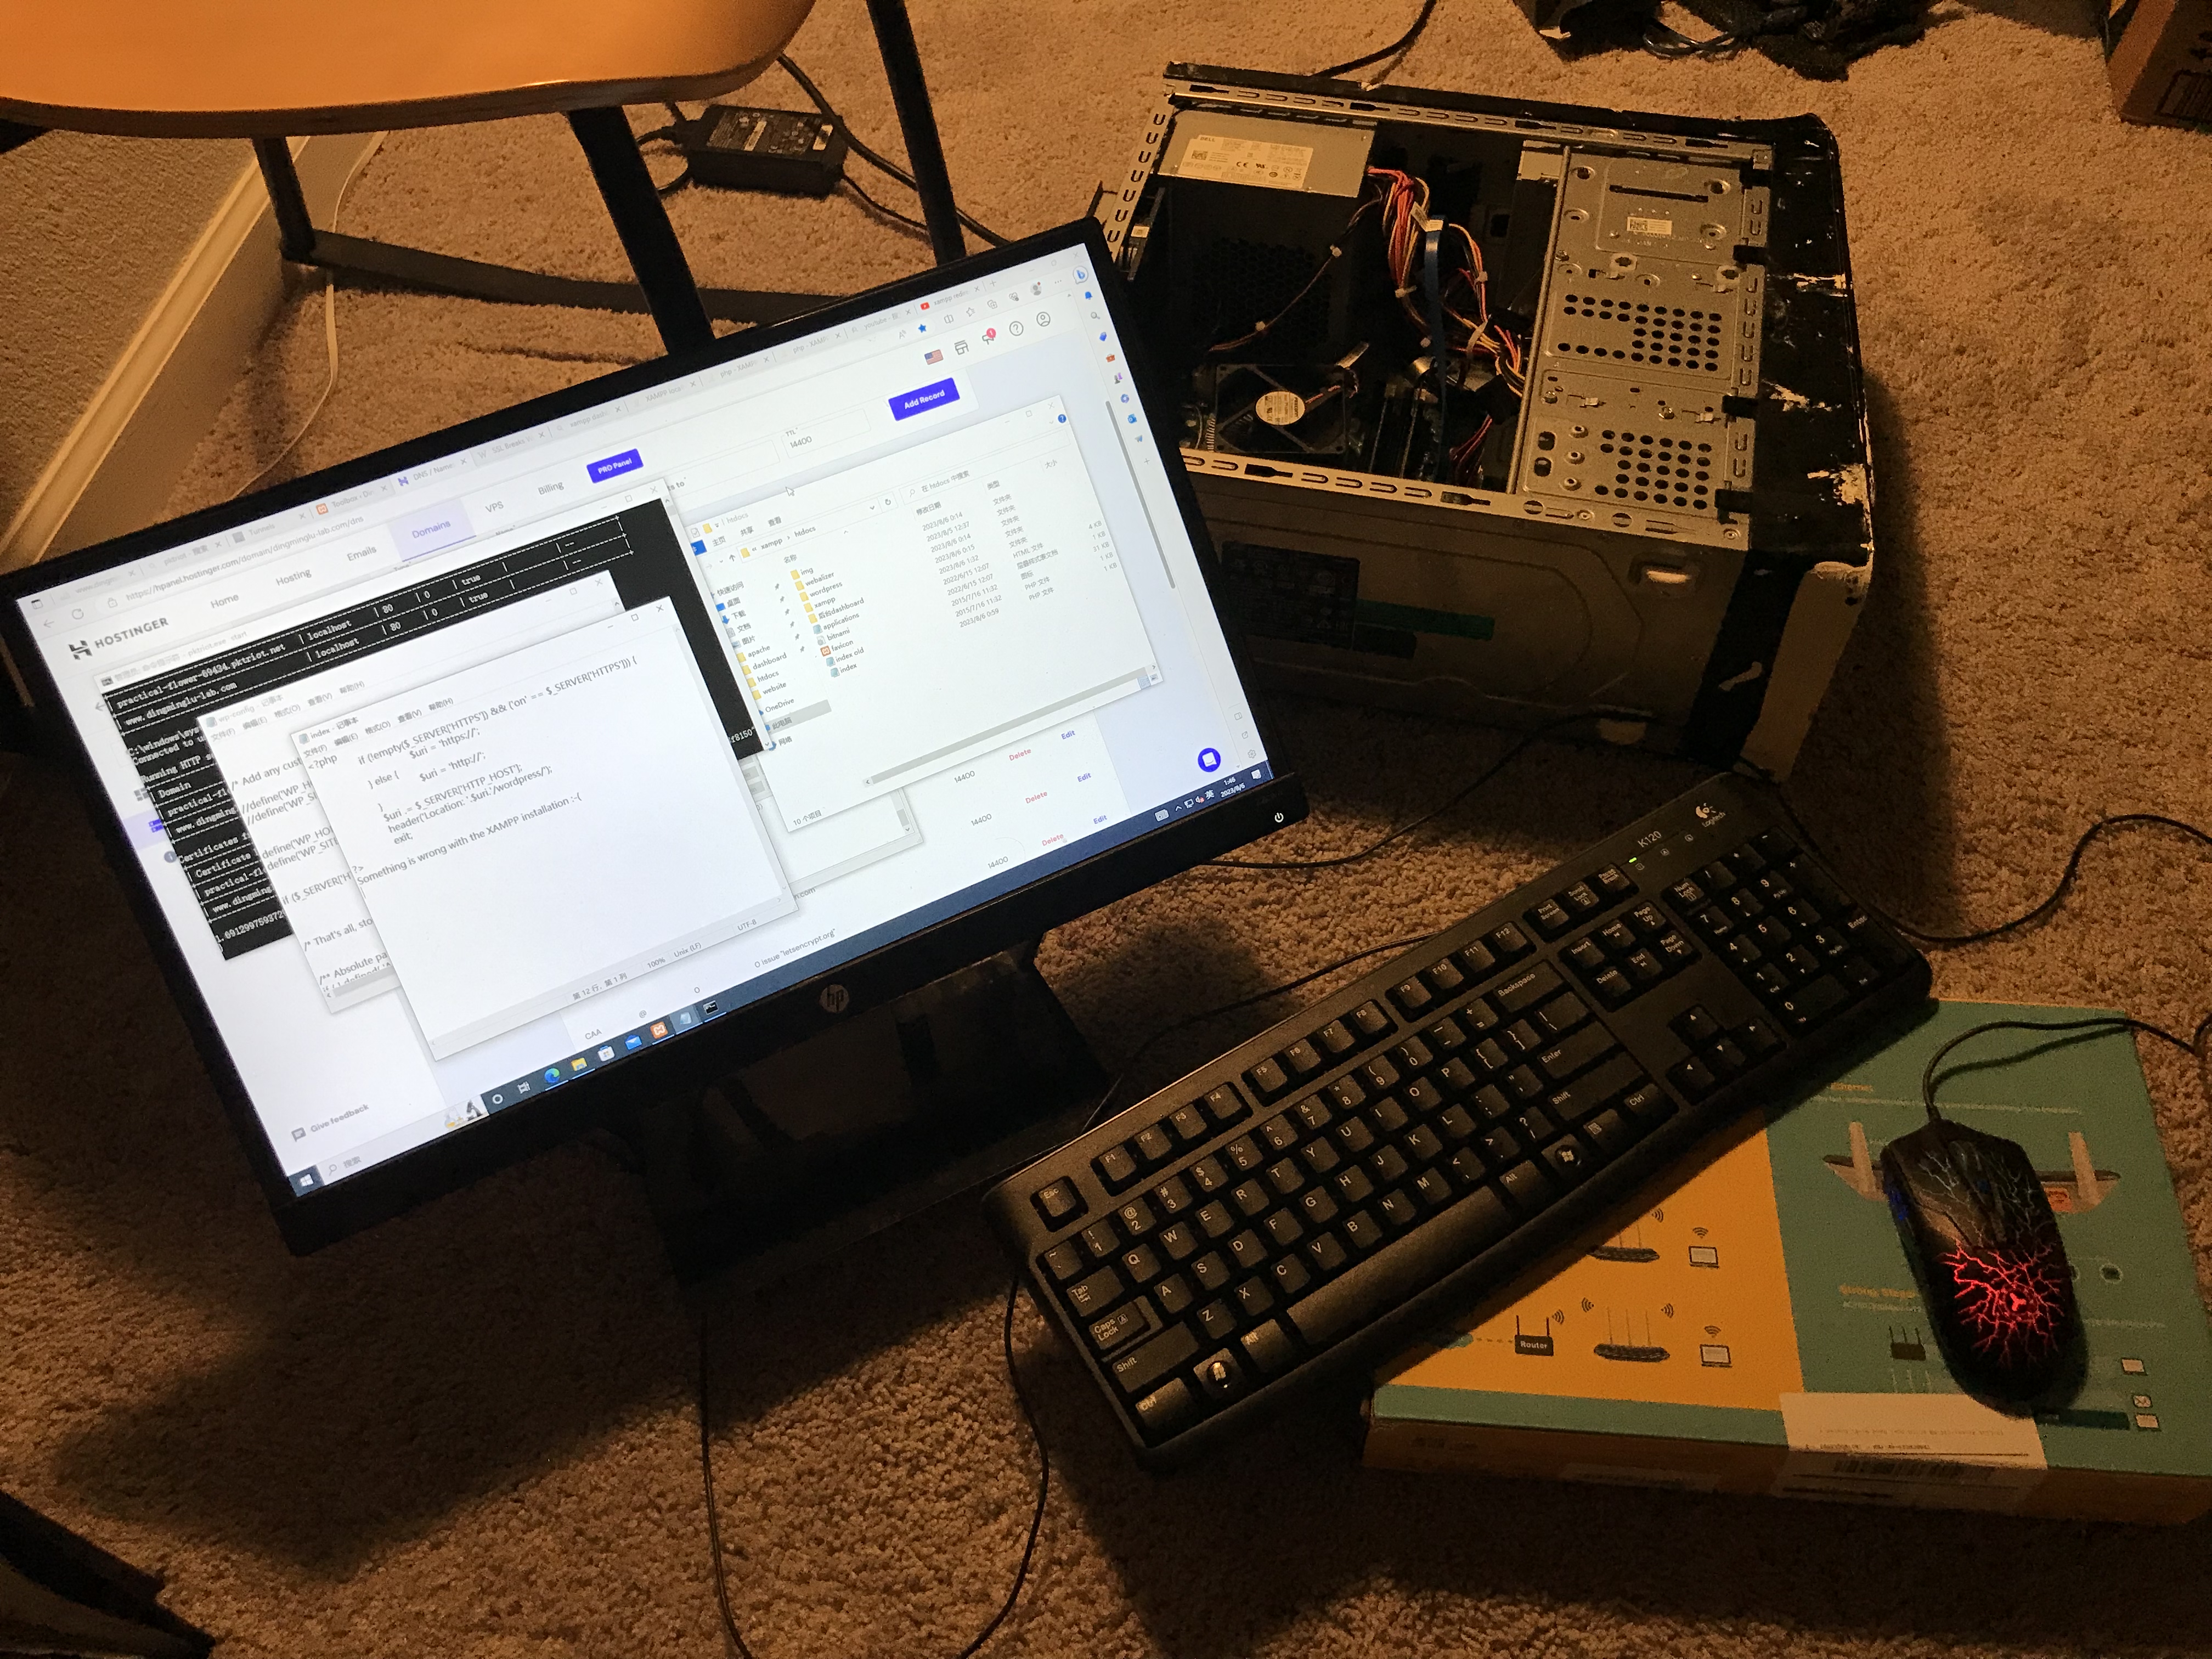
On August 2nd, I returned the mini PC, joined a meeting about the research with Prof. Rose, and worked on my flight controller while waiting for my roommate to pick him up who said he didn’t make it with the shuttle. So I drove home, and saw this:

I brought it home, check the components, and connected the cables. Windows 10 worked on this machine. Then I got into BIOS settings, disabled secure boot, and enabled USB boot, and the Yunohost installation menu was there.
- CPU: i7-6700
- RAM: 8GB
- 1x SSD: 480GB
- 1x HDD: 1TB
- Video Card: Colorful iGame 1050 Ti
- 1x DVD reader
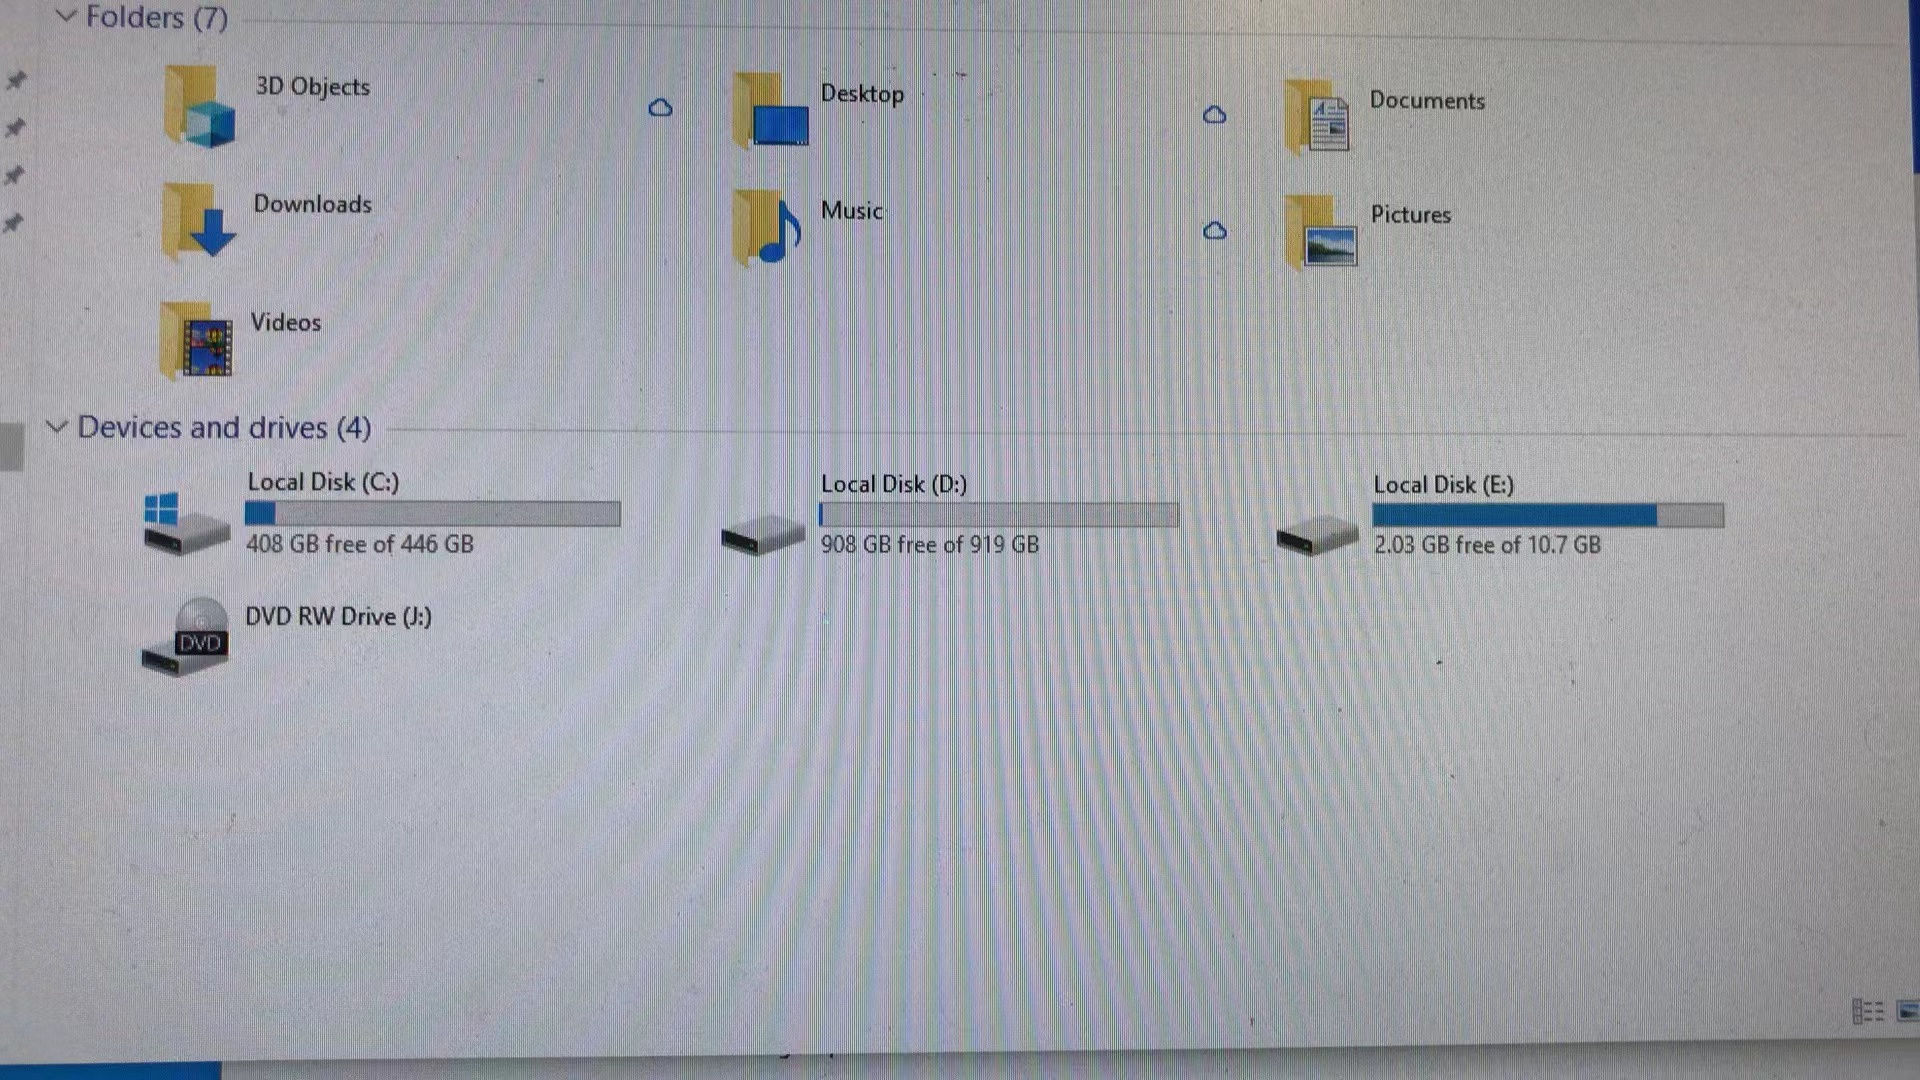
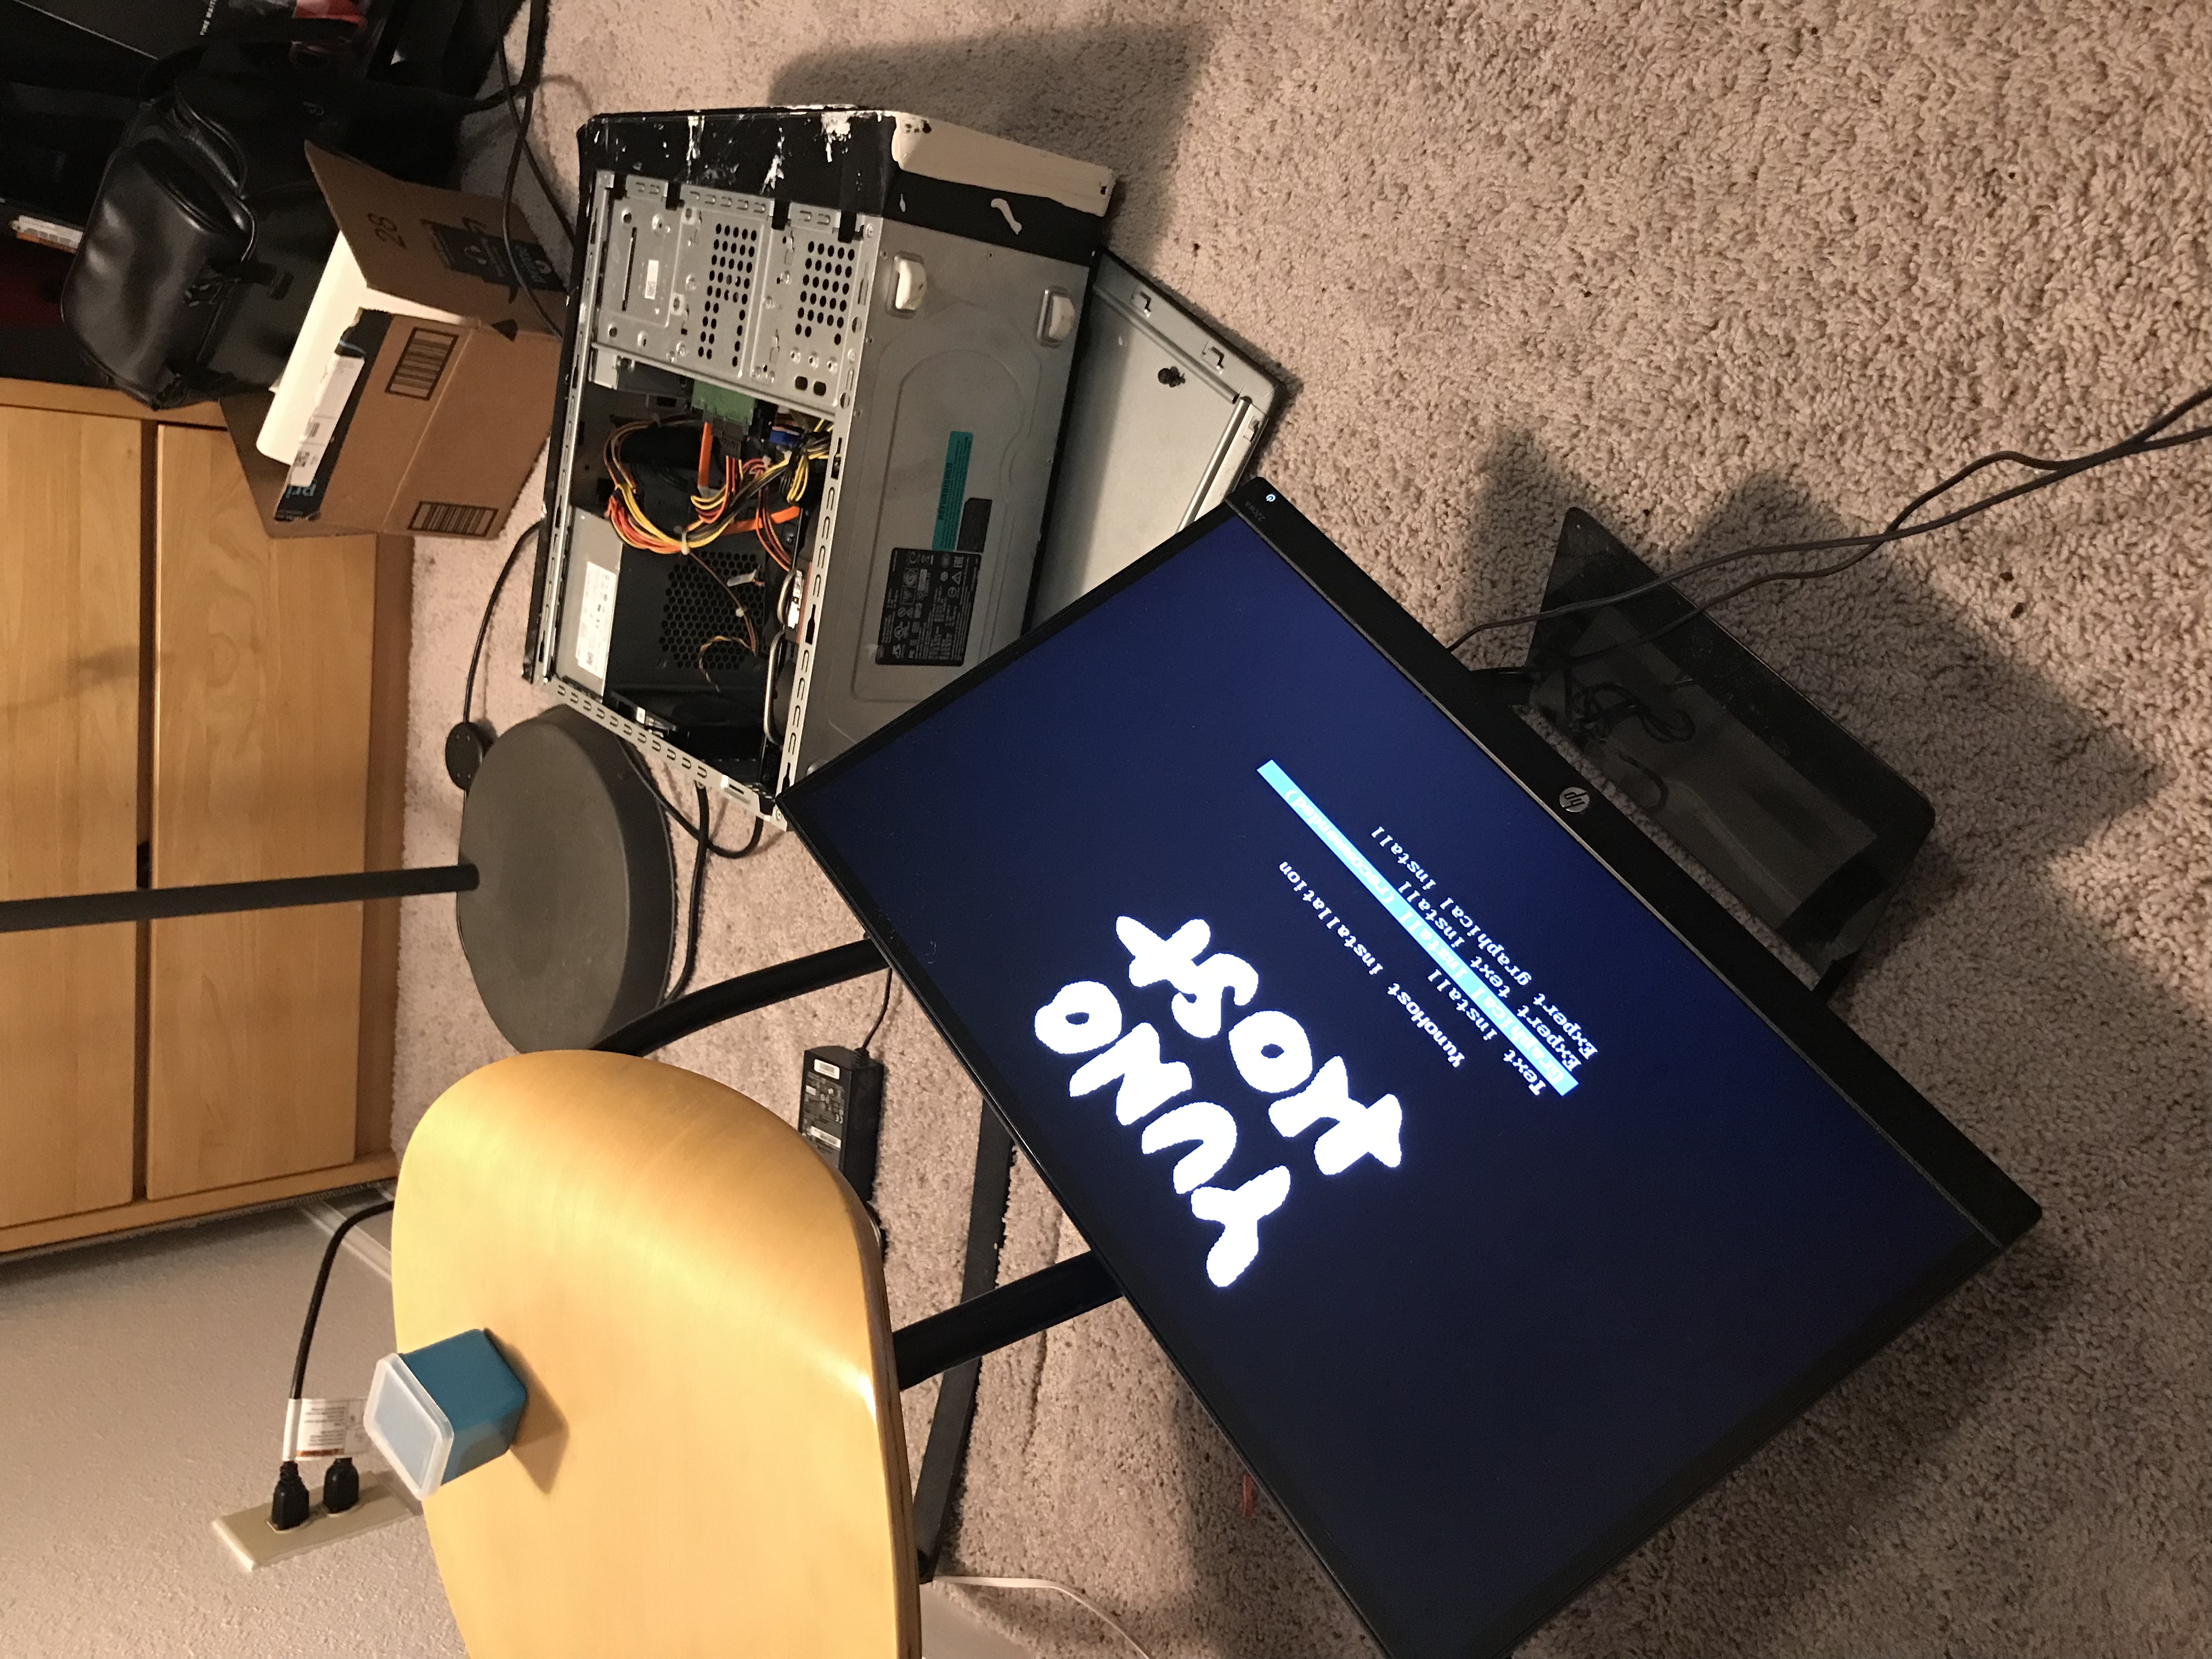
At this moment, I thought everything left should be smooth sailing. So I took out the HDD and the video card for other use. I disassembled the cooling fan, brushed out the dust, and wiped them. Not long after I canceled the order of the new computer components from Amazon. I also need the silicon grease. On the second day (08/03/2023), after I visited 4 computer repair stores, finally I found silicon grease at the 5th one.
I wiped out the old silicon grease, put on the new one, re-installed the CPU cooling fan and the case cooling fan, inserted the USB, pressed F12 to get into the BIOS, got into the Yunohost installation menu, selected region, keyboard, and time zone, selected the partition option to “use entire disk”, and waited for the login terminal… The base system was installing, the packages were unzipping, It’s right there! I can see the victory is in front of me!
And…… read the title of the next section.
III. Yunohost Failed to Install
Why? I didn’t know why, and the computer didn’t tell me why either. The mouse was working, but the menu is broken. It’s mainly black, but sometimes it flashed for milliseconds. I also posted this question to the Yunohost help chat, and as I expected, no response.
Then I tried to install Ubuntu, but if I chose “USB Storage” boot, it stuck when I click “installation” at the partition menu. If I chose “UEFI SanDisk”, it stuck when I chose the time zone. I mean “stuck” is not the same as “freeze”. The mouse was moving, the buttons were clickable but no response.
Again, I tried with different etching software, different USB drive, 64-bit and 32-bit ISO…… None of them works.
Wait, let me try with the “actually reboot” (08/04/2023). So I put Windows 10 into the USB drive, and the installation failed. Now, the system fall into a loop that it said there’s a problem and it would restart the computer, and failed, restart, failed, restart…… Then I tried with UEFI SanDisk boot, and the installation started, but I can only install it on the HDD. But after the installation was done, it won’t boot and the loop occurred again. Back to one of the installations step, where I chose which part I should install Windows 10, it said some partitions had MBR, and Windows 10 can only be installed on GPT and the drive was formatted into NTFS. On the same day, I went to Best Buy and bought an SSD reader, a SATA to USB cable, and a 500GB SSD. I also downloaded AOMEI Partition Assistant trying to format the SSD. \
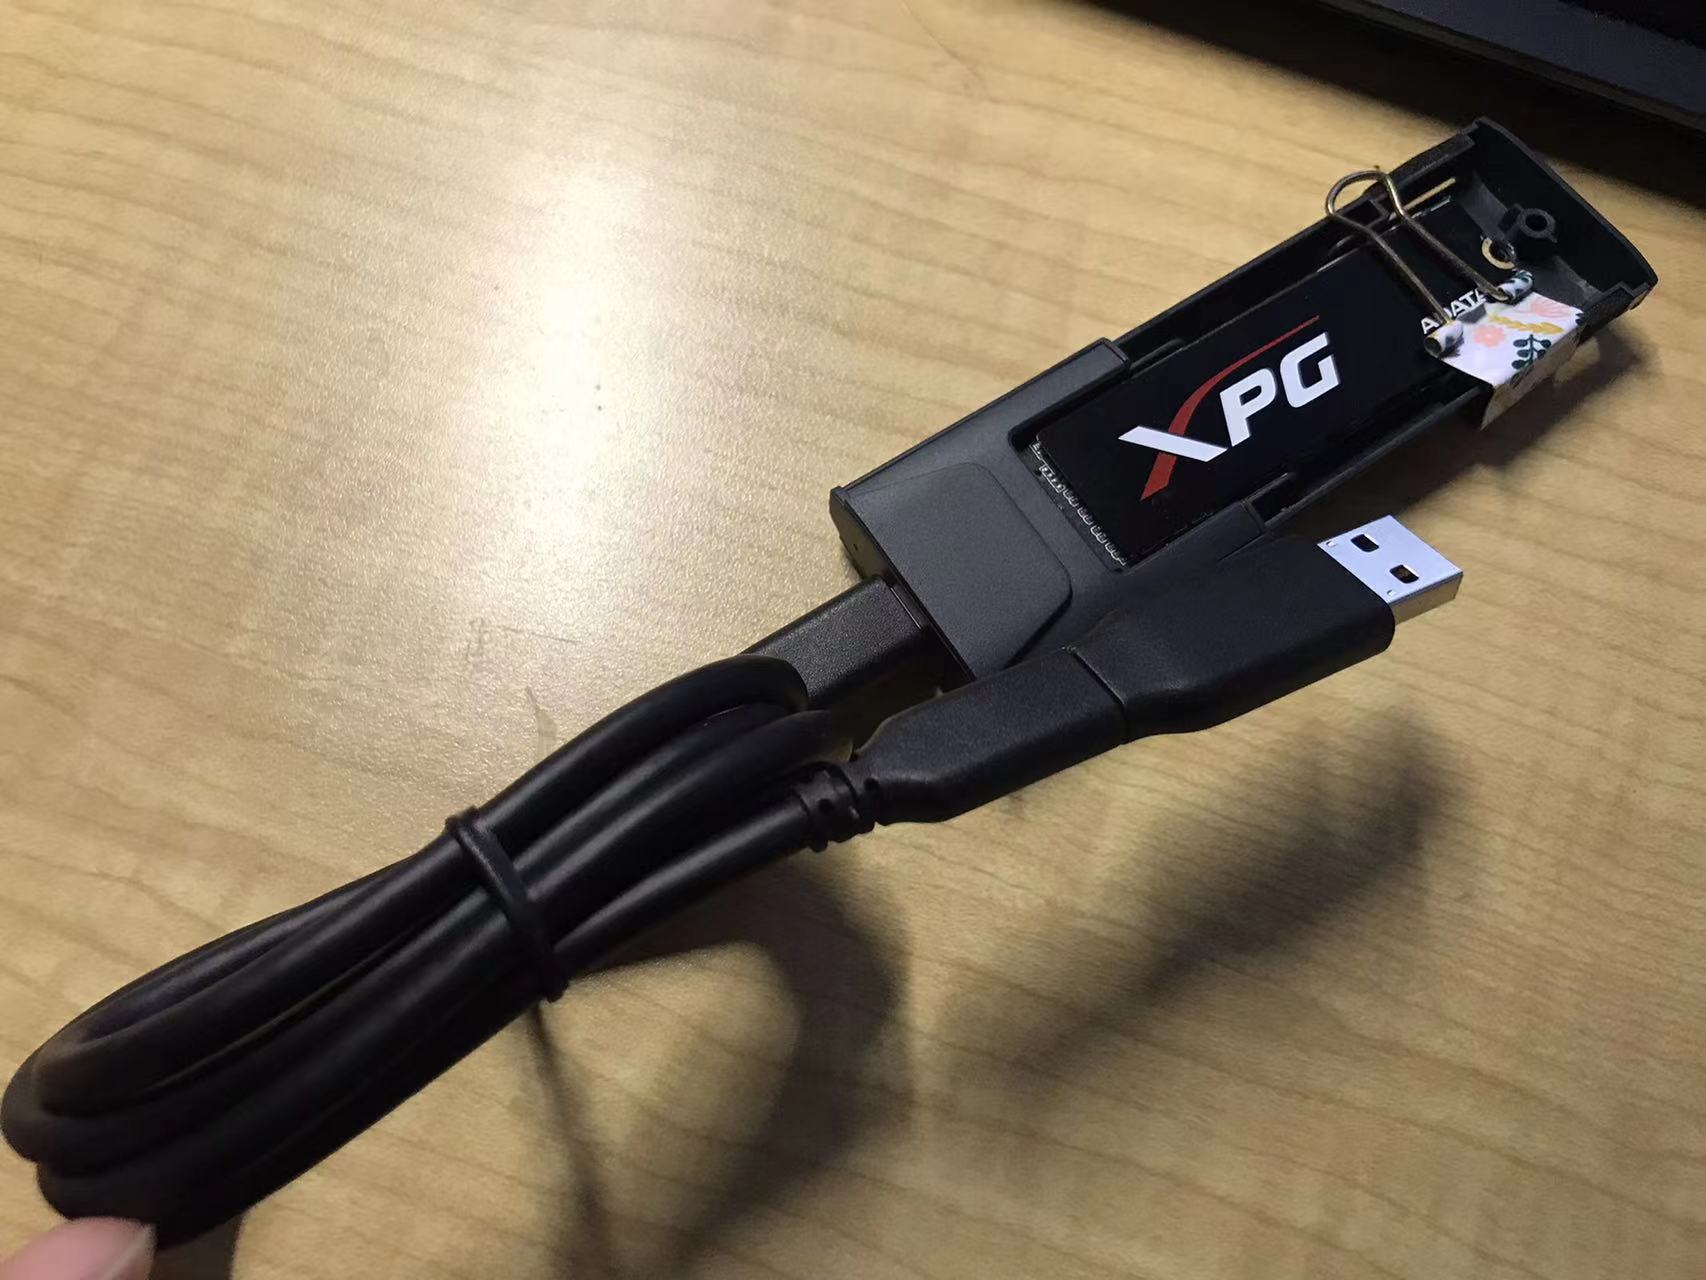
Result: formatting on AOMEI Partition Assistant didn’t help. The installation said Windows 10 can’t be installed because it’s in GPT partition. Alright, I’m confused.
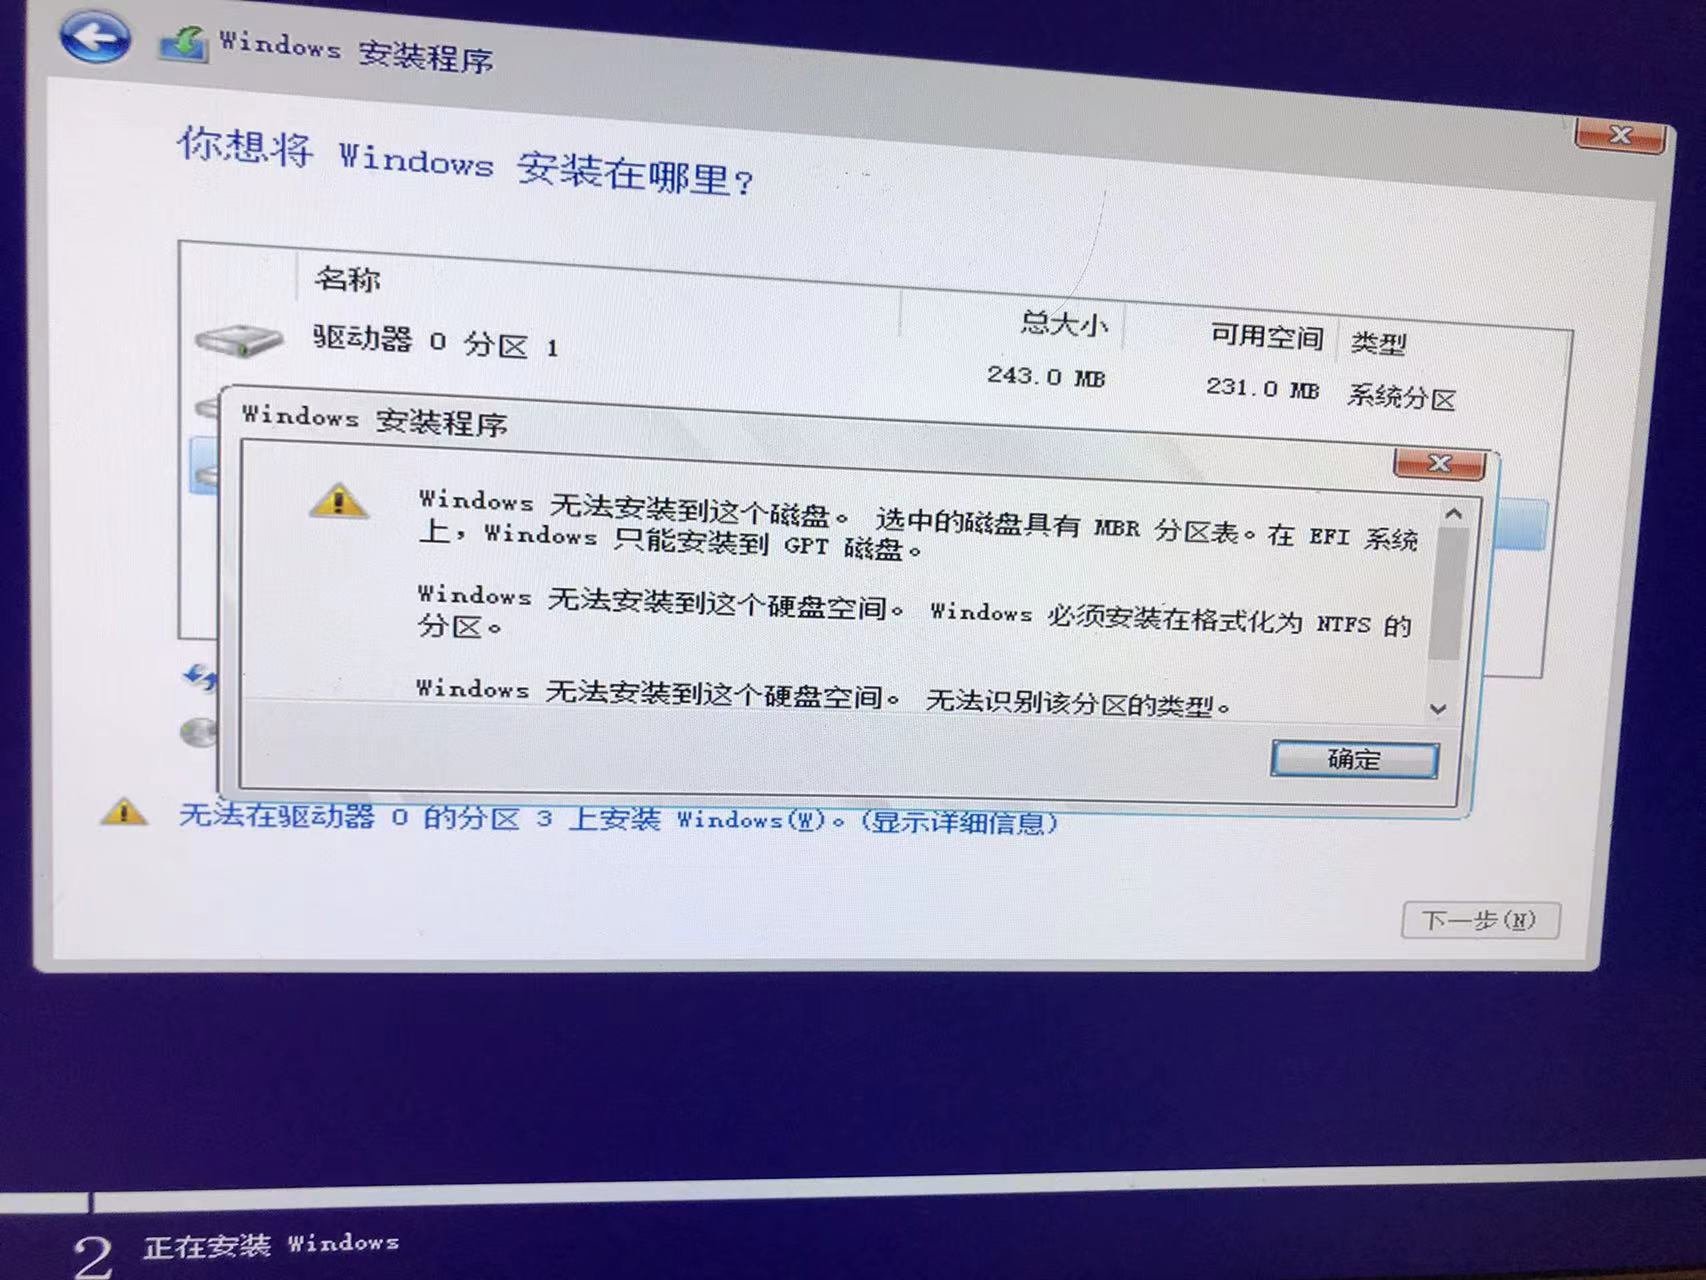
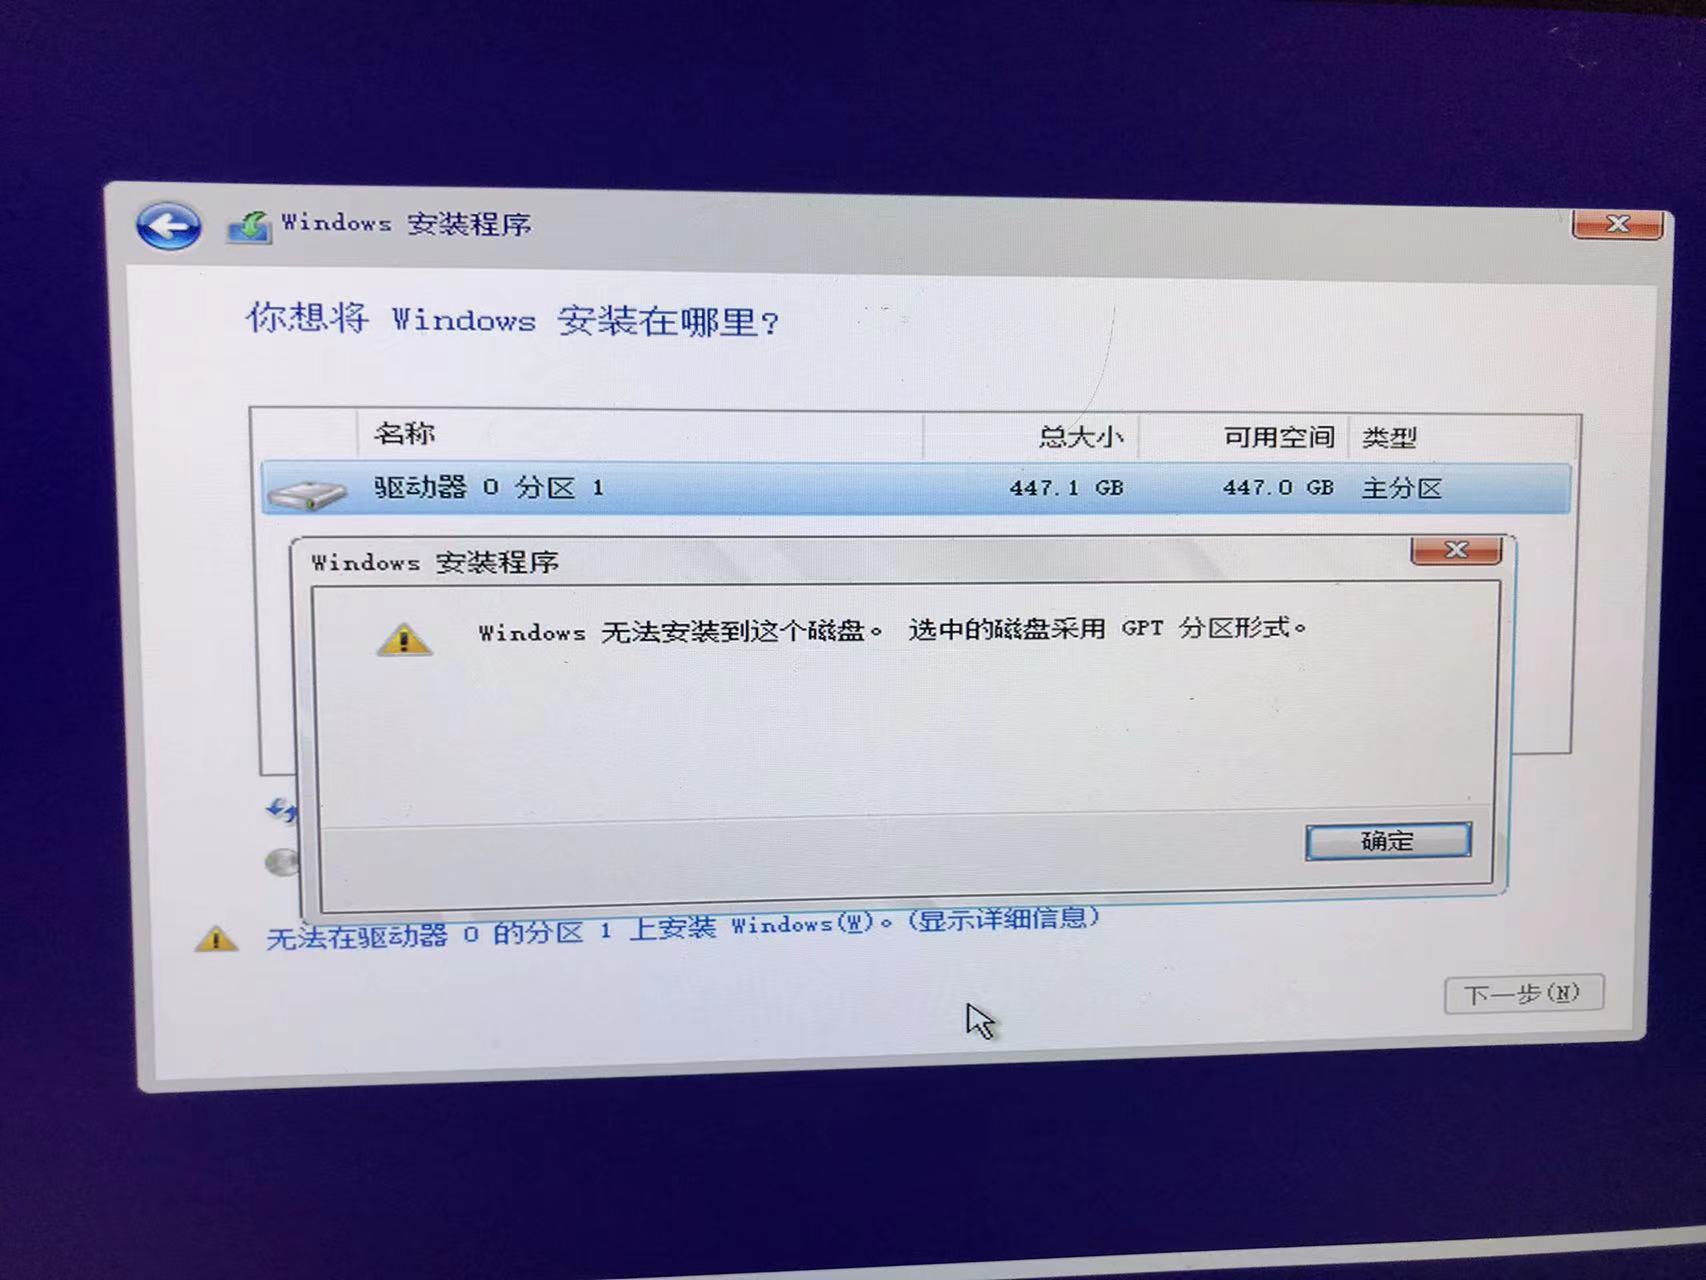
So I spent 36 RMB ($5) on Taobao and had someone install Windows 10 forme remotely. He first installed a transit operating system on the USB drive, and it could boot up to Windows 7 without any installation. Then he downloaded Windows 10 to the SSD, and after some operation, he asked to restart the computer. It took a while to restart, but eventually, Windows 10 was back. More information about this installation can be found in the Library.
I was still trying to install Yunohost, but I was choosing “use largest continuous free space” instead of “entire disk” so I wouldn’t erase Windows 10 (before this, I limited the space of the C drive to get the continuous free space as large as possible). And it still failed.
If you don’t want me to use Yunohost, I am not using that, alright?
IV. XAMPP Apache and WordPress on Windows 10
A. General Procedure
So I decided to set up the server on Windows 10. I mainly followed the procedure of this video by Tech Raj:
B. Tweaks
But, there were a few things I want to mention, and they were important.
1. 16:14 Path of Pktriot
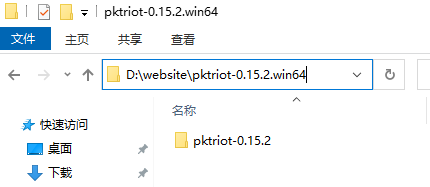
The path has to be like this: D:\website\pktriot-0.15.2.win64\pktriot-0.15.2,
it can not be like this: D:\website\pktriot-0.15.2. The folder “pktriot-0.15.2.win64” can not be skipped, otherwise, it won’t run in the command prompt (cmd).
2. 25:09 CNAME
He used “wordpress” as the name, but I don’t like that. Then I realized that I could just set the name to “www”.
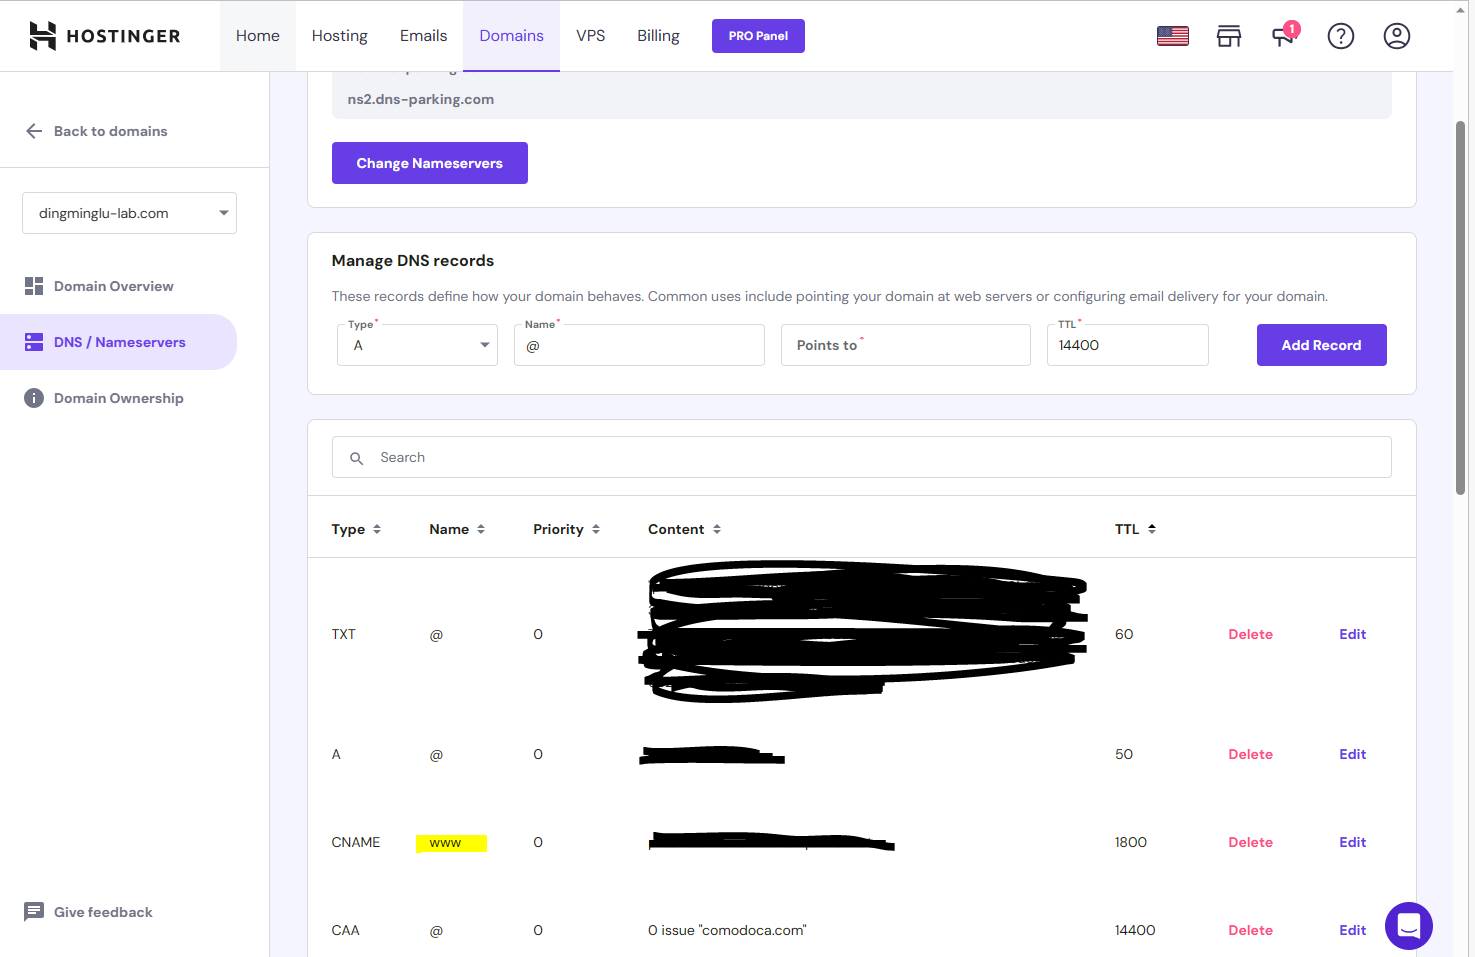
While I was still trying to figure out what those things are, I added a lot of useless domains, so I figured out the way to delete them.
// show info
pktriot.exe info

// Start the website
pktriot.exe start

// Add domain
pktriot.exe tunnel http add --domain [domain given by pktriot] --destination localhost --http 80 --letsencrypt

// Remove domain
pktriot.exe tunnel http rm --domain [domain you want to remove]
3. 27:53 Define the URL
This part leads a lot of issues.
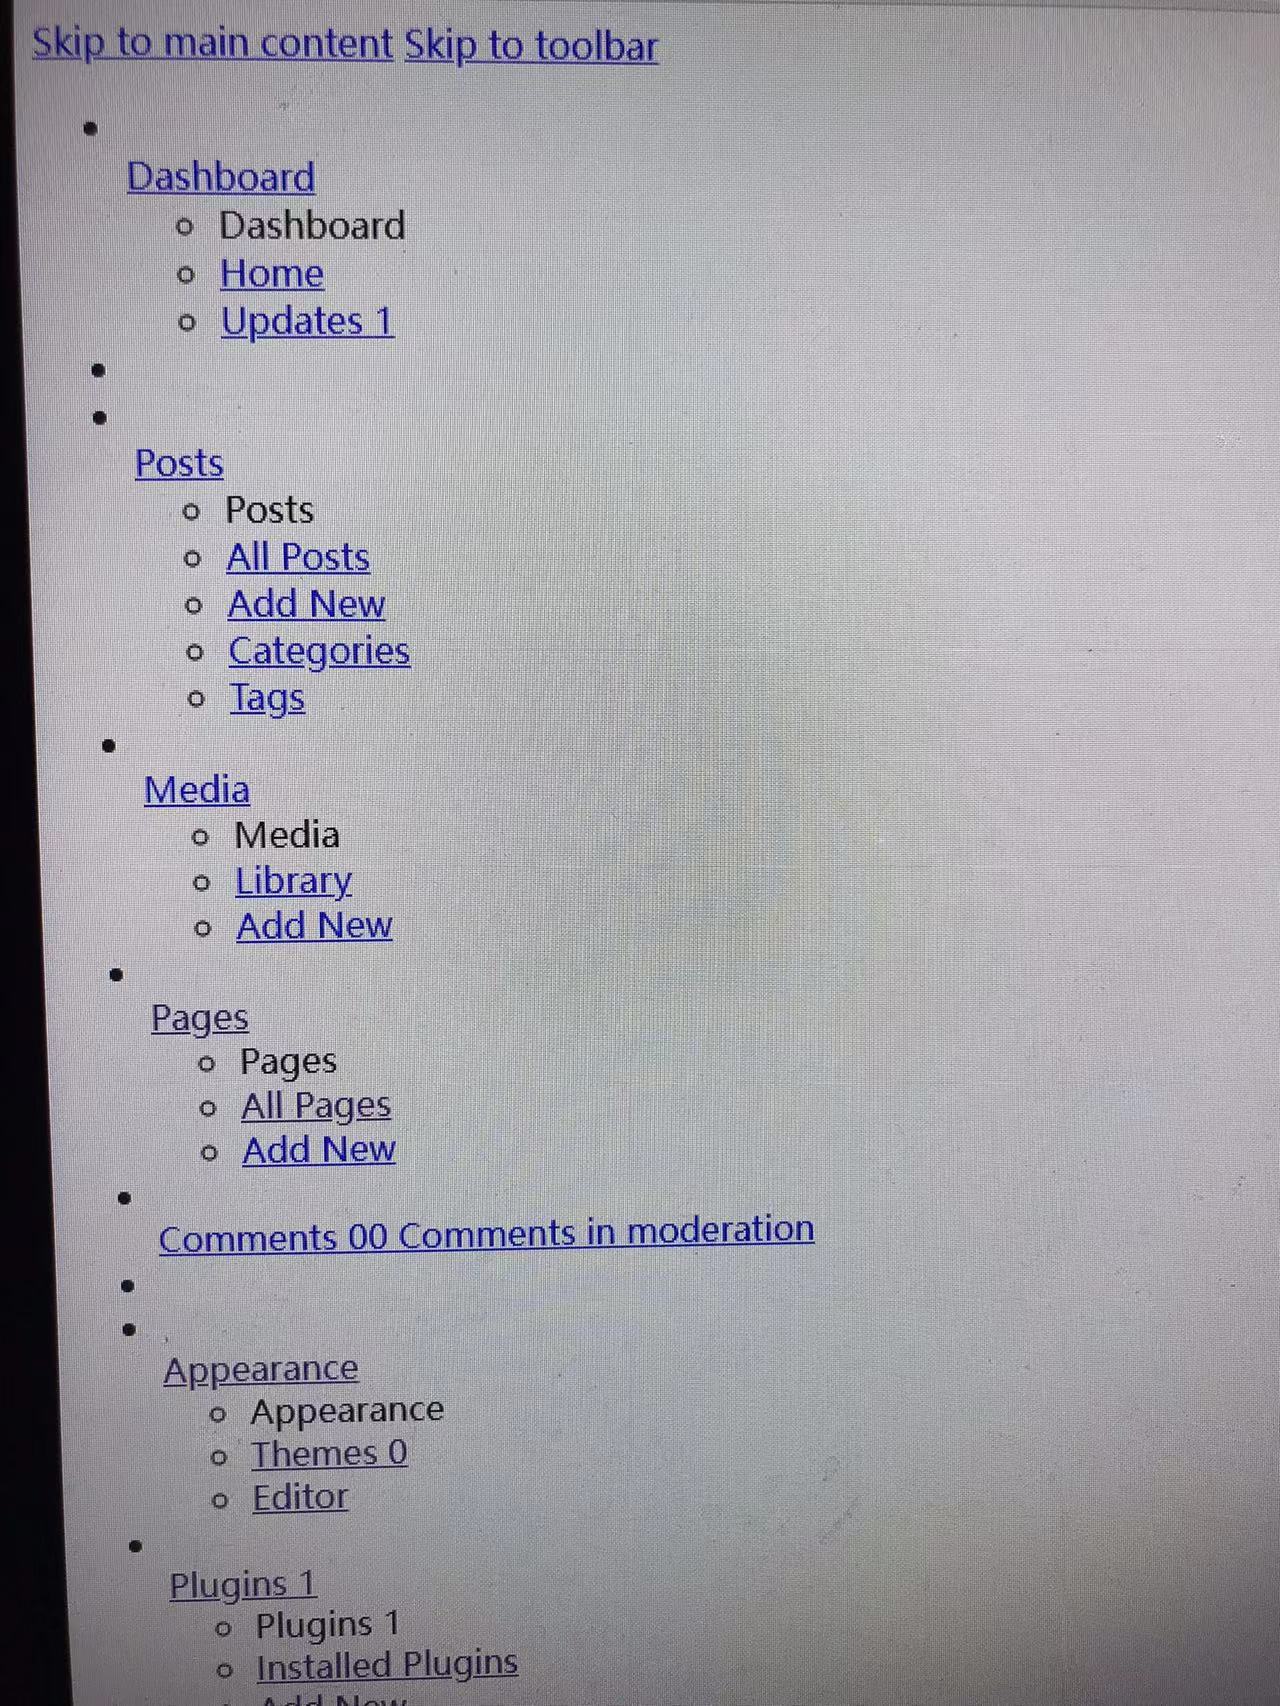
Issue 1: If I used the original link to define HOME and SITEURL, I can access WordPress from other computers, but the UI was totally broken.
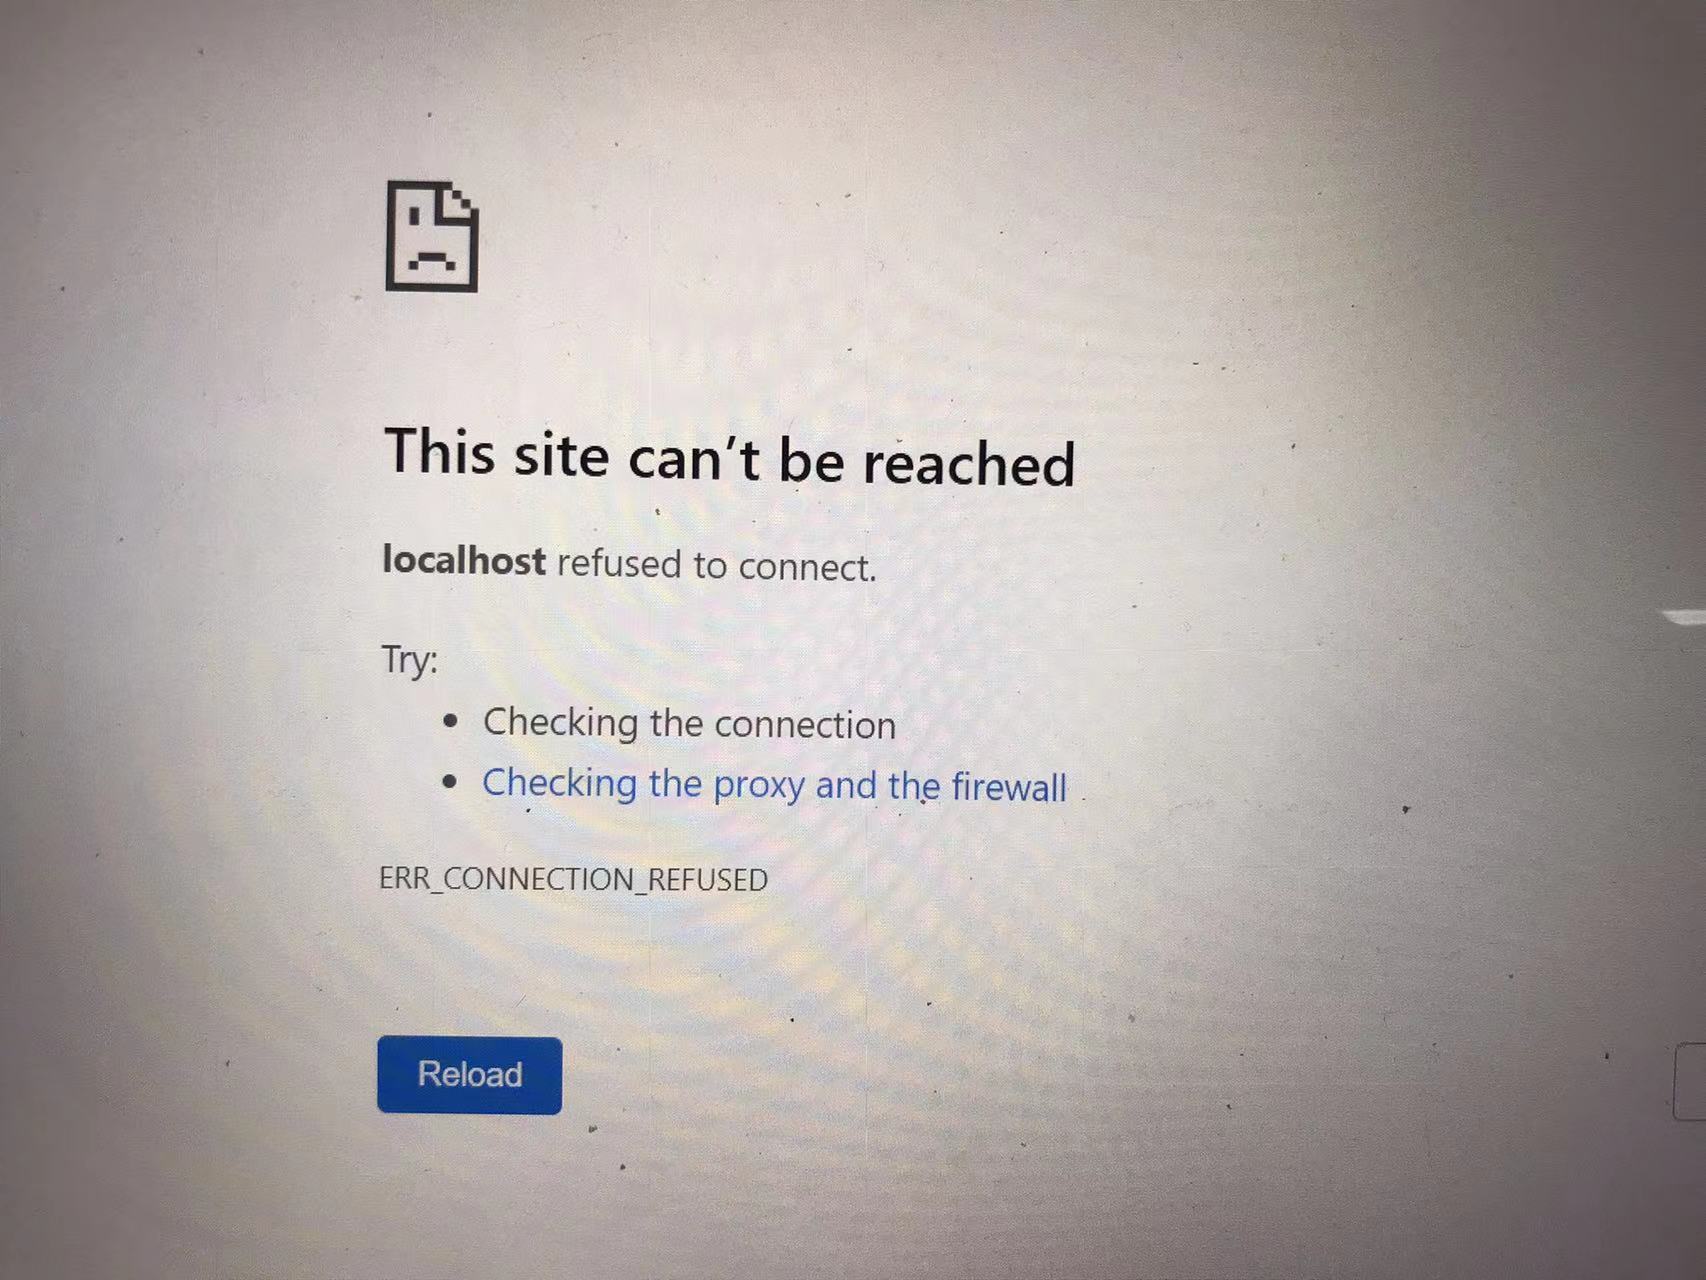
Issue 2: If I don’t use the original link to define HOME and SITEURL, I can not access WordPress from other computers (localhost refuses to connect). I can only access WordPress from the server.
After hours and hours of debugging, I thought I could ask for help from Taobao. But not long after I asked them, I found the answer. Only this code would work: (code can be found on this post)
if ($_SERVER['HTTP_X_FORWARDED_PROTO'] == 'https') $_SERVER['HTTPS']='on';And these two define statements were put before the if statement:
define('WP_HOME','http://34.205.201.211');
define('WP_SITEURL','http://34.205.201.211');
The most common solution DOESN’T WORK! Classic wrong answer:
define('CONCATENATE_SCRIPTS', false);Now, I can access WordPress from another computer with no problem. At this moment, it’s been 6 hours since I started trying to solve this problem, and 9 hours since I started following the tutorial.
Issue 3: If I used my domain as the HOME and SITEURL, it’s not connecting anywhere. Neither the custom nor the original link would work. I don’t know how to solve this one yet.
Issue 4: If I just type in “www.dingminglu-lab.com” and enter, it can bring me to the website, but all the URL becomes the original one. I don’t know how to solve this one yet. If I change the define statement, it will become issue 3.
4. Domain leads to the admin dashboard
If I just type in “www.dingminglu-lab.com”, it would lead me to the XAMPP default dashboard (it jumps to www.dingminglu-lab.com/dashboard), and that’s where EVERYONE can access the admin back door (phpMyAdmin). That’s not good. None of the solutions worked on the internet, so I asked on Taobao again. Not only the sellers responded so slowly, the price made you think it was a scam. To fix this problem, he said I need to pay at least 100 RMB ($13.91) so he also suggested: gathering more questions (He also mentioned “change route”). But this is the last step, I had conquered so many difficult problems, would this one really stop me? Observing the result, my choice was correct: I didn’t respond the seller, let the greedy technicians disappear with the wind.
I watched these videos and learned two important things:
- The folder “htdocs” stores the server files.
- The “index.php” file is the “first” file or the “only” file it will load.
So I found the index.php file in the “htdocs” folder, and I found the word “dashboard” start with “Location”. I changed “dashboard” to “wordpress” on line 8, saved, and it worked.
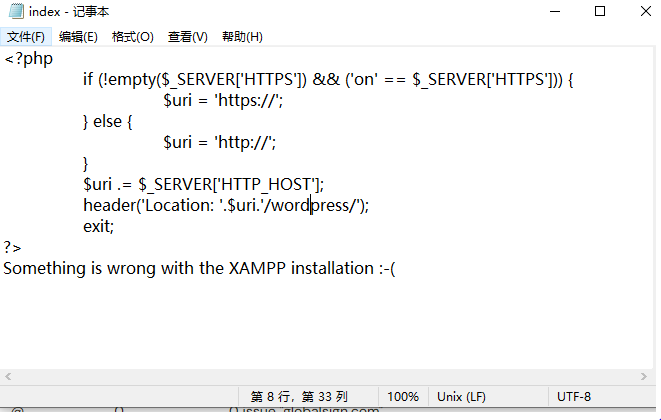
But it’s not done yet. If I manually type “dashboard” after the domain, I can still access to the dashboard site. So I moved the dashboard folder somewhere else. Still, this is not enough. If I know the link to the phpMyAdmin, I can still access it, so I rename the phpMyAdmin folder in the xampp folder. I tried with the same link, and it shows it’s forbidden.
5. Remote access to the server file.
Now, I can access WordPress from another computer, and my domain can lead me to the website. I need the remote access to the server drive so I don’t have to connect the mouse, monitor, and the keyboard to do the backup. I just follow the procedure of this video:
But copying is too slow. The speed is only about 50 kb/s. I need to find another way to do it. And I can’t open the server config file.
6. Windows 10 settings and others
- The power was set to “never sleep”.
- The Windows update setting is set to “do not update in the next 35 days”. I guess I have to keep the monitor, keyboard, and mouse on the server.
- Close the cmd will shut down the website, keep it open after you run “pktriot.exe start”.
V. Extra Reference
Tunnel: https://packetriot.com/
Domain purchase: https://hpanel.hostinger.com/
Pktriot command reference: https://docs.packetriot.com/packetriot/
VI. Further Updates
- 08/07/2023. I remove the “Media Library Folder” plugin because it’s useless. All the media on WordPress is put in a single folder, which extremely sucks. And that plugin didn’t work as I expected. What I want is: I can create folders in the media library at anytime (dashboard, during post/page editing), and it should remember the folder I opened last time. Since I don’t have such options, I had to develop a strict naming convention.
- 08/08/2023. I upgraded the plan to $10 for 2TB of bandwidth per month. I may decrease it to 1TB in a few months.
- 08/11/2023. I installed the remote control software yesterday so I can access everything from my pc. But to enable remote booting, I need another hardware. I will just leave it like that. Then I relocate the server’s case, and it was in a reboot loop, so I plugged in the monitor and the Dell motherboard said “Keyboard is not detected”. So I plugged in the keyboard and the mouse then it booted. When everything is settled down, I will put my monitor back, and leave the keyboard there.
- 08/13/2023. When I was trying to upload the medias, the error reported: “The server cannot process the image. This can happen if the server is busy or does not have enough resources to complete the task. Uploading a smaller image may help. Suggested maximum size is 2560 pixels.” Then I tried to add memories to 256MB based on this link, it didn’t work. I restart the server, the media can be uploaded now.
- 09/12/2023. Sometimes Purdue network blocks my website, so I sent an email to abuse@purdue.edu and requested to unblock it.
- 09/18/2023. And they unblock my website!
- 09/21/2023. Useless Station 21 just never fixes the internet, and Purdue unblock my website, so I decided to try one more time if I can start the server from the Purdue network. And it worked. Now the question is, how can I restore the internet in my room?
- 03/15/2024. It’s been a long time since last update. I unplug the ethernet cable and use the WiFi module to broadcast. Now I set up an ESP32 so it will send me an email if for every one hour it detects that this website is disconnected. Send email from ESP32: ESP32 Send Emails using SMTP Server: HTML, Text, Attachments (Arduino IDE) | Random Nerd Tutorials. The code to test connection is using HTTPClient.h and is generated by ChatGPT C (ChatGPT expert in C language).
- 03/31/2024. So I update the code for the “If Website Is Online Detector” again, now it should work. I should use a different index inside a loop. For every hour, it will first test if WiFi is connected. If can’t regain the WiFi connection for a while, it will continue and try to reconnect after 1 hour. LED indicator explain:
- Blue fast blink 4 times: setup function done.
- Blue medium speed blink: waiting for WIFI connection in loop
- Blue slow speed blink: running 1 hour timer, brighter blue LED means timer is closer to 60 min since it’s PWM is 4*(the i-th minute)
- White LED, bright (PWM=255), constantly on: connection lost, email is sent
- White LED, dim, constantly on: WiFi is connected
- White LED, constantly off: WiFi connection is lost.
- 03/31/2024. If I want to add something else between the list, I need to change to “Code editor” mode and cut and paste between the items.
- 04/09/2024: The fifth firmware update for the ESP32 Website Online detector. Add a restart feature. It will restart every 12 hours. For some reason running for days continuously didn’t work. See code above. Since it will restart, so we need to use EEPROM to store the data before the restart.
- 11/10/2024: This website is migrated to Lightsail on Amazon Web Service (AWS)! And there shouldn’t be any downtime issues anymore!
- Before:
- Domain only works when entering the home page and disappears after that. No posts show my domain.
- Not secure. Unable to open in Edge browser
- Random downtime since it’s hosting on my Windows 10 PC
- Now:
- Domain shows on every page and post!
- Secure. No problem opening it in Edge.
- Less chance of downtime since it’s hosting on Lightsail on AWS
- Before:
- 11/10/2024: These steps were done for the migration process:
- Follow this video:
- Attention: when uploading the old all-in-one file, use choose file and upload. Drag and drop will not upload.
- Change the settings on Hostinger, the website where I bought my domain. The tutorial link is here. I used point via A Record.
- Cancel the subscription on pktriot tunnel.
- Make it a secure website (sort of, only the home page is secured) from this tutorial (user guide from Amazon).
- Installed the plug-in Really Simple SSL, now all the pages and posts are secured, but the posts are still not secured
- Installed the plug-in Better Search Replace. The uploaded images in the editor were showing the IP address and causing the error saying “image has empty alt attribute”. Compared with a working one, the only difference is that the working image has the domain in the link, but the broken one has the IP address. Now, all those IP addresses are replaced into the domain with this plug-in, and now all images show up in the post editor, and each post has the correct link! Yeah~~~, no IP address anymore! And after this, all posts are secured as well!
- Installed a3 Lazy Load plug-in, hopefully it’s faster to load the images and videos.
- Follow this video:
- Items between the list items are done by cutting and pasting the code.
- So, what’s next?
// https://deepbluembedded.com/esp32-eeprom-library-tutorial-arduino/
// https://techtutorialsx.com/2017/12/03/esp32-arduino-software-reset/
#include <EEPROM.h>
#define EEPROM_size 3
int loop_count=0;
//////////////////////////////////////////////// Send Email ////////////////////////////////////////////////
// https://randomnerdtutorials.com/esp32-send-email-smtp-server-arduino-ide/
#include <ESP_Mail_Client.h>
#include <WiFi.h>

const char* ssid = "haha I won't tell you";
const char* password =  "haha I won't tell you";

#define SMTP_HOST "smtp.gmail.com"
#define SMTP_PORT 465

#define AUTHOR_EMAIL "haha I won't tell youm"
#define AUTHOR_PASSWORD "haha I won't tell you"

#define RECIPIENT_EMAIL "lu807@purdue.edu"

SMTPSession smtp;

void smtpCallback(SMTP_Status status);

bool email_sent_status;
//////////////////////////////////////////////// Send Email ////////////////////////////////////////////////
//////////////////////////////////////////////// Test Connection ////////////////////////////////////////////////
#include <HTTPClient.h>
const char* target_url = "https://www.dingminglu-lab.com";
bool current_connection_status;
bool previous_connection_status=false;
//////////////////////////////////////////////// Test Connection ////////////////////////////////////////////////
void setup() {
  pinMode(2,OUTPUT);
  pinMode(23,OUTPUT);
  delay(1000);

  Serial.begin(115200); delay(1000);
  Serial.println("Reading EEPROM");
  EEPROM.begin(EEPROM_size);
  EEPROM.get(0,email_sent_status);
  EEPROM.get(1,current_connection_status);
  EEPROM.get(2,previous_connection_status);
  Serial.print("Stored Email sent status: "); Serial.println(email_sent_status);
  Serial.print("Stored Current connection status: "); Serial.println(current_connection_status);
  Serial.print("Stored Previous connection status: "); Serial.println(previous_connection_status);

  WiFi.begin(ssid, password); delay(1000);

  Serial.print("Connecting to Wi-Fi");
  int i=0;

  while (WiFi.status() != WL_CONNECTED){
    Serial.print(".");
    digitalWrite(2,HIGH); delay(1000); digitalWrite(2,LOW); delay(1000);
    i++;
    if (i>50){ // time out
      ESP.restart();
    }
  }

  Serial.println();
  Serial.print("Connected with IP: ");
  Serial.println(WiFi.localIP());
  Serial.println();

  // analogWrite(2,10); delay(100); analogWrite(2,0); delay(100);
  // analogWrite(2,10); delay(100); analogWrite(2,0); delay(100);
  // analogWrite(2,10); delay(100); analogWrite(2,0); delay(100);
  // analogWrite(2,10); delay(100); analogWrite(2,0); delay(100);
  analogWrite(23,255); delay(100); analogWrite(23,0); delay(100);
  analogWrite(23,255); delay(100); analogWrite(23,0); delay(100);
  analogWrite(23,255); delay(100); analogWrite(23,0); delay(100);
  analogWrite(23,255); delay(100); analogWrite(23,0); delay(100);

  digitalWrite(2,HIGH); delay(100); digitalWrite(2,LOW); delay(100);
  digitalWrite(2,HIGH); delay(100); digitalWrite(2,LOW); delay(100);
  digitalWrite(2,HIGH); delay(100); digitalWrite(2,LOW); delay(100);
  digitalWrite(2,HIGH); delay(100); digitalWrite(2,LOW); delay(100);
}

void loop() {
  loop_count++;

  check_WiFi_connection();

  checkWebsite();

  update_email_LED_connection_states();

  // delay(5000);
  do_nothing_timer_1hr(); // wait 1 hr for the next test

  write_EEPROM();

  // Serial.println("==========Loop end==========");
}


void check_WiFi_connection(){
  if (WiFi.status() != WL_CONNECTED){ // if Wifi not connected,
    WiFi.begin(ssid, password);       // reconnect wifi
    int i=0;
    while (WiFi.status() != WL_CONNECTED){ // while waiting for connection
      digitalWrite(2,HIGH); delay(500); digitalWrite(2,LOW); delay(500);
      i++;
      if (i>100){
        break;
      }
    }
  }
}

void checkWebsite() {
    HTTPClient http;
    http.begin(target_url); // Specify the URL
    int httpCode = http.GET(); // Make the request

    if (httpCode > 0) { // Check is request was successful
        if(httpCode == HTTP_CODE_OK || httpCode == HTTP_CODE_MOVED_PERMANENTLY) {
            Serial.println("The website is online.");
            current_connection_status=true;
        }
        else {
            Serial.printf("The website is offline or returned HTTP status code %d\n", httpCode);
            current_connection_status=false;
        }
    } else {
        Serial.printf("Failed to make a request. HTTP error: %s\n", http.errorToString(httpCode).c_str());
        current_connection_status=false;
    }

    http.end(); //Close connection
}

void update_email_LED_connection_states(){
  if (!current_connection_status && !email_sent_status){ // if not connected and email not sent yet
    send_email();
    email_sent_status=true; // email sent
  }

  if (!email_sent_status){ // if email not sent
    if (WiFi.status() != WL_CONNECTED){ // if no Wifi
      analogWrite(23,0);
    } else {
      analogWrite(23,10);
    }
  } else if (email_sent_status){ // if email sent (for no connection and restarted)
    analogWrite(23,255);
  }

  if (!previous_connection_status && current_connection_status){ // if not connected previously but connected now
    email_sent_status=false;
  }

  // if (current_connection_status){
  //   // Serial.println("Condition 1");
  //   previous_connection_status=true;
  // } else if (!current_connection_status){
  //   // Serial.println("Condition 2");
  //   previous_connection_status=false;
  // }
  Serial.print("Previous connection status: "); Serial.println(previous_connection_status);
  Serial.print("Current connection status: "); Serial.println(current_connection_status);
  previous_connection_status=current_connection_status;

}

void do_nothing_timer_1hr(){
  for (int i=1;i<61;i++){
    for (int b=0;b<6;b++){
      analogWrite(2,4*i); delay(5000);
      analogWrite(2,0); delay(5000);
    }
  }
}

void write_EEPROM(){
  if (loop_count==12){
    Serial.println("Writing EEPROM");
    EEPROM.put(0,email_sent_status);
    EEPROM.put(1,current_connection_status);
    EEPROM.put(2,previous_connection_status);
    EEPROM.commit();
    delay(500);
    ESP.restart();
  }
}

void send_email(){
  MailClient.networkReconnect(true);

  smtp.debug(1);

  /* Set the callback function to get the sending results */
  smtp.callback(smtpCallback);

  /* Declare the Session_Config for user defined session credentials */
  Session_Config config;

  /* Set the session config */
  config.server.host_name = SMTP_HOST;
  config.server.port = SMTP_PORT;
  config.login.email = AUTHOR_EMAIL;
  config.login.password = AUTHOR_PASSWORD;
  config.login.user_domain = "";

  config.time.ntp_server = F("pool.ntp.org,time.nist.gov");
  config.time.gmt_offset = 3;
  config.time.day_light_offset = 0;

  /* Declare the message class */
  SMTP_Message message;

  /* Set the message headers */
  message.sender.name = F("ESP32");
  message.sender.email = AUTHOR_EMAIL;
  message.subject = F("Server is down, fix it!");
  message.addRecipient(F("Mike"), RECIPIENT_EMAIL);

  //Send raw text message
  String textMsg = "Server is down, fix it!";
  message.text.content = textMsg.c_str();
  message.text.charSet = "us-ascii";
  message.text.transfer_encoding = Content_Transfer_Encoding::enc_7bit;

  message.priority = esp_mail_smtp_priority::esp_mail_smtp_priority_low;
  message.response.notify = esp_mail_smtp_notify_success | esp_mail_smtp_notify_failure | esp_mail_smtp_notify_delay;

  /* Connect to the server */
  if (!smtp.connect(&config)){
    ESP_MAIL_PRINTF("Connection error, Status Code: %d, Error Code: %d, Reason: %s", smtp.statusCode(), smtp.errorCode(), smtp.errorReason().c_str());
    return;
  }

  if (!smtp.isLoggedIn()){
    Serial.println("\nNot yet logged in.");
  }
  else{
    if (smtp.isAuthenticated())
      Serial.println("\nSuccessfully logged in.");
    else
      Serial.println("\nConnected with no Auth.");
  }

  /* Start sending Email and close the session */
  if (!MailClient.sendMail(&smtp, &message))
    ESP_MAIL_PRINTF("Error, Status Code: %d, Error Code: %d, Reason: %s", smtp.statusCode(), smtp.errorCode(), smtp.errorReason().c_str());

}

void smtpCallback(SMTP_Status status){
  /* Print the current status */
  Serial.println(status.info());

  /* Print the sending result */
  if (status.success()){
    // ESP_MAIL_PRINTF used in the examples is for format printing via debug Serial port
    // that works for all supported Arduino platform SDKs e.g. AVR, SAMD, ESP32 and ESP8266.
    // In ESP8266 and ESP32, you can use Serial.printf directly.

    Serial.println("----------------");
    ESP_MAIL_PRINTF("Message sent success: %d\n", status.completedCount());
    ESP_MAIL_PRINTF("Message sent failed: %d\n", status.failedCount());
    Serial.println("----------------\n");

    for (size_t i = 0; i < smtp.sendingResult.size(); i++)
    {
      /* Get the result item */
      SMTP_Result result = smtp.sendingResult.getItem(i);

      // In case, ESP32, ESP8266 and SAMD device, the timestamp get from result.timestamp should be valid if
      // your device time was synched with NTP server.
      // Other devices may show invalid timestamp as the device time was not set i.e. it will show Jan 1, 1970.
      // You can call smtp.setSystemTime(xxx) to set device time manually. Where xxx is timestamp (seconds since Jan 1, 1970)

      ESP_MAIL_PRINTF("Message No: %d\n", i + 1);
      ESP_MAIL_PRINTF("Status: %s\n", result.completed ? "success" : "failed");
      ESP_MAIL_PRINTF("Date/Time: %s\n", MailClient.Time.getDateTimeString(result.timestamp, "%B %d, %Y %H:%M:%S").c_str());
      ESP_MAIL_PRINTF("Recipient: %s\n", result.recipients.c_str());
      ESP_MAIL_PRINTF("Subject: %s\n", result.subject.c_str());
    }
    Serial.println("----------------\n");

    // You need to clear sending result as the memory usage will grow up.
    smtp.sendingResult.clear();
  }
}