I. Intro and Preparation
Date: 03/08/2023
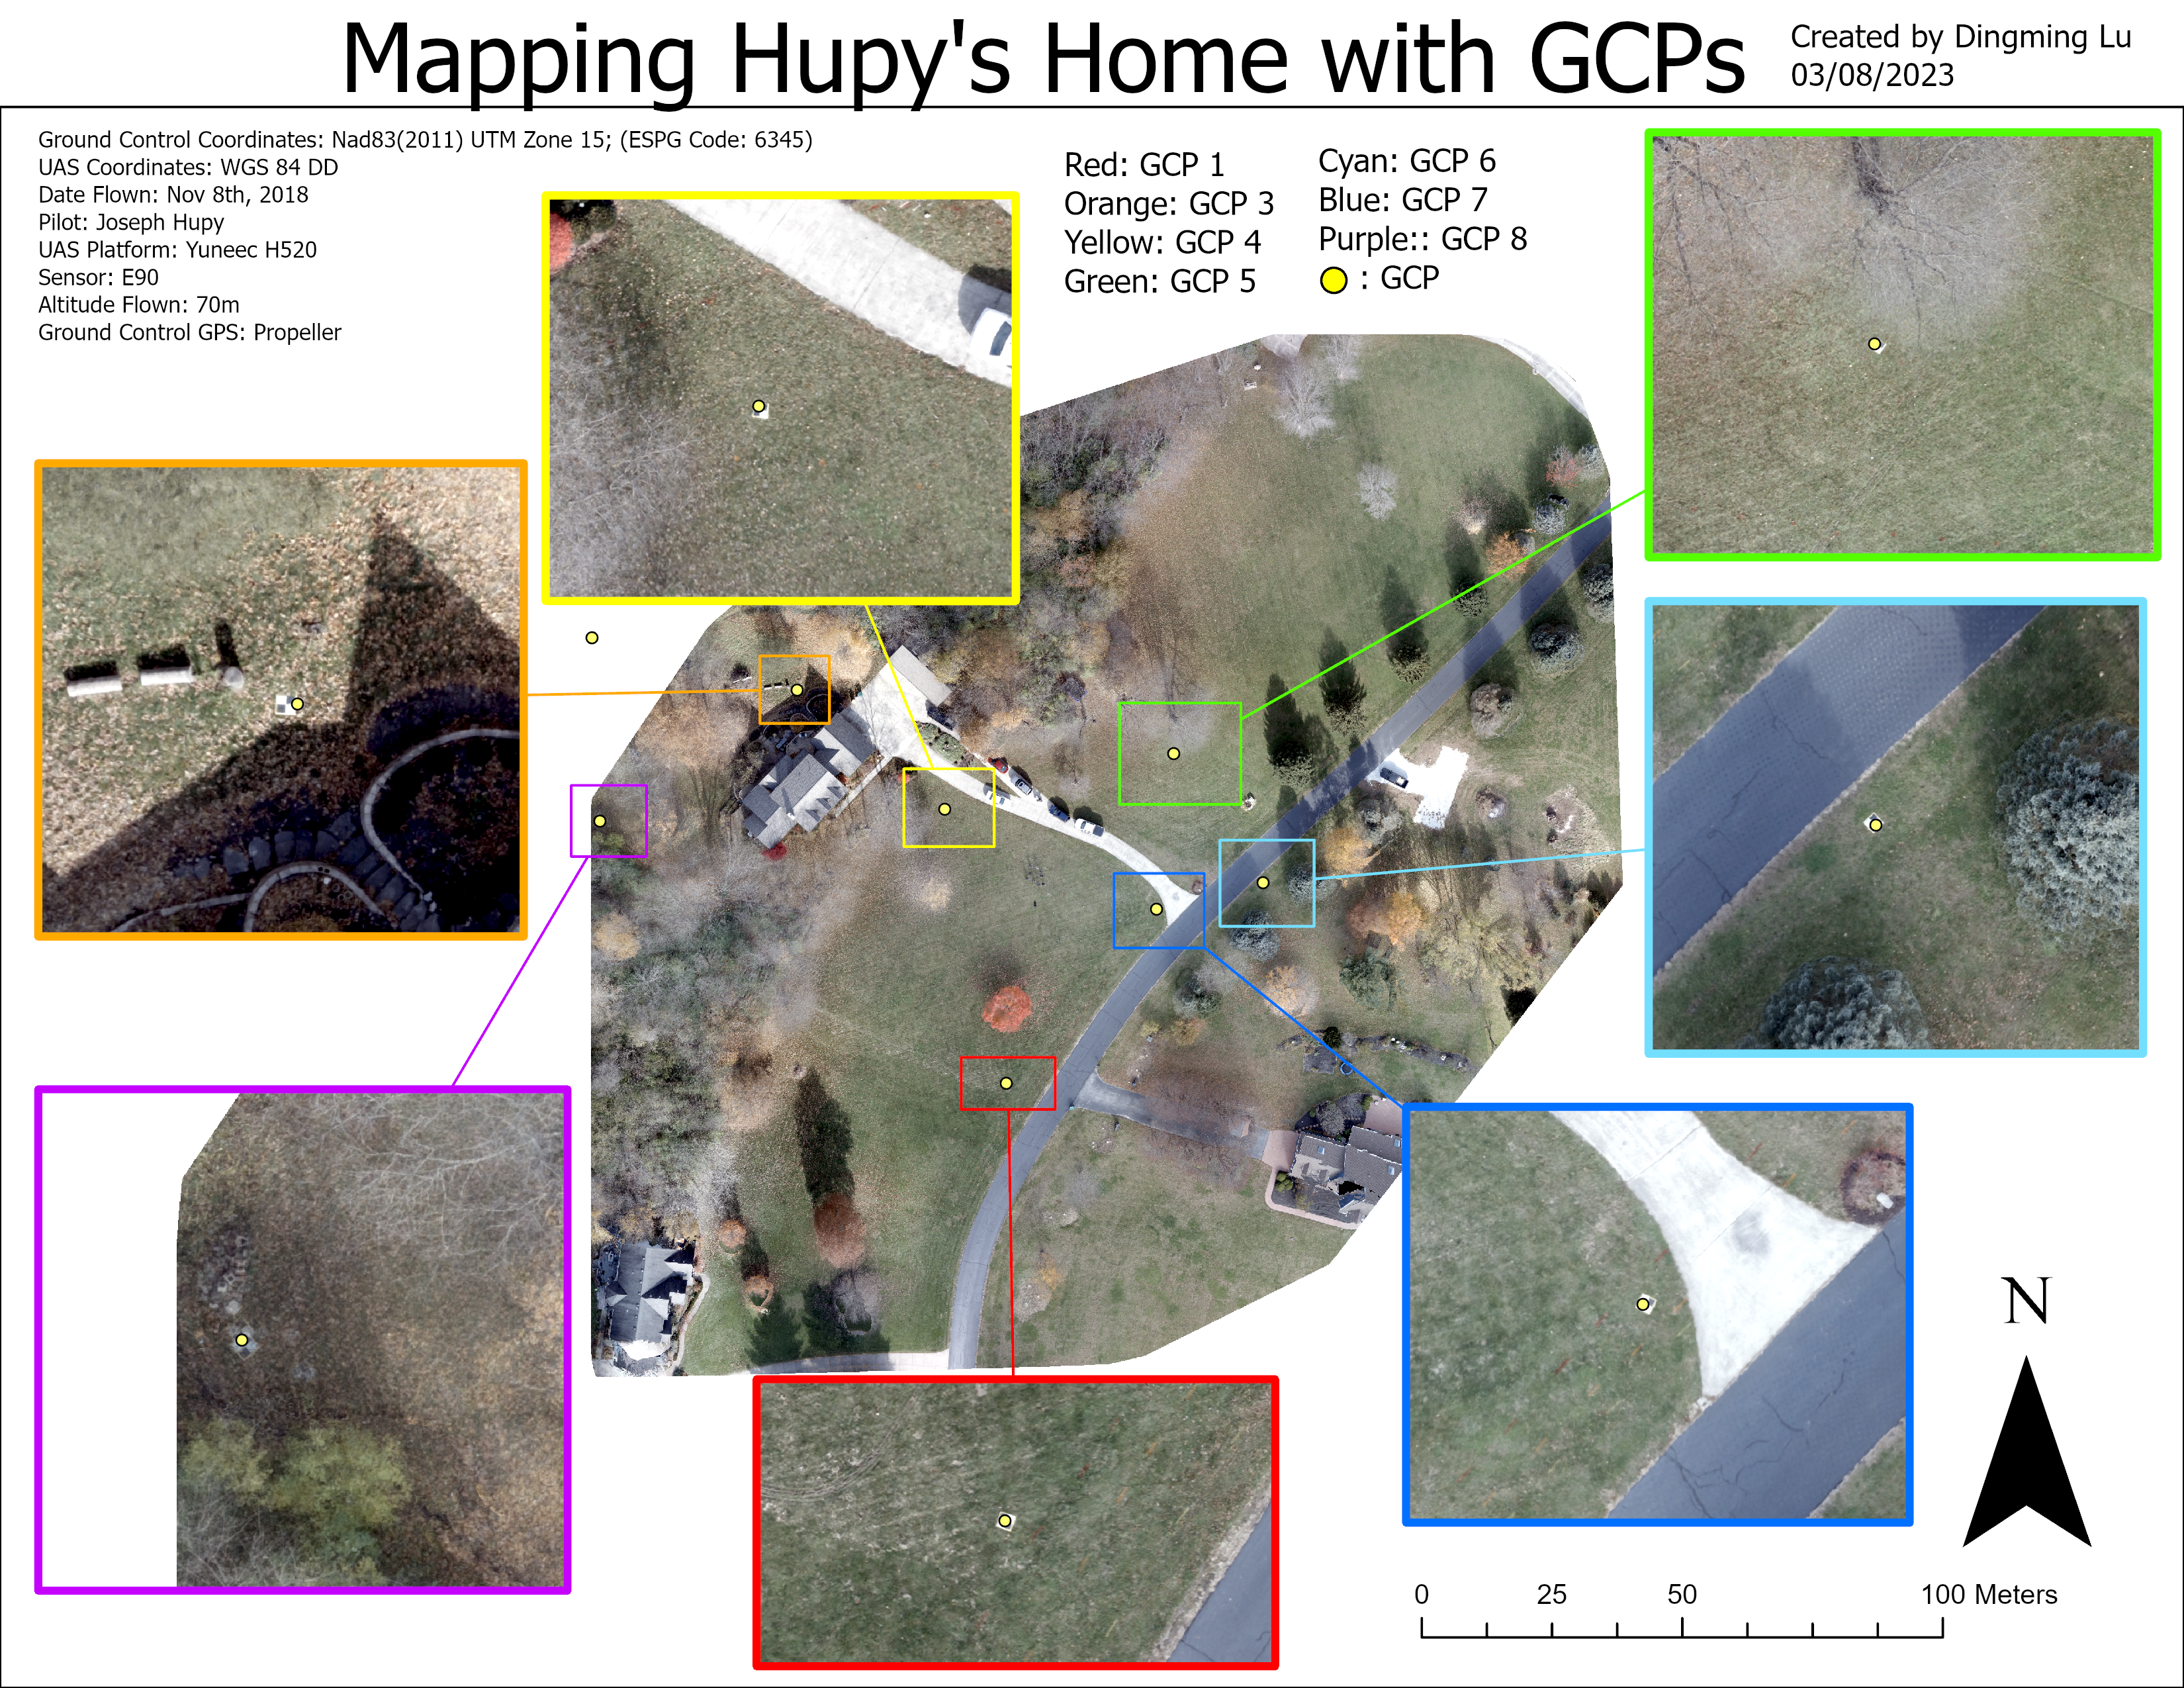
We used Pix4D Mapping to create a large picture of Prof. Hupy’s home with GCPs.
Refer to Lab 04 section one in AT309 to import the images, change the shutters, and the output coordinate systems.
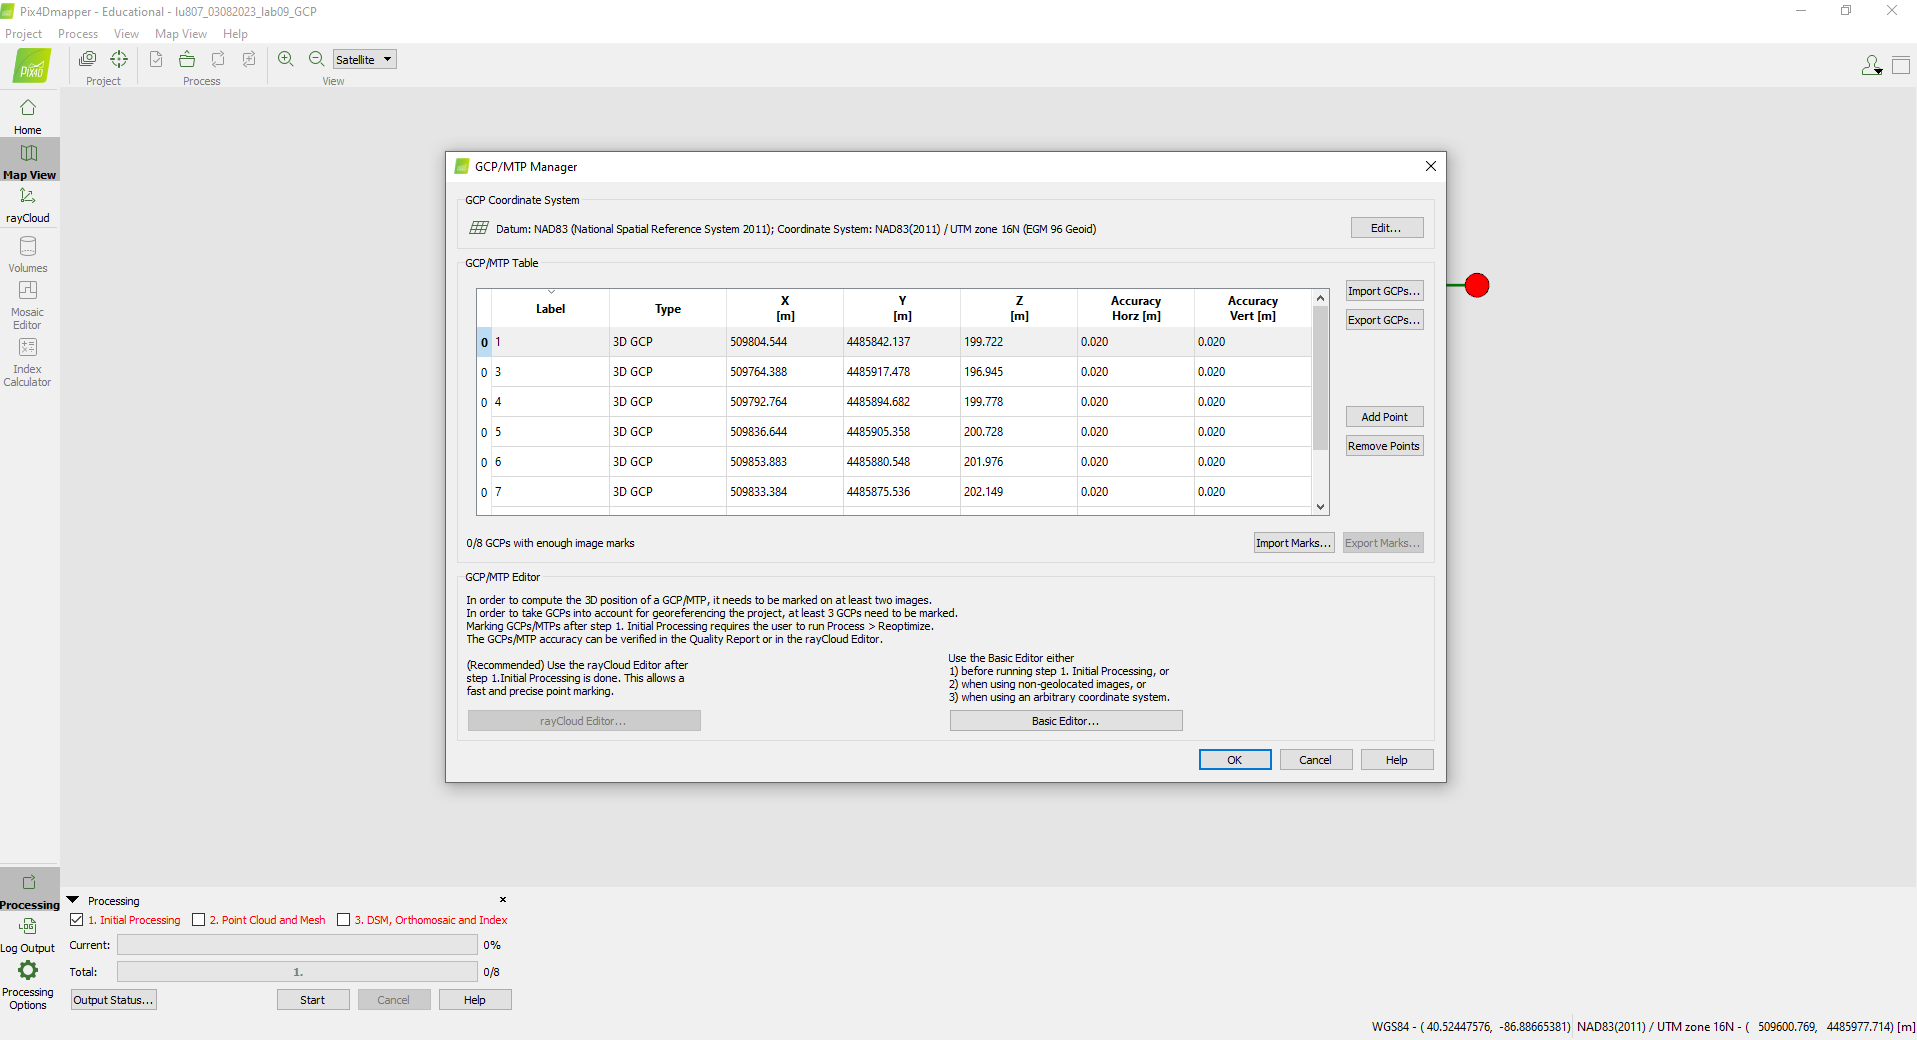
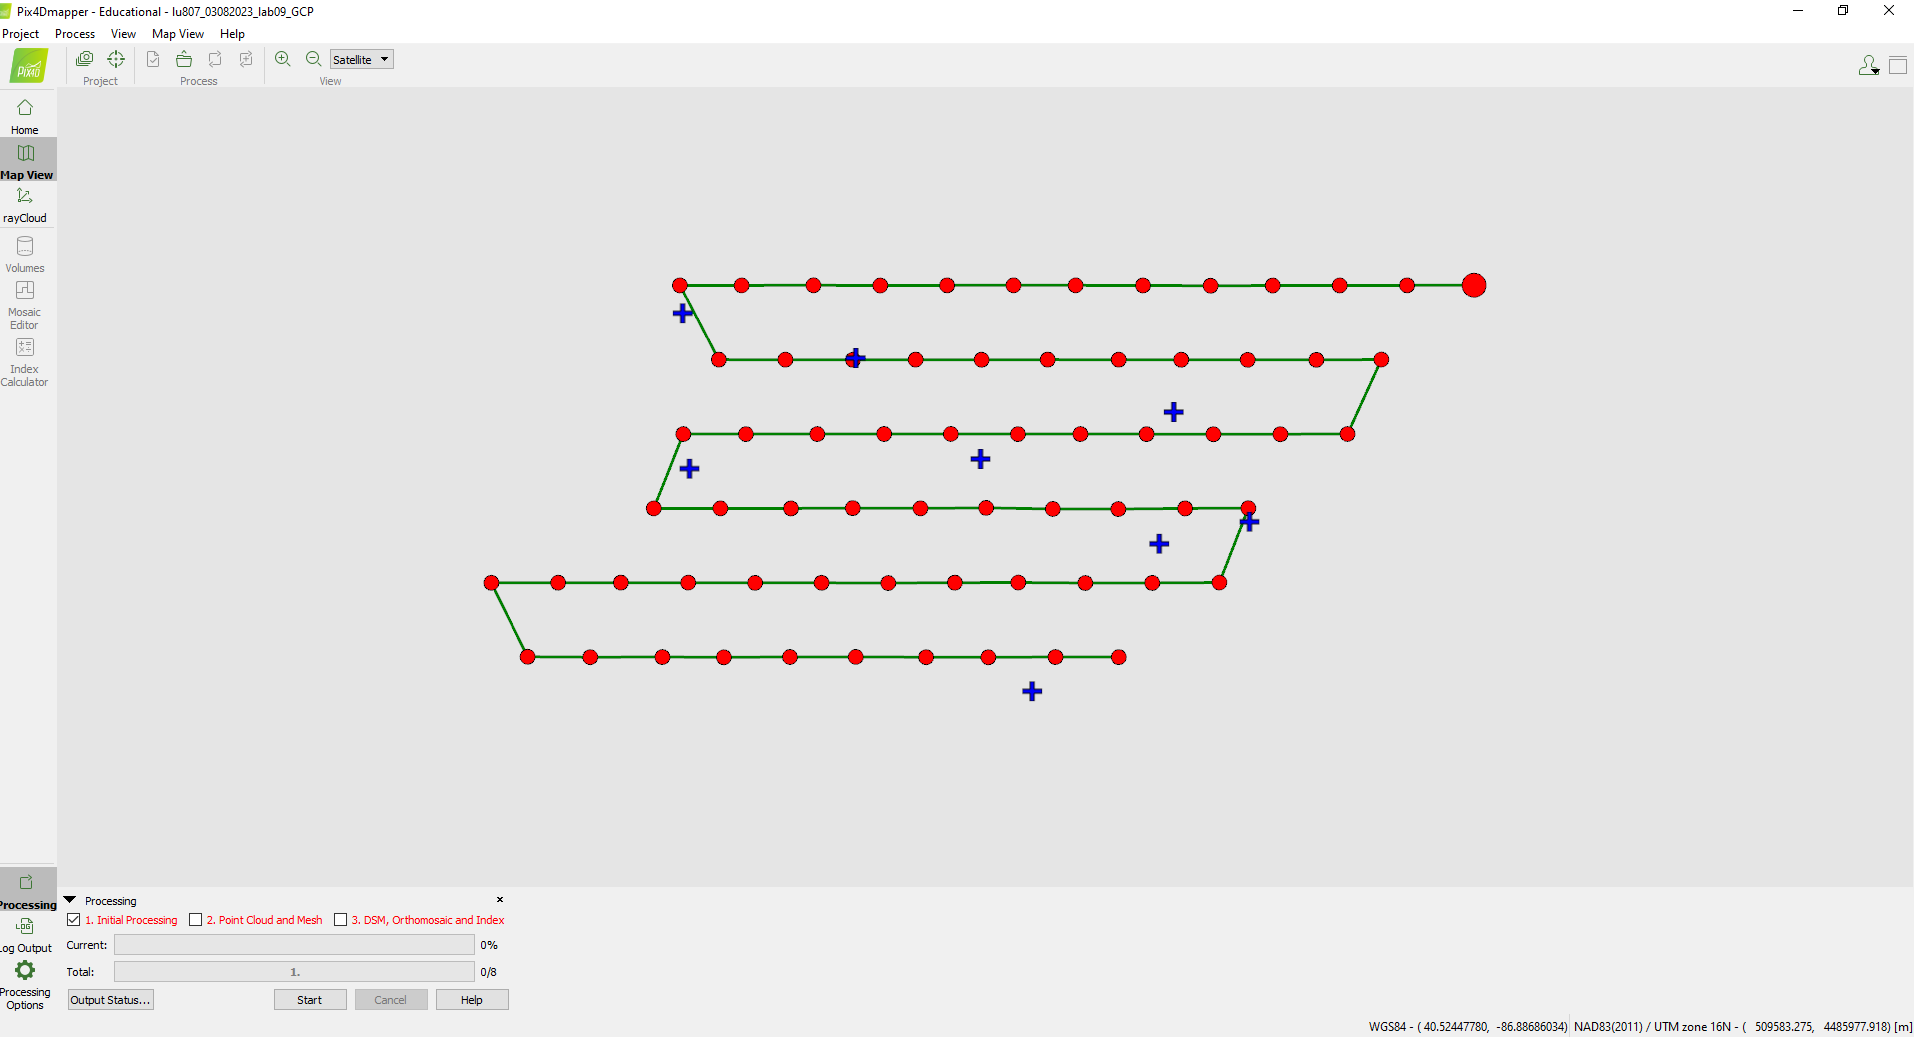
After the images were loaded, go to Project, and then GCP/MTP Manager to import the GCP data file. Change the default coordinate system to the projected coordinate system that the GCP used. Blue crosses will appear on the screen.
II. Initial Processing and Correcting
Uncheck 2 and 3 → Start. After Initial processing is finished, check if the image quality is good or not.
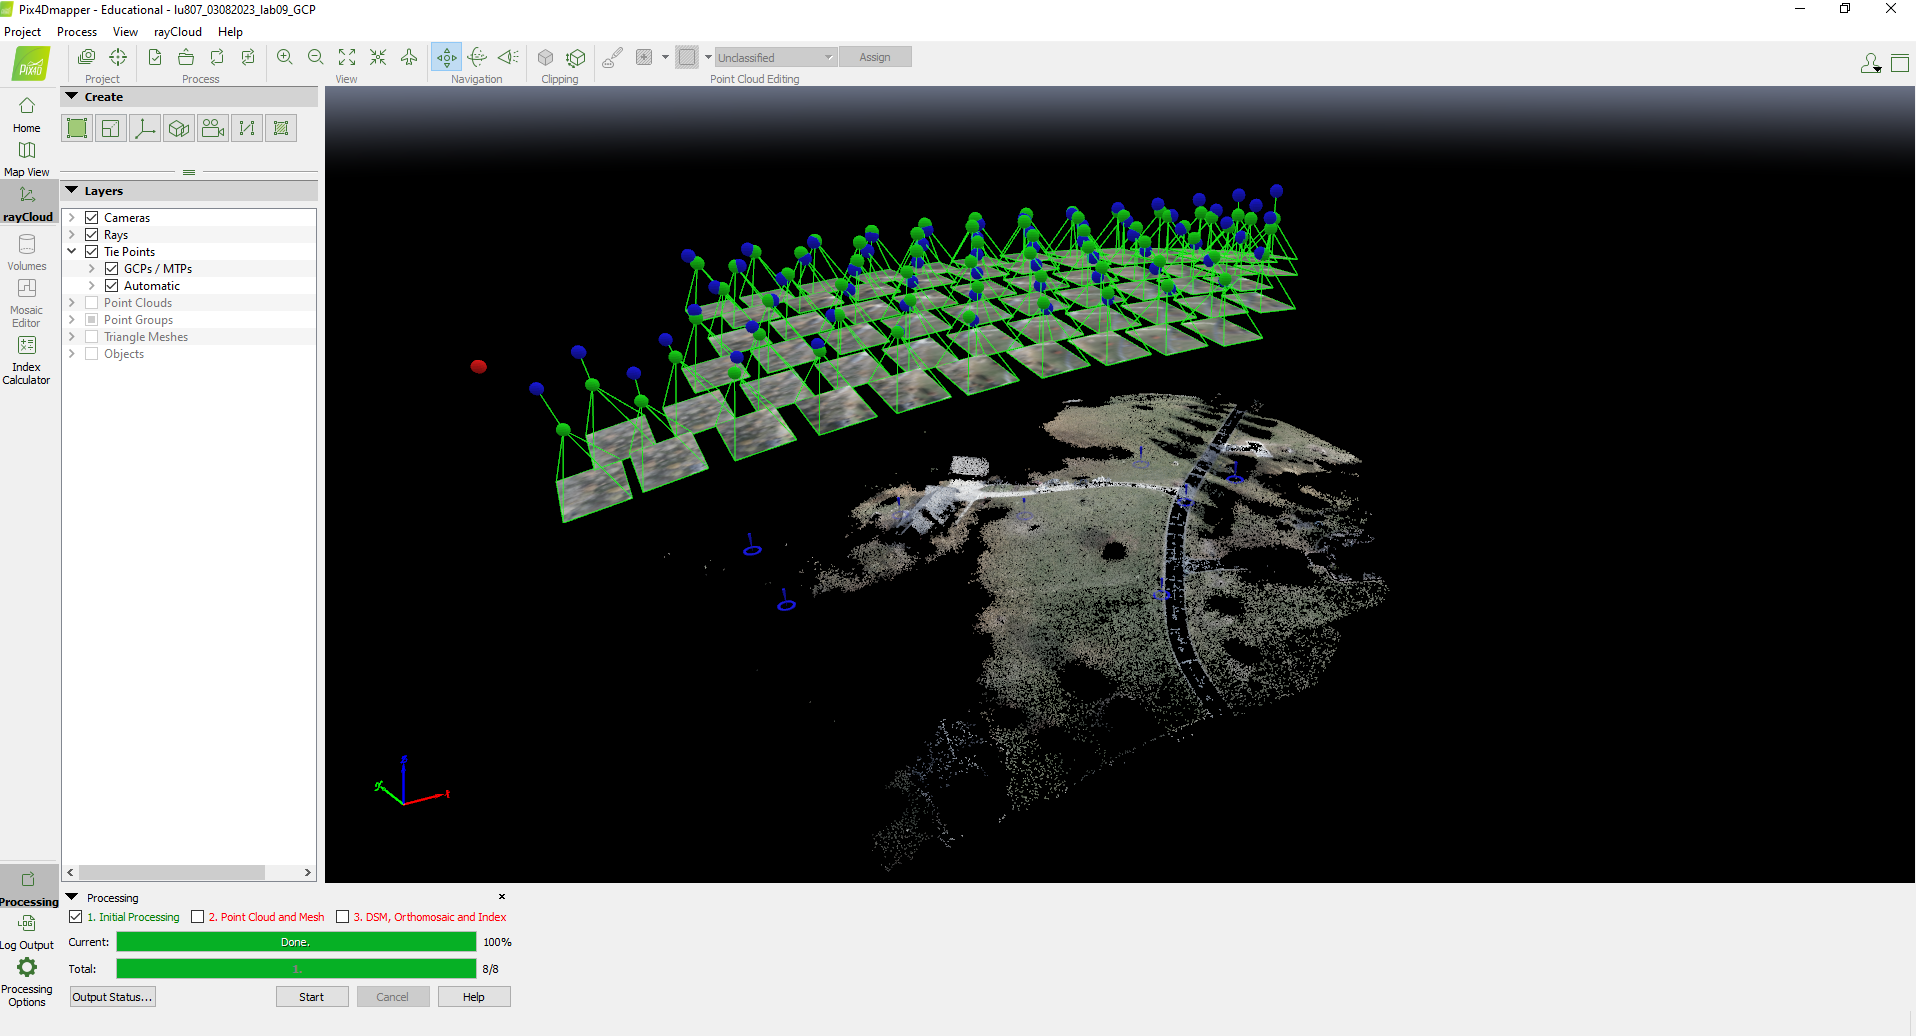
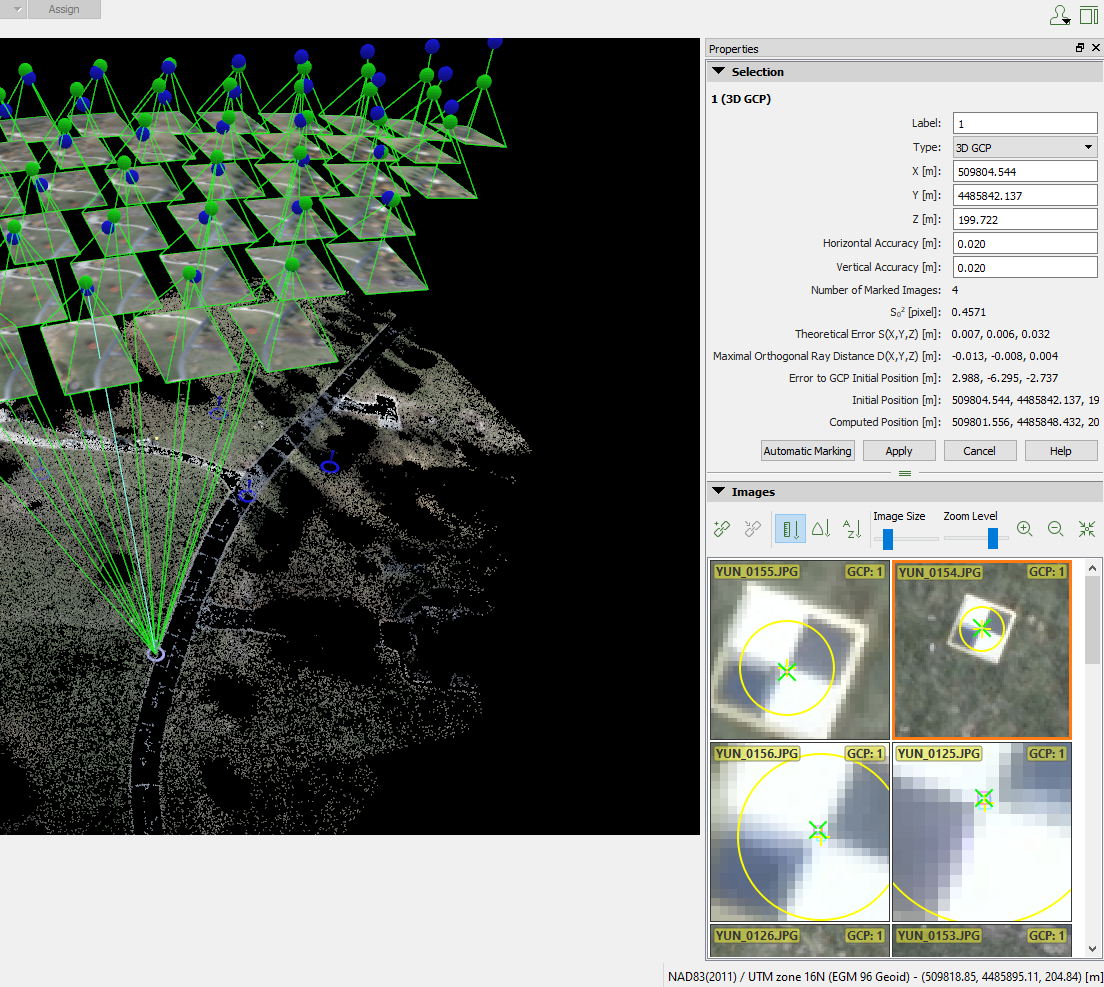
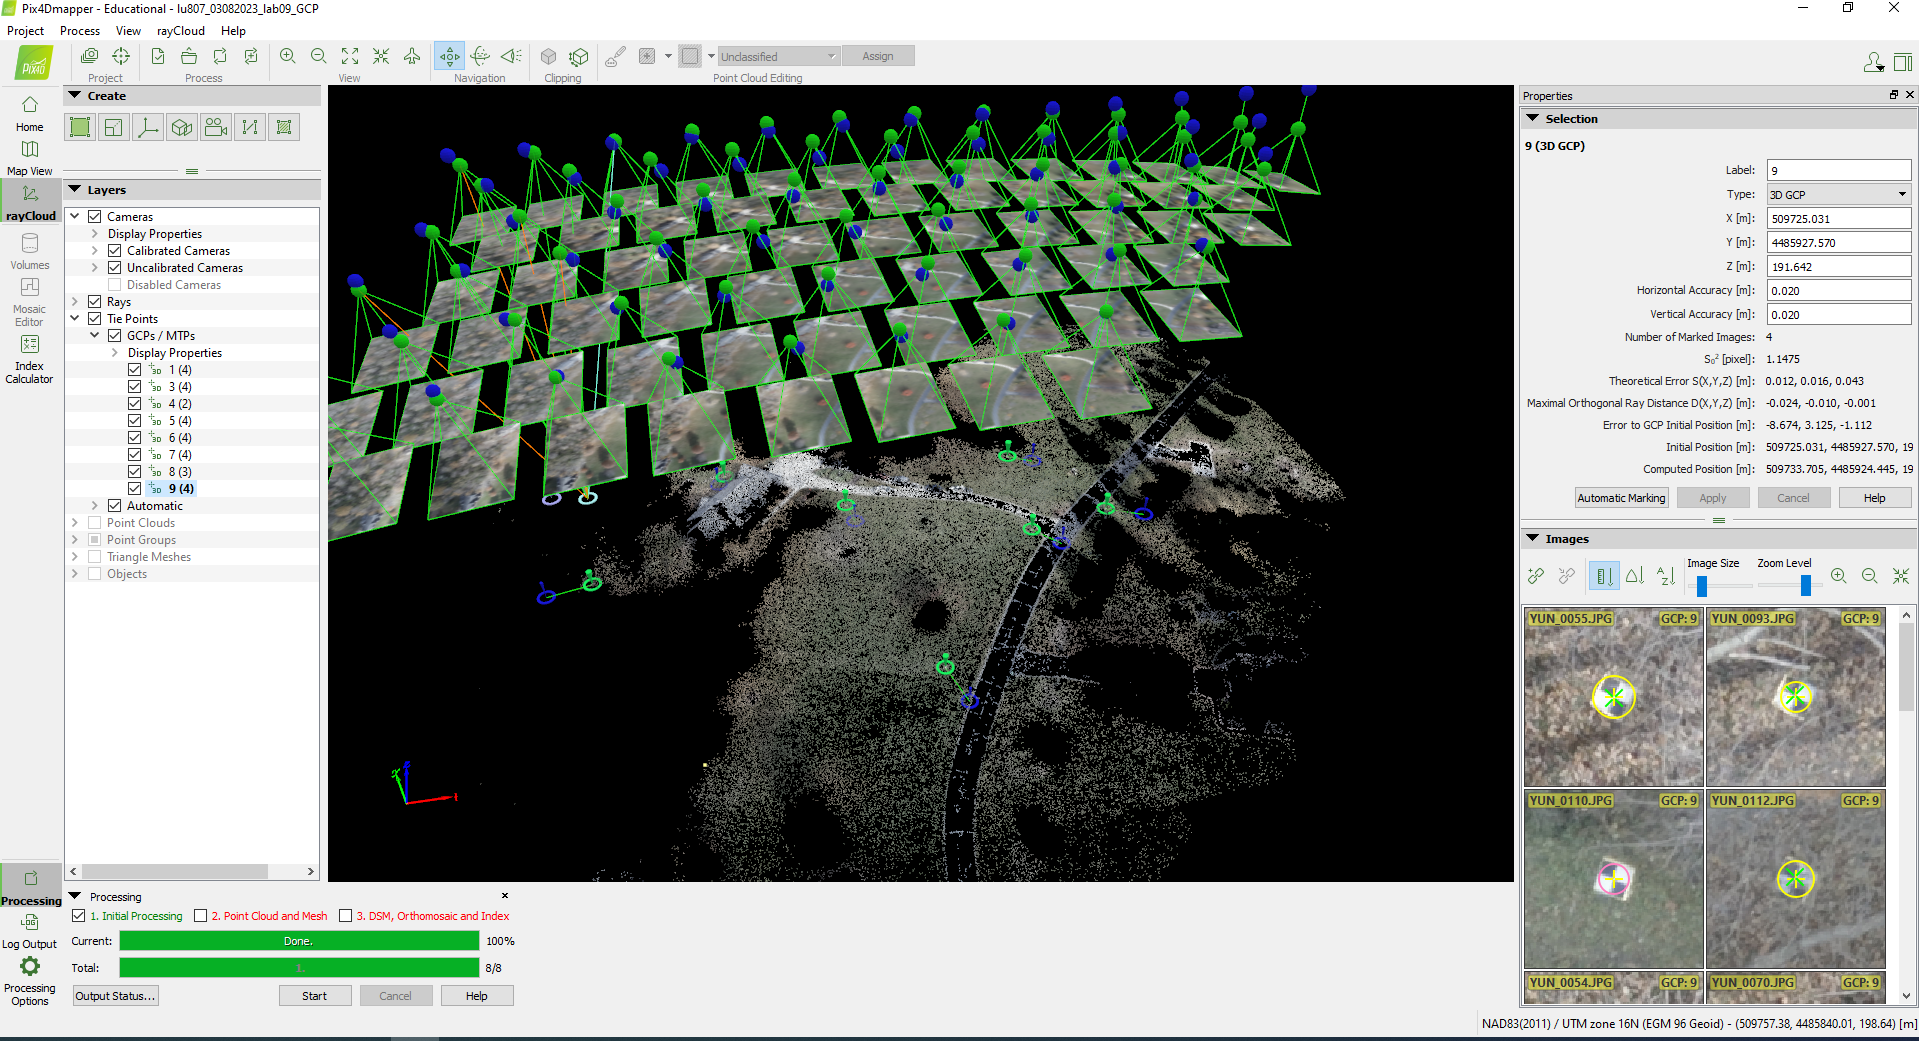
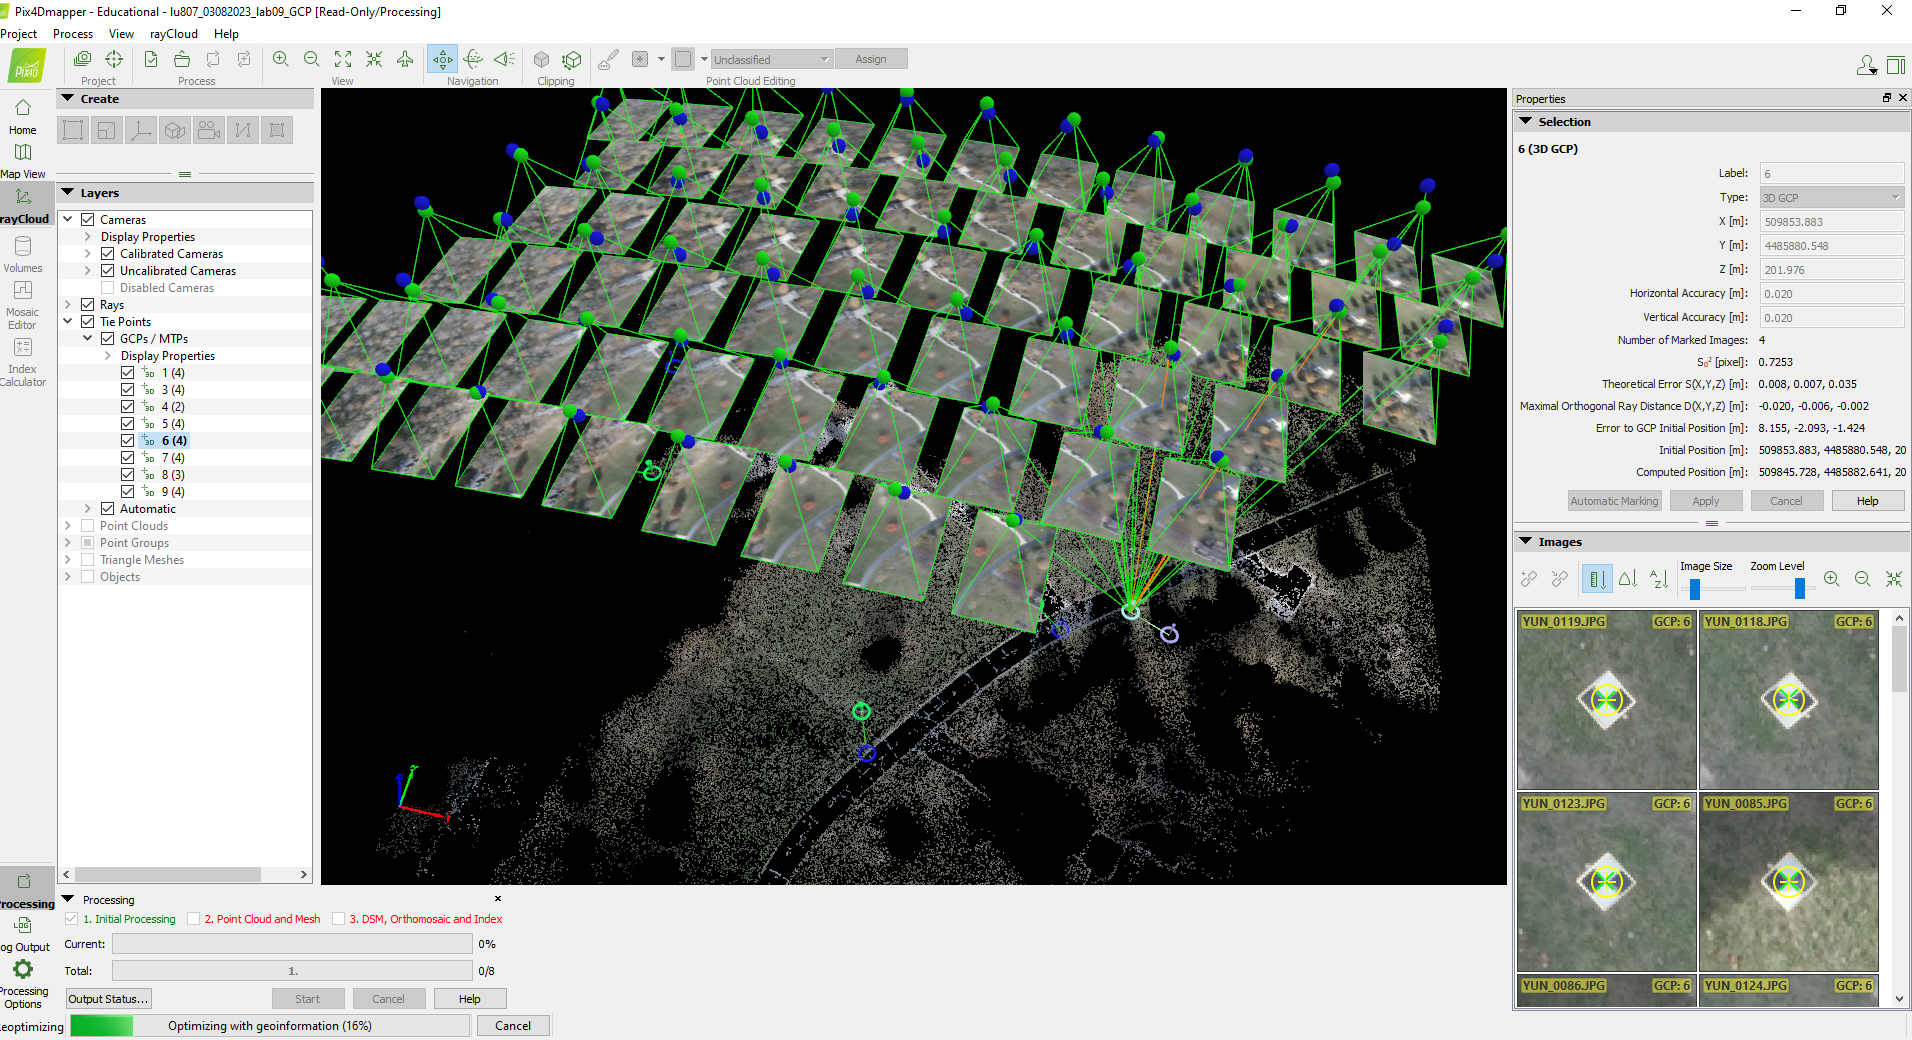
Click each GCP on the left hand side, calibrate each GCPs on four of the images that contain the GCP manually.
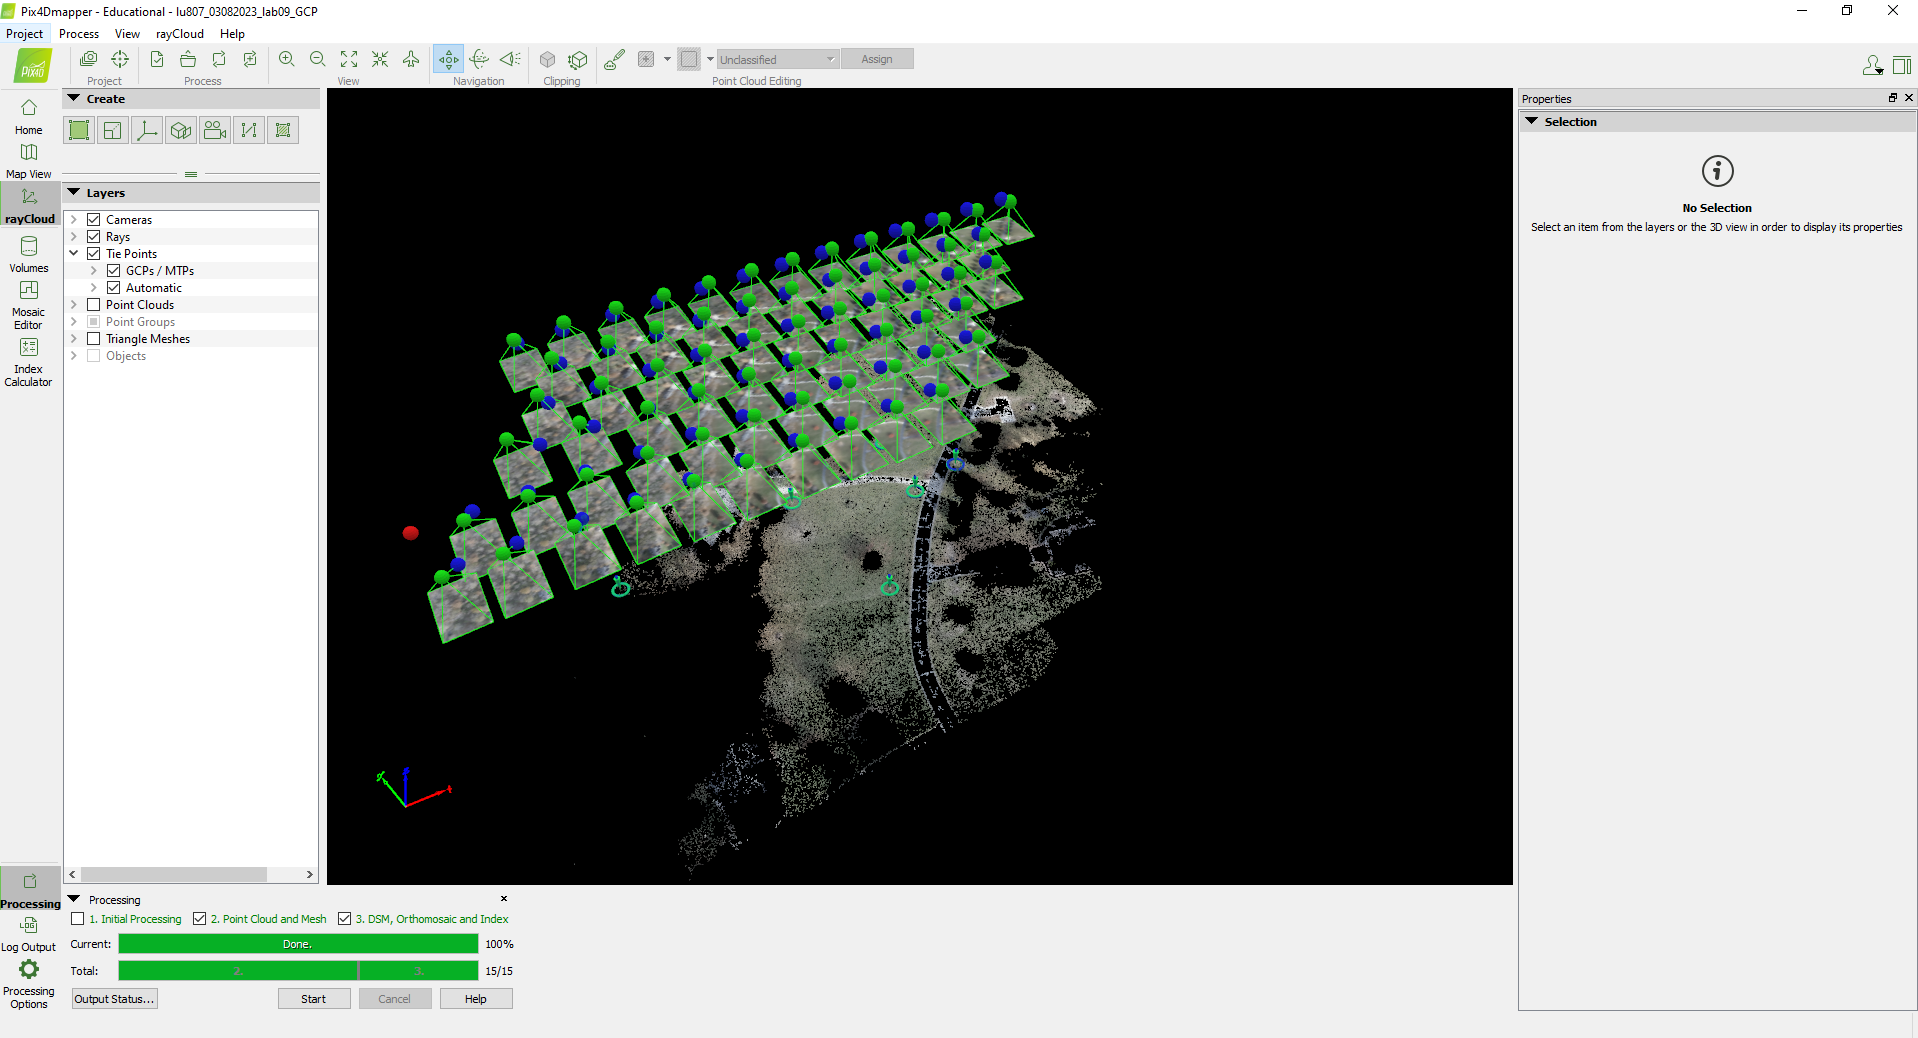
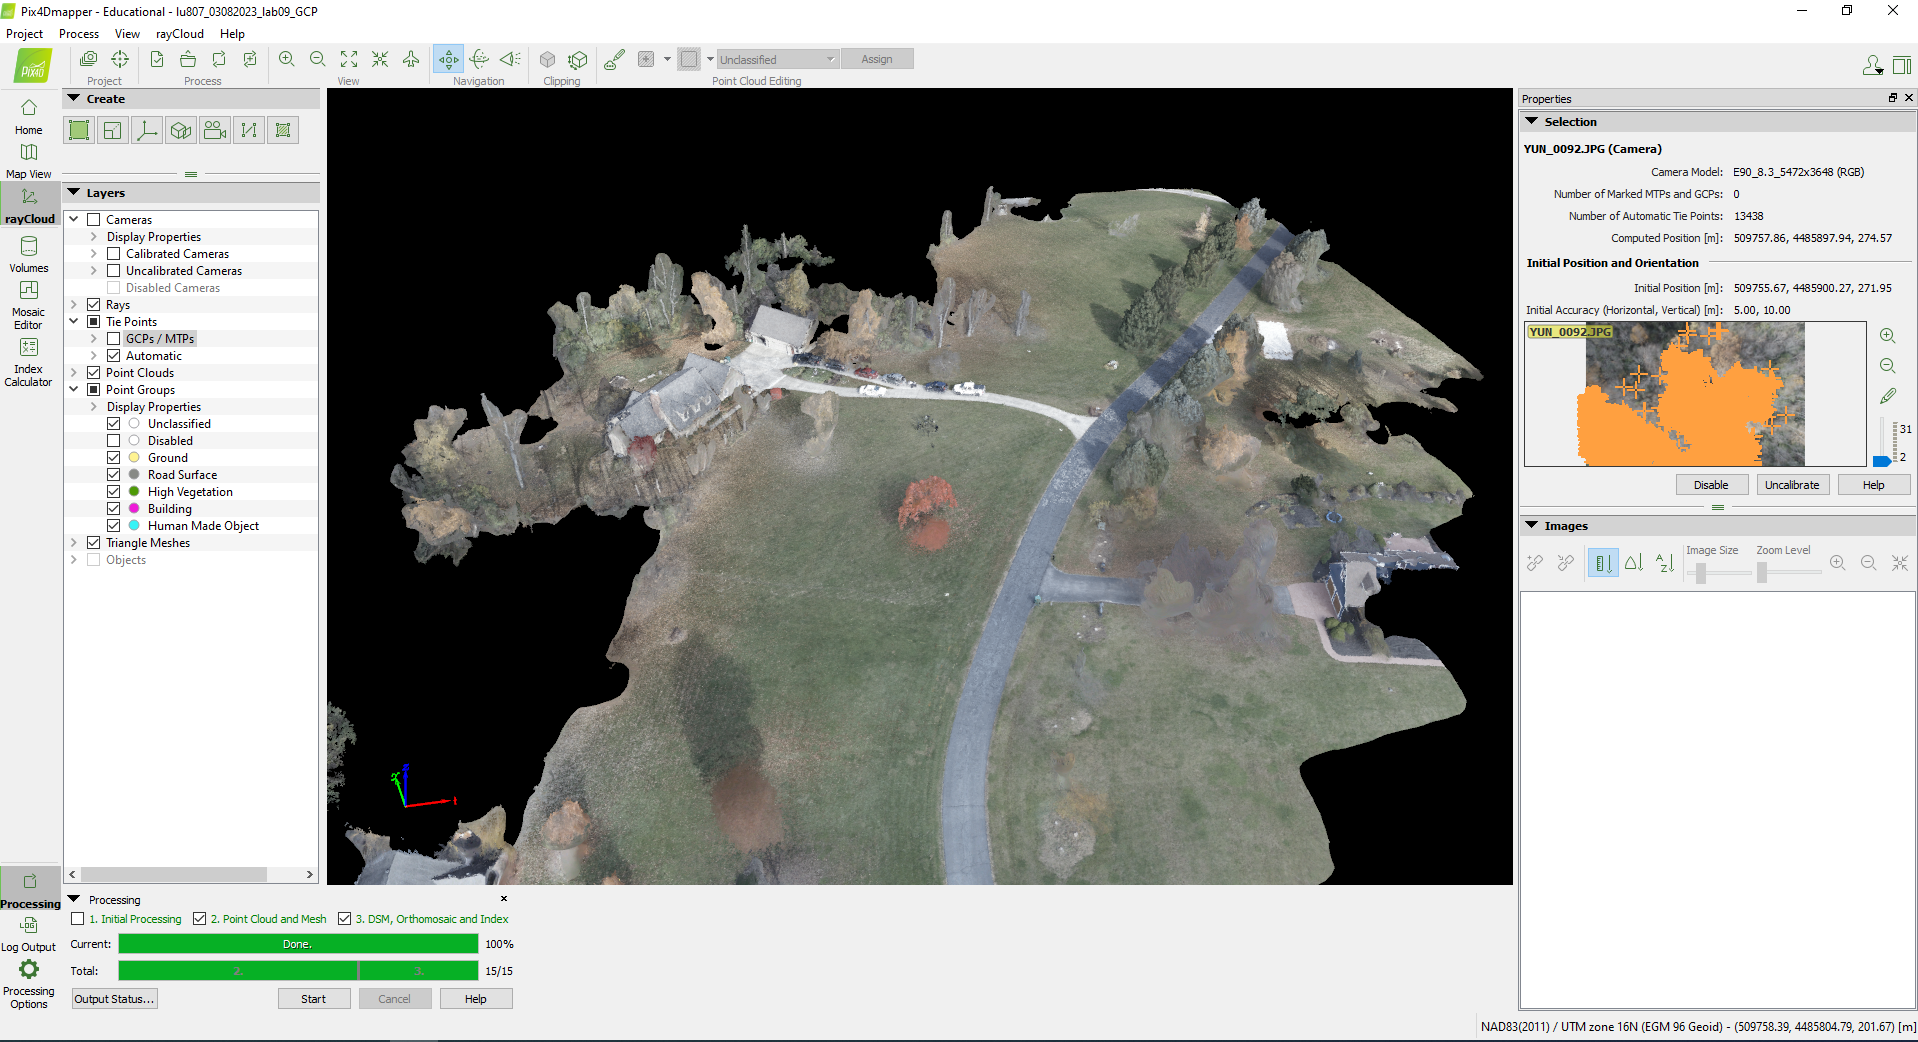
III. 2. Point Cloud and Mesh and 3. DSM, Orthomosaic and Index
1. Uncheck 1, check 2 and 3 → Start.
IV. Map Creation
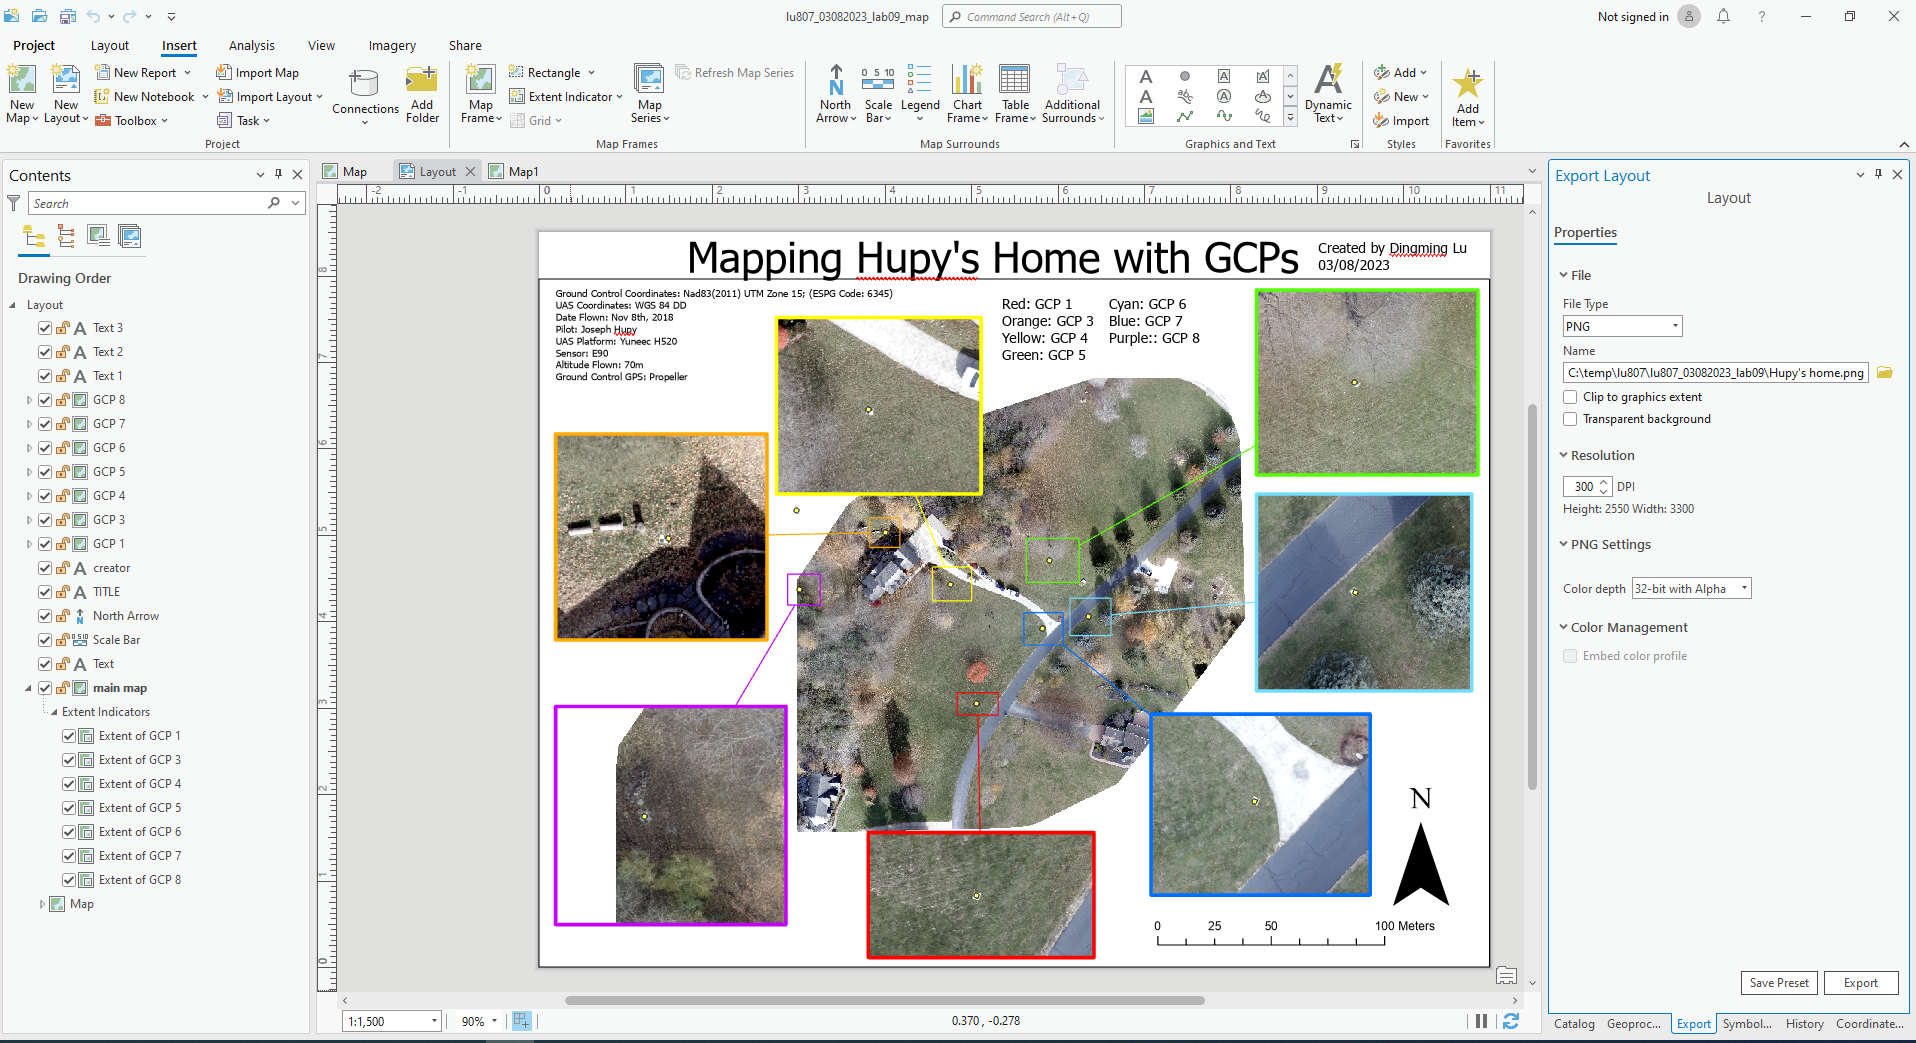
Import the picture into ArcGIS Pro.
