I. Intro
Date: 09/12/2022
In this lab, we create missions with Google Earth, DJI Pilot 2, and Pix4DCapture
II. Google Earth
- Insert an SD card.
- Open Google Earth, and find the area we want to fly on. In this case, we choose PWA.
- Use the Polygon tool to circumference the area. We can change the settings of the lines and area to make it look nicer.
- After renaming the area as “PWA_northplot_091222_lab2”, click OK
- In the section on the left-hand side, find that polygon → right click → save place as → save to SD card → save as kmz → save → eject SD card
III. DJI Pilot 2
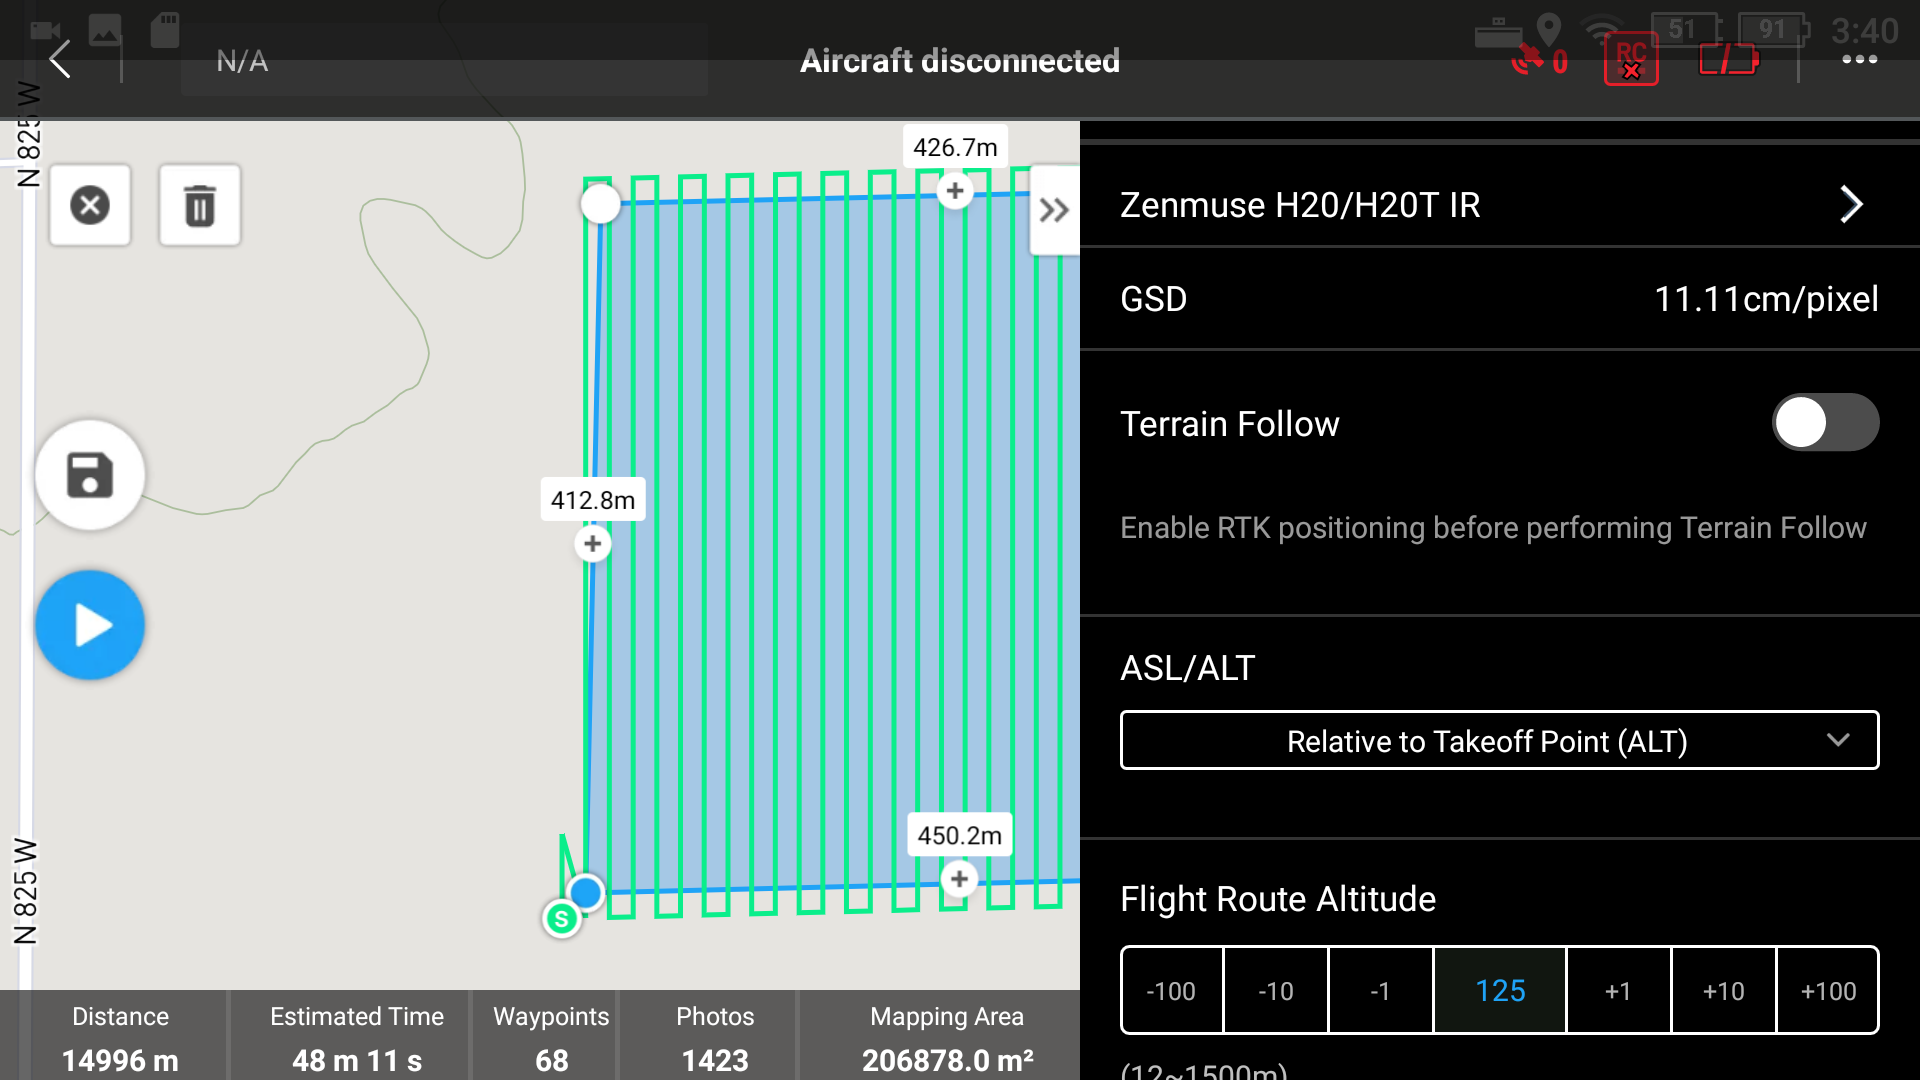
1. Insert the SD card into the controller → Pilot 2 APP → Flight Route → kmz import → external SD → choose the folder → mapping
2. Click the doc → edit button (a pen icon) → rename
3. In the camera setting, we can choose different cameras and add customized cameras.
4. Flight route altitude → 125m
5. Target Surface to takeoff point → 0
6. Take off speed → it would consume a lot of electricity if it’s high.
7. Elevation optimization → off
8. Advanced setting → Side overlap → 80%
→ Front overlap → 80%
→ course angle → 0 (change the angle of the flight path)
→ margin → 15 (fly outside of the area to cover the entire area)
9. Save
10. Swipe down from top of screen → capture
11. Home → file manager → image → screenshots → select folder → hold to select the screenshot → move → SD card

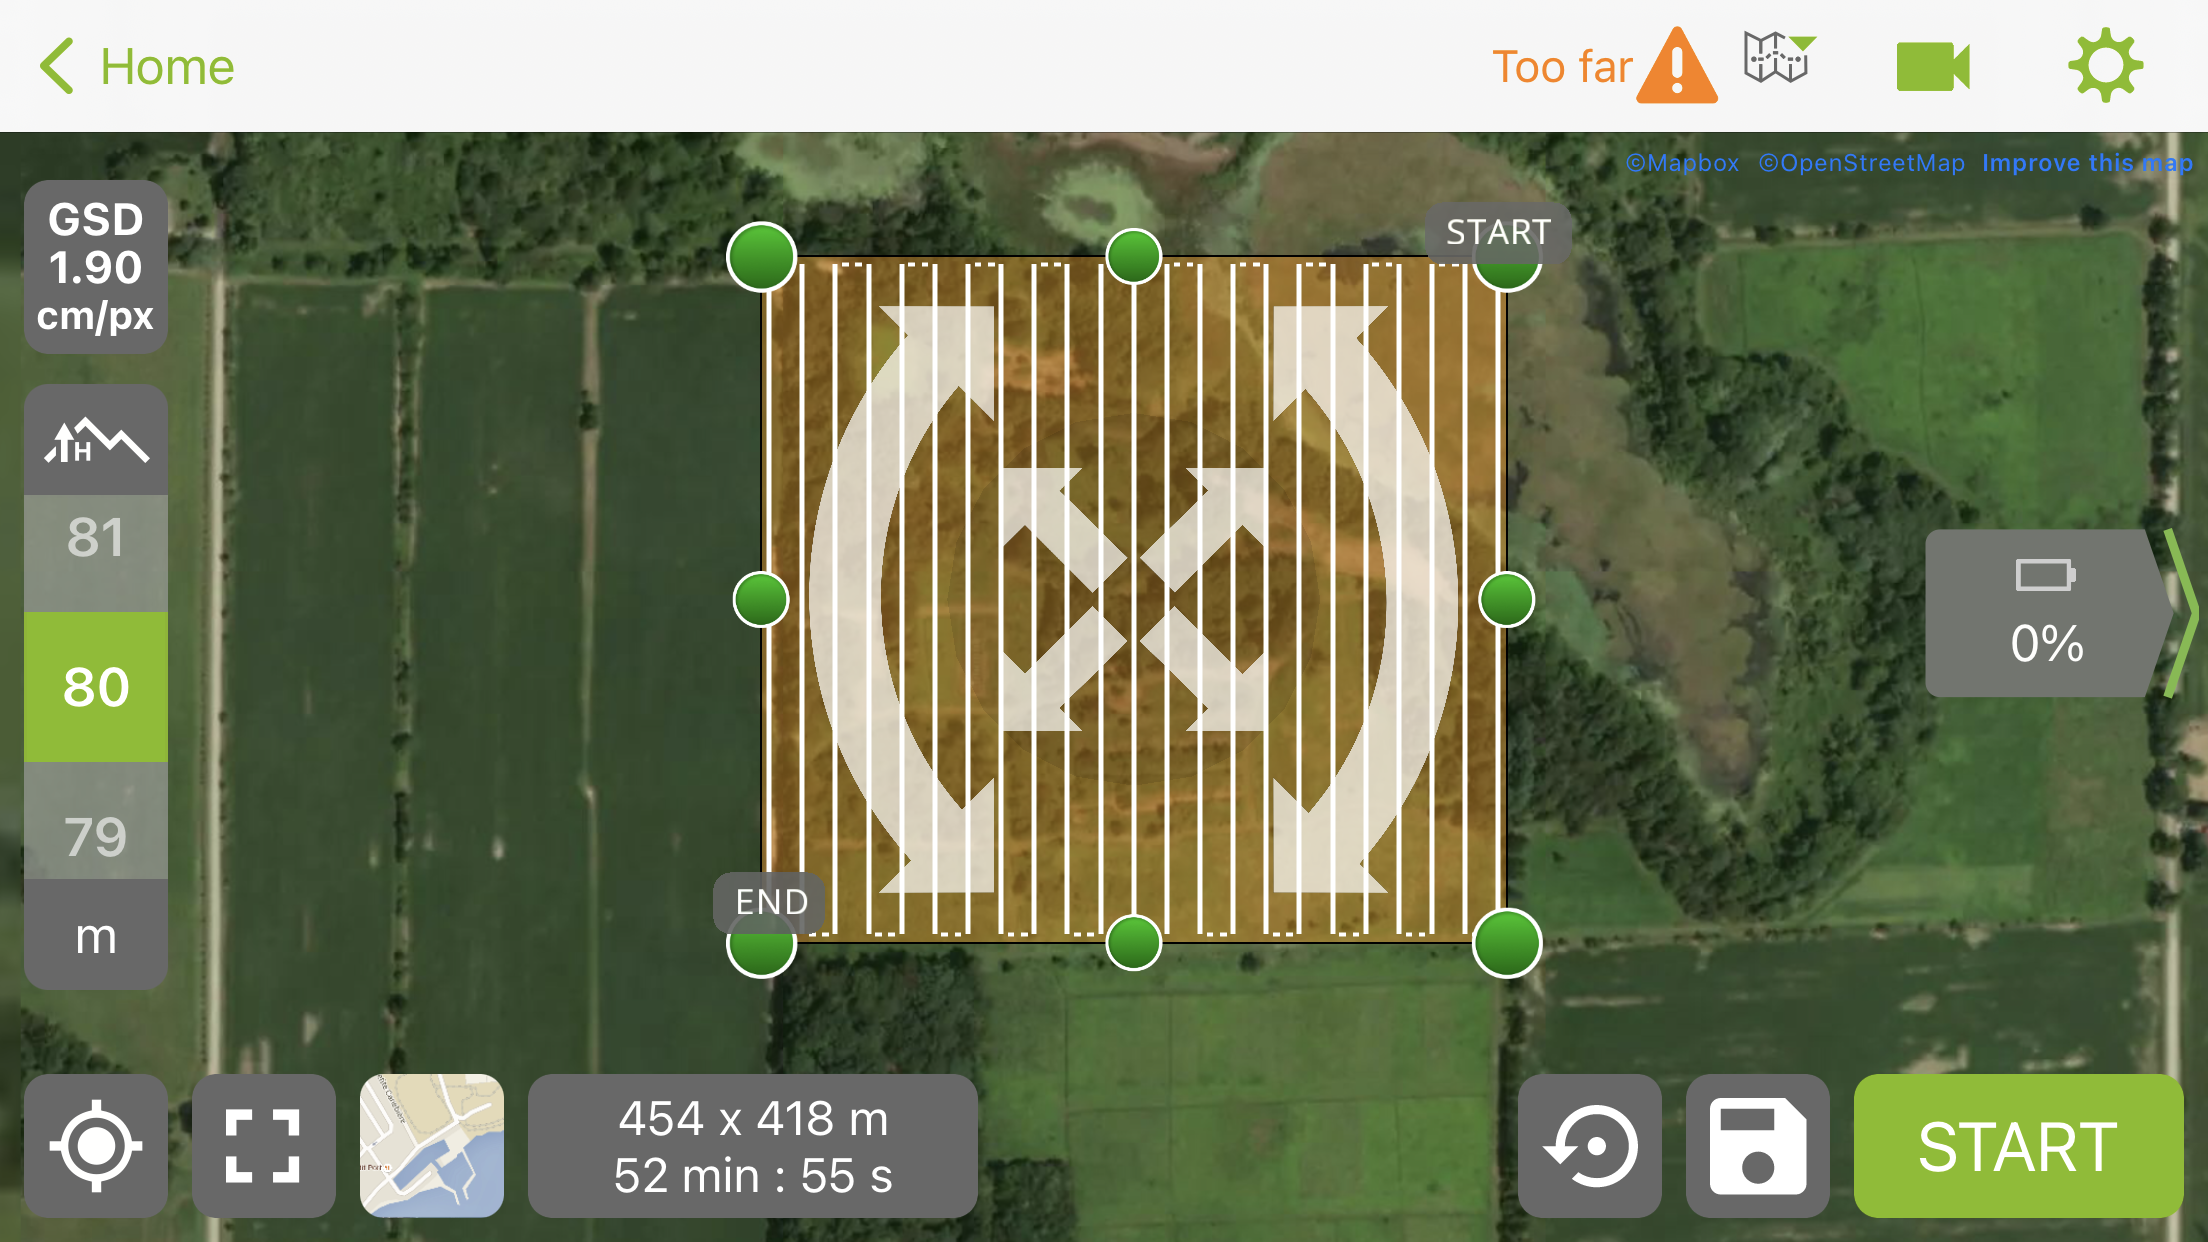
IV. Pix4DCapture
1. Download and sign up.
2. Settings → drone → Mavic 2 Pro
→ units → meter
→ auto download image when mission ends → OFF
→ close
3. Grid → Single grid → tilt → 90 degree
→ Double grid → tilt → 80 degrees
4. Settings → normal → advanced → fast trigger mode
→ white balance → auto/sunny/cloudy
