Part 1. Pix4d Mapping II
I. Intro
Date: 10/17/2022
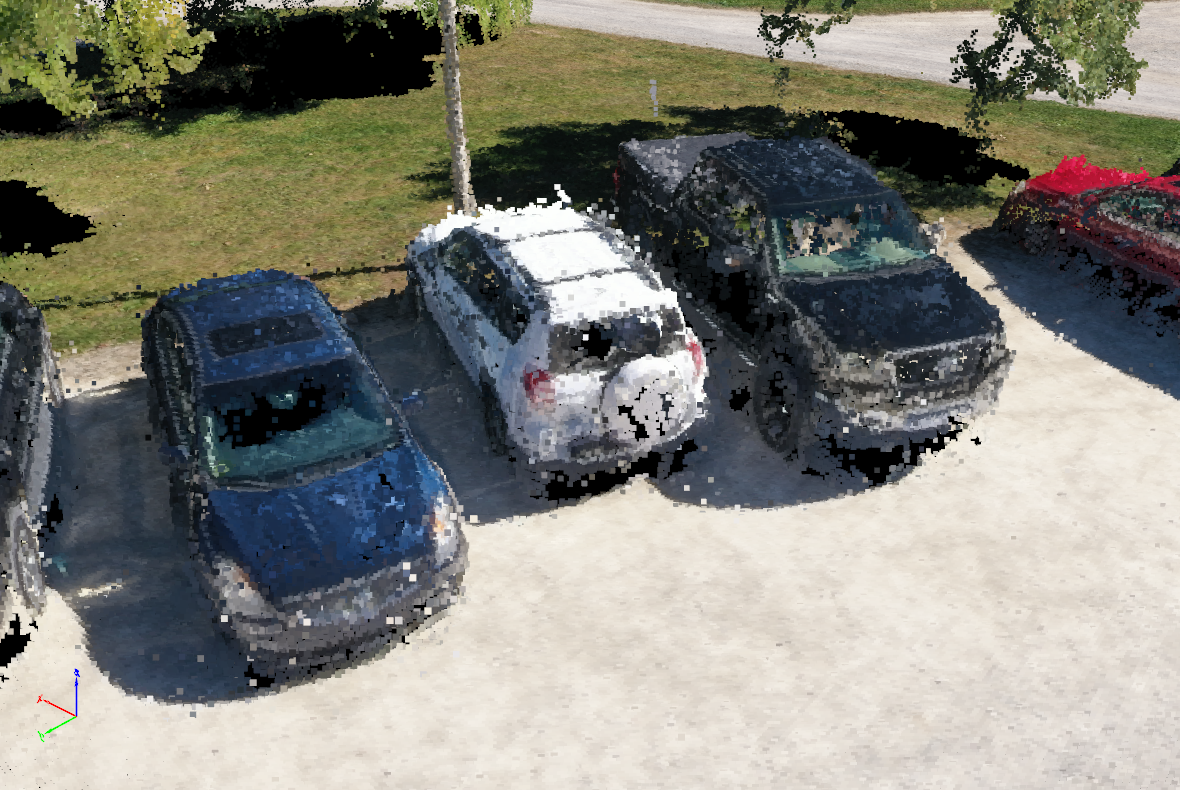
We used Pix4D Mapping to create a large picture of the whole area.
II. Preparation
1. Copy the images into a folder: lu807_101722_MF → 1_Collection → images
2. Open Pix4D Mapping → create a new project → name it lu807_091922_PEA_plot5_noGCP_122meters
3. Browse the folder → lu807_101722_MF → 2_Processing
4. Next
5. Import the images → Selected Camera Model → Edit → Camera Model Parameters → Shutter Model → Linear Rolling Shutter → OK
5. Check if the images are geotagged.
6. Next >
7. Output/GCP Coordinate System → Known Coordinate System [m] → From EPSG → 6345 → NAD83(2011) / UTM zone 16N (Projected, Meters)
8. Next >
9. Standard → 3D Maps → Finish
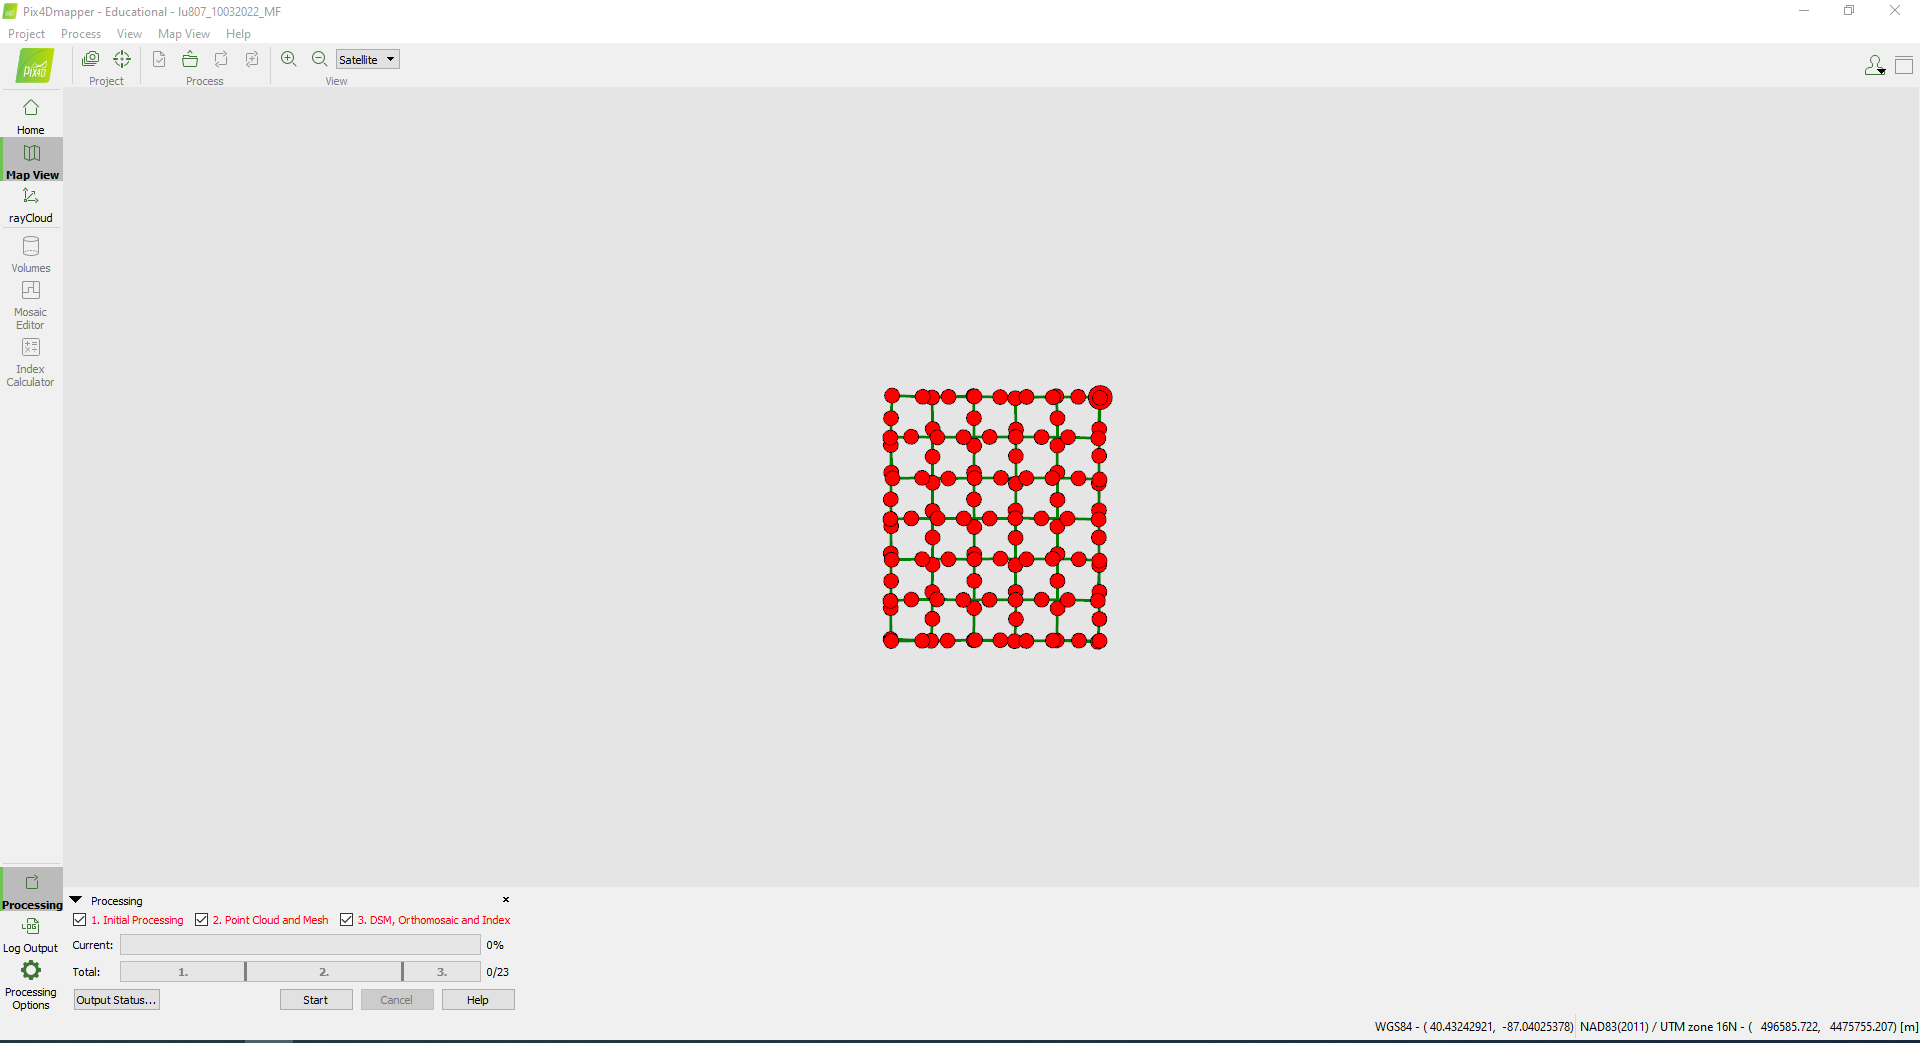
III. Initial Processing
1. Processing Options → 3. DSM, Orthomosaic and Index → Raster DSM → Method → Triangulation
2. OK
3. Uncheck 2 and 3 → Start.
4. After Initial processing is finished, check if the image quality is good or not.
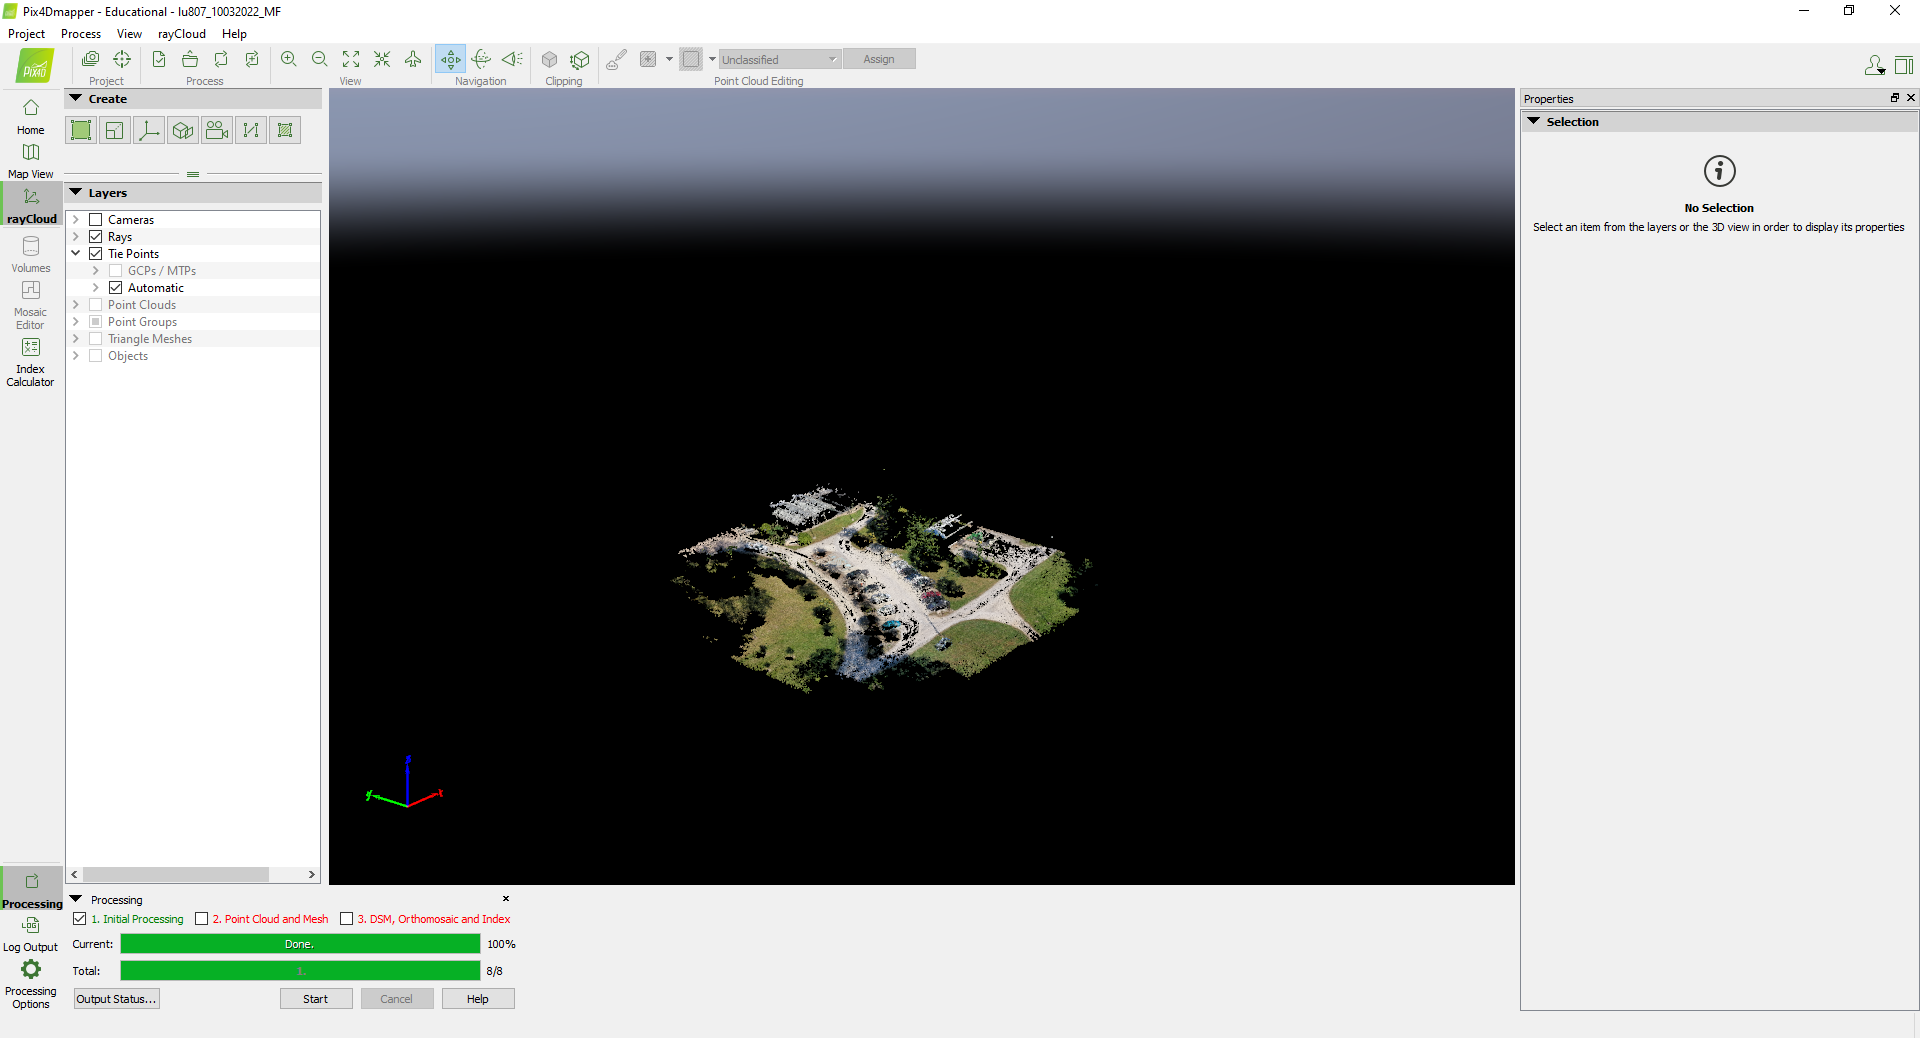
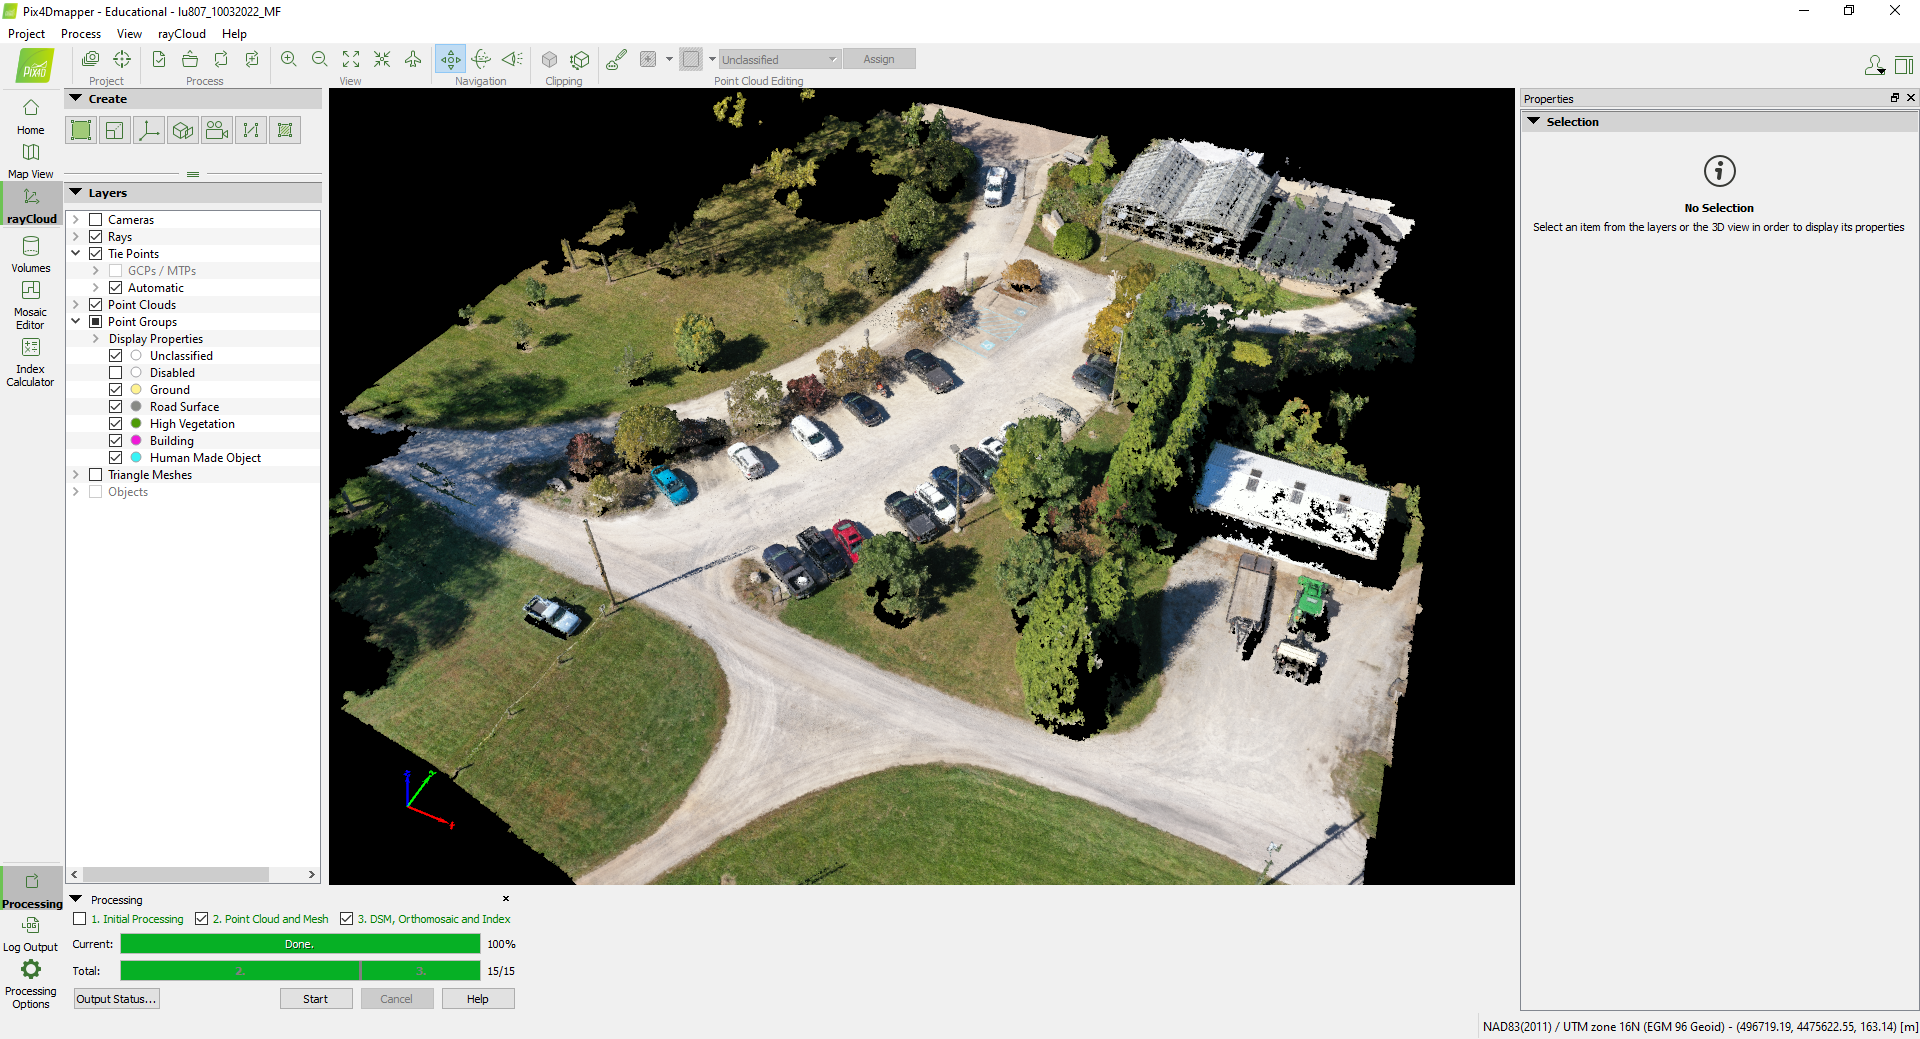
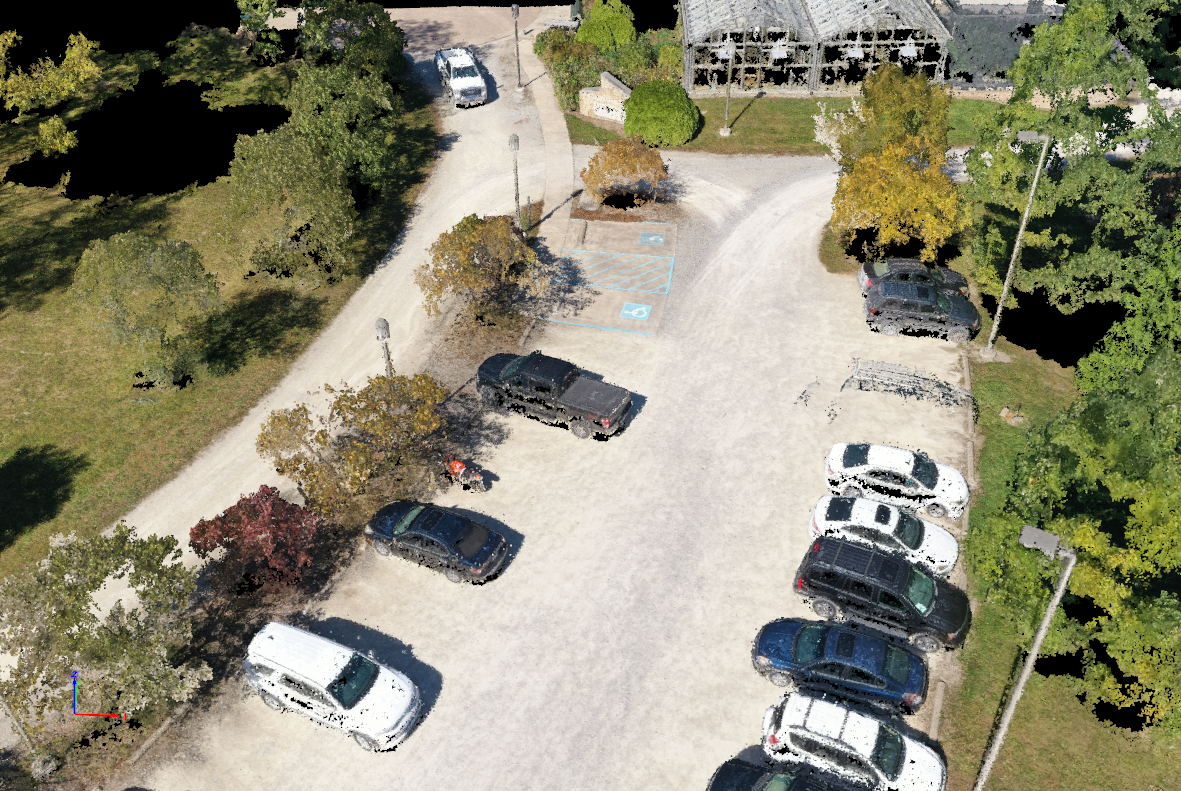
IV. Point Cloud and Mesh and DSM, Orthomosaic and Index
Uncheck 1, check 2 and 3 → Start.
Part 2. Intro to Skydio 2+ Enterprise
I. Overview
A. Features
1. 360 obstacle avoidance; AI, edge based computing
2. Vision based system
3. Fly in GPS-denied environment
4. Advanced ai
5. Hand, ground, case landing
6. Two (2) antennas
7. 6 navigation cameras: 4k 200 degree fisheye camera
8. Magnetic battery, 27 min flight time
9. 3 axis gimbal
10. Main camera: 4k 60HDR/12.3MP, 13 stops of dynamic range, Sony’s IMX577 sensor, Qualcomm QCS605 processor
11. Flight temperature: 23 degree F – 104 degree F (-5 degree C – 40 degree C)
B. Skydio Autonomy Enterprise
1. Superzoom
2. Close proximity obstacle avoidance: four obstacles avoidance
3. Precision mode
4. Vertical view: gimbal can look straight up
5. Visual return-to-home
6. Point-of-interest orbit
7. Track in place
8. Offline maps
C. SD Card (important)
1. 128GB SD card (UHS Class 3). Don’t remove, don’t use other SD card, put it back
2. SanDisk Extreme PLUS 128 GB
3. Format before flying. In the app, info, devices, select drone, manage your drone, format sd card.
D. Control
1. Can Control from Android (2 h 30 min), iOS (5 h 30 min)
2. Can control from the controller, more precise, still be able to control if phone dies
3. Enterprise controller: built in screen
4. Boost mode: instantly increase the speed of movement
5. Use USB-C to lighting to connect the controller and phone
E. Charging the battery
1. Insert SD card before charging
2. 65W
3. Fully charged in 60 min, 2 hours for 2 batteries
4. Flashes at the current charging level. If turns to solid, charging is done
5. Lights on battery remains solid on for 1 min, then turned off.
6. Lights on the drone, solid blue until charging is done
F. Connection
1. Use Skydio app, log in, scan the QR Code to connect the wifi
II. Safety
1. Keeps fingers away
2. Watch out for wires < ½ inch diameter, thin things
3. Skydio doesn’t avoid moving objects or car. Don’t fly over people
4. Not weather proofed, don’t fly in rain, snow, fog, etc
5. Fly cautiously over water (large body of water)GPS lock is > 30ft
6. Don’t fly in low light condition
7. Clean the cameras
8. Check prop damage
9. Follow federal regulations
III. Pre-flight
A. Preflight inspection
1. Props, battery, body, remove gimbal clip, clean cameras, deploy antennas
B. Height ceiling
2. Between 30 ft to 1500 ft. 400ft when disabled. In door height ceiling 66ft
C. To begin fly, hold the button to take off
D. Flight control and setting, “circle+” subject indicator
E. Offline map
3. Info, download maps, drag, download maps. Always 3.5 mile * 3.5 mile area, max 10 maps
IV. Flight
A. Obstacle avoidance: always on even in manual
B. Orbit points, map view, long press, set focus point, speed (slider)
1. Change the orbit to change r and h
2. Tap and hold to drag the focus point
3. Track in place, ,select the track indicator adjust up/down/left/right arrows, h, need to move it manually
C. Way points
4. Way points, map view, long press map, +way points, tap to set h, gimbal angle, heading
5. Long press to set 2nd points
6. Max 256 way points
7. “circle play” to start
D. Motion track, face the subject, track indicator ‘circle+”
E. Fixed track, fixed angle, h, tracking distance
F. Orbit subject, CCW or CW, center, h, tracking distance, speed of orbit
G. Cable
1. A=(x1, y1, z1) to B=(x2, y2, z2), avoiding obstacles
2. Fly to A, set A; fly to B, set B, slider to change speed
3. Can go backward
4. Manuel, loop, theater (need to track subject first)
H. Hover: Fixed h, change speed to track subject
I. Key frame
1. Fly to the 1st position, add; next position, add; etc, done
2. Primary accuracy, smooth turn
3. Primary speed, maintain speed
J. Select subject track, store journey
K. Rocket: Go straight up
L. Vortex: Flying up, around a point, with an increasing flying radius
M. Zoom
1. Digitally, camera zoom. Max 3x
2. Physically, drones fly close
N. Super zoom (out)
1. On screen, pinch to zoom
2. On controller, right paddle
O. Fly here now and home point
1. Fly here now, fly here now. If out side the range, warning
2. If no home point is set, long press to set home (H), 1 H per flight, need a new H for next flight. Must have GPS to make H. if no GPS, H is where it took off. Want a new H, need GPS
P. Obstacle avoidance, disabled when landing
| Min distance (in) | Max speed (mph) | |
| Standard | 34 | 36 |
| Close | 11 | 9 |
| Min | 4 | 9 |
| Disabled | – | 9 |
V. Landing
A. Return and Landing
1. Return type, default is GPS, can use vision when GPS is low but goes to launch point
2. If below the return height, only ascend
3. Landing, LED turns yellow, avoid is off
B. Case landing
1. at least 10 ft above
2. don’t nudge when landing
3. power off, press-hole
C. Hand landing
1. don’t’ grip the chassis, hold at battery, steady, don’t launch in wind
2. wait the obstacle avoidance is off
3. don’t, if high wind, not stable, in emergency landing, footing is not stable, on moving vehicle
D. Emergency
1. Low battery, notification when 2 min flight time remains. After that, unable to control, still can nudge the roll, pitch, and yaw
2. If it’s in a following subject mission, it will follow for another 20 seconds. If it’s not following, it will return to home. If it’s in a waypoint mission, it will finish the mission. If the home is not set, it will return to land (L)
3. If GPS is lost, you can return to launch
4. Press hold “Land” and “Return” to stop the motors if necessary in an emergency
VI. Capturing Content
A. Click the video camera to change settings:
1. Video mode: manual
2. Power on, launch app, open cam setting, customized
3. If you want to record the sound, save before turn it off
4. DNG on compression
5. can record image and video at the same time.