Course Project: AT272 Lab 02 Making Bottom and Top Skins

I. Intro

Date: 08/28/2023

In today’s lab, we used two aluminum molds to form the shape of the bottom skin and top skin.

II. Procedure

The layer of the final product of Lab 2 is:

  • Vacuum Bag
  • Breather Material
  • High temperature solid release
  • Peel ply
  • Top skin 90 degrees
  • Top Skin 0 degree
  • High temperature solid release
  • Aluminum mold
  • Breather Material
  • Vacuum Bag
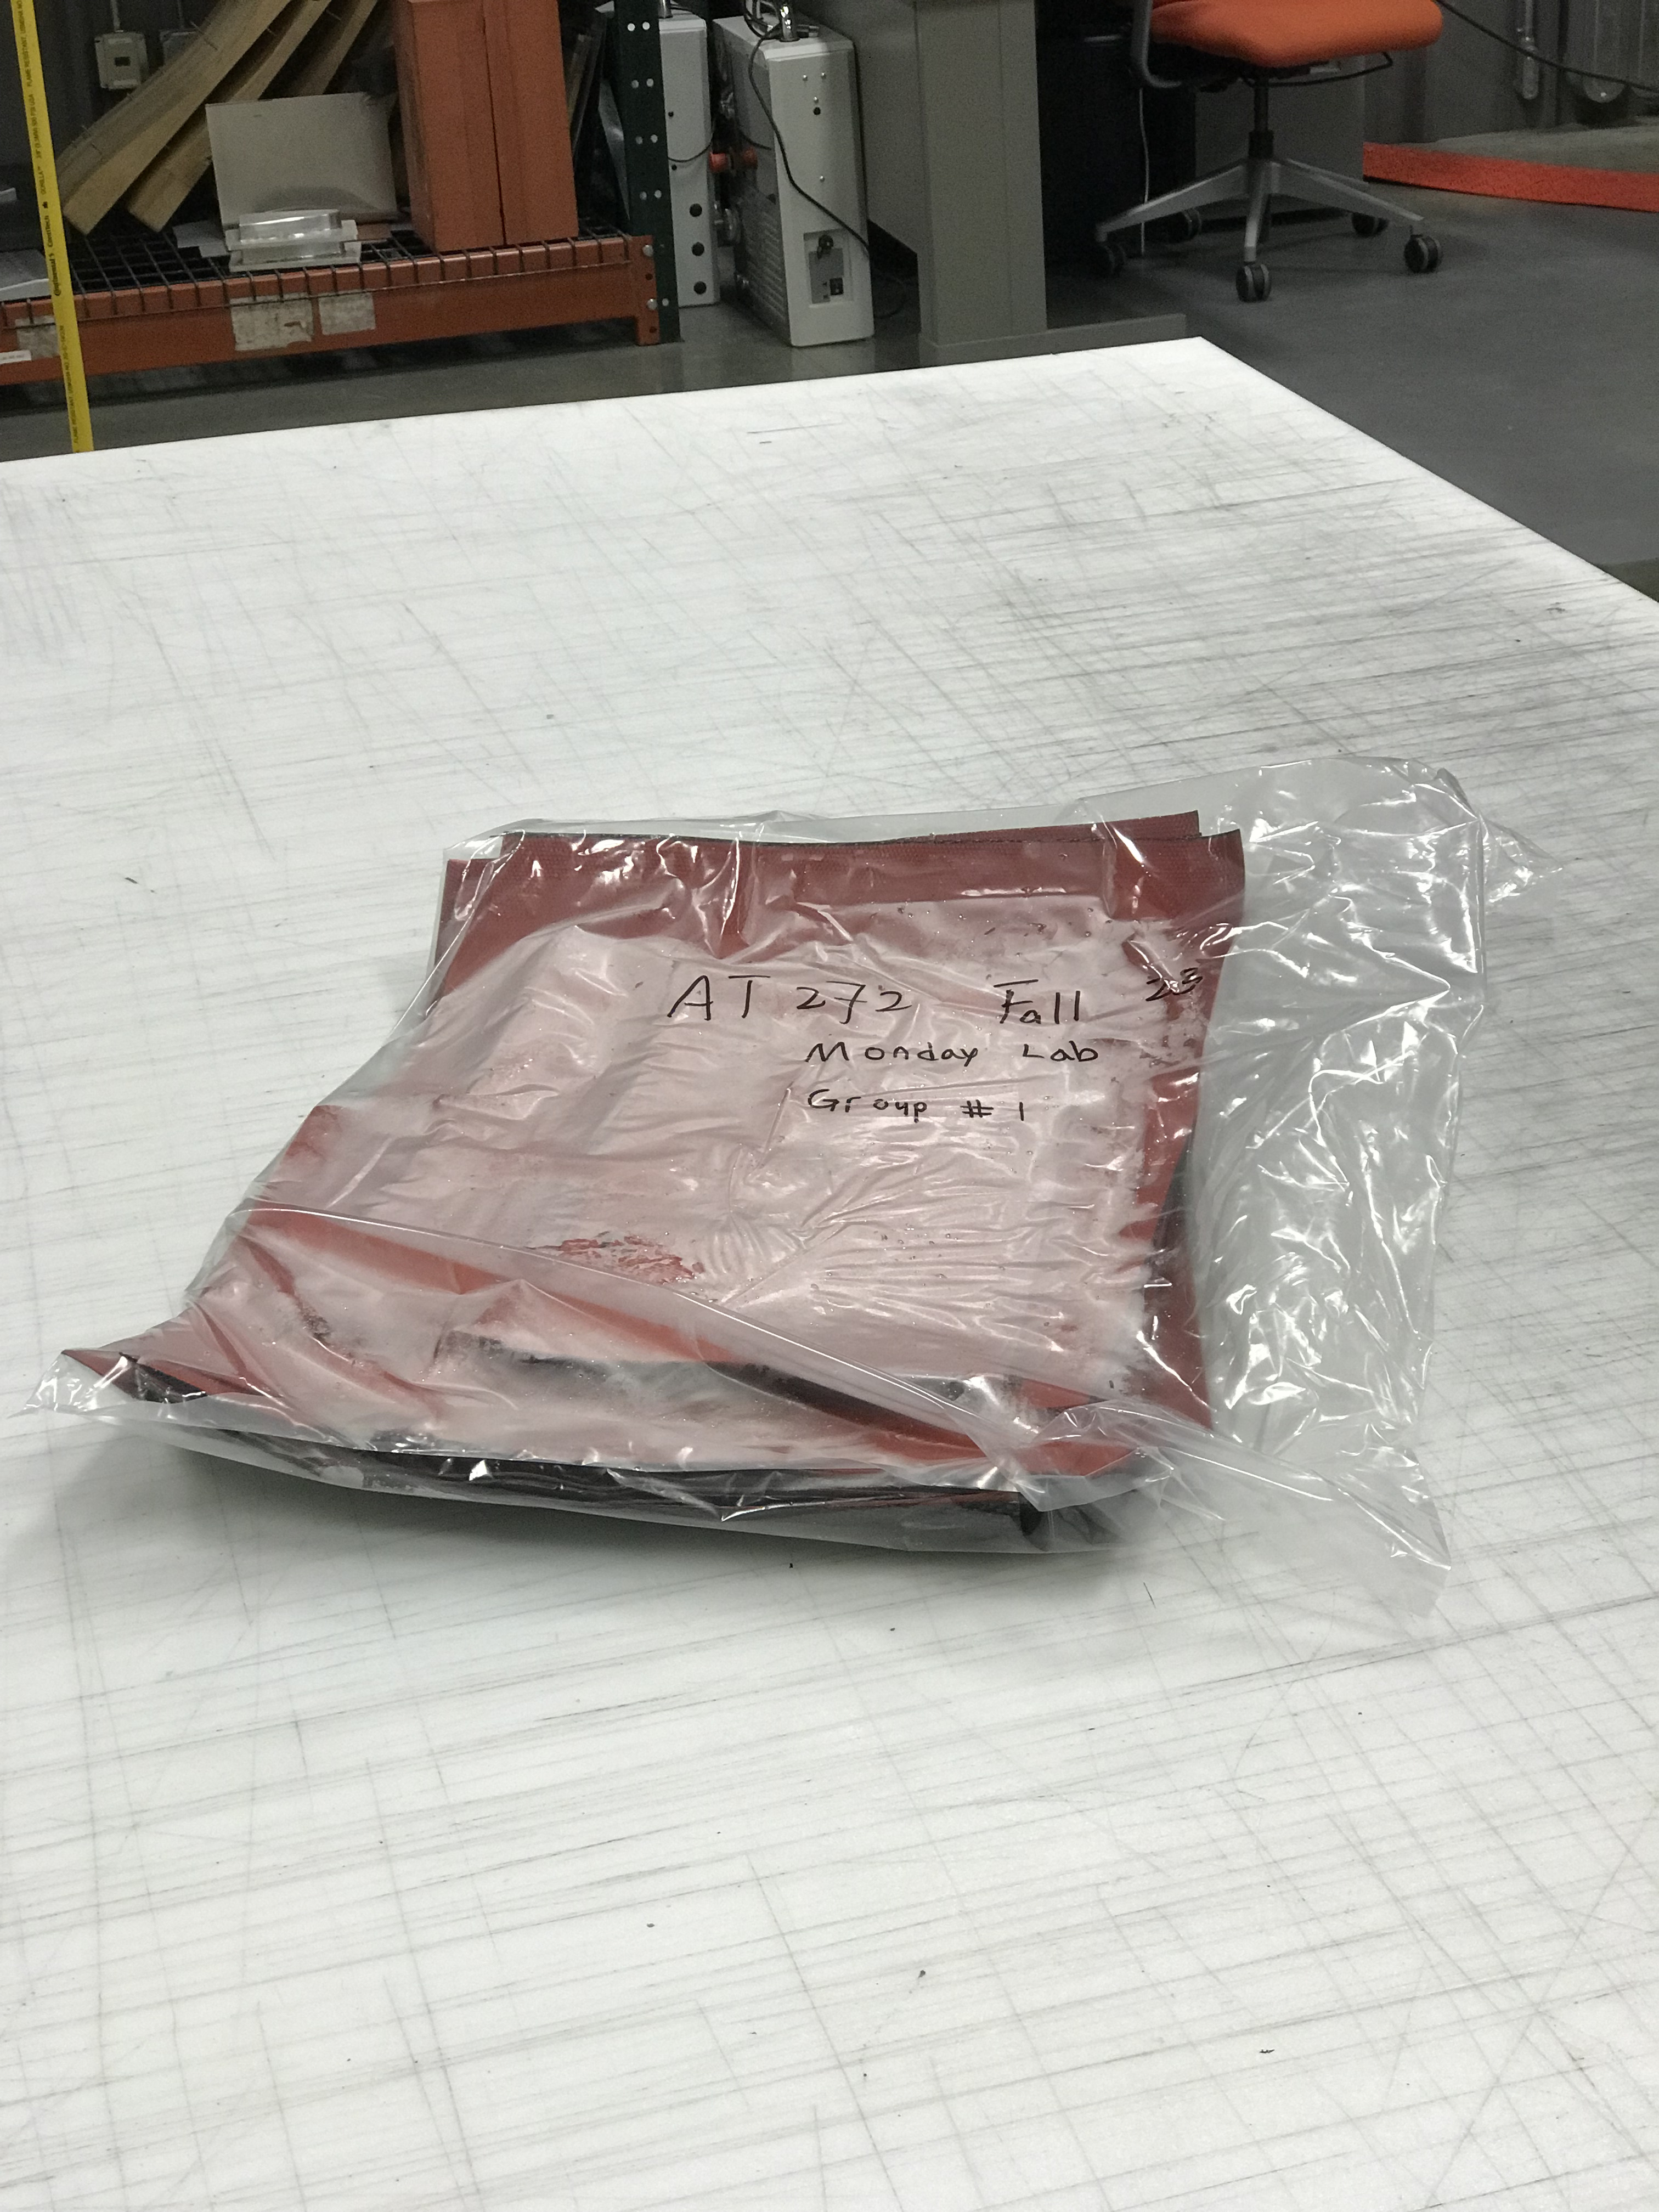
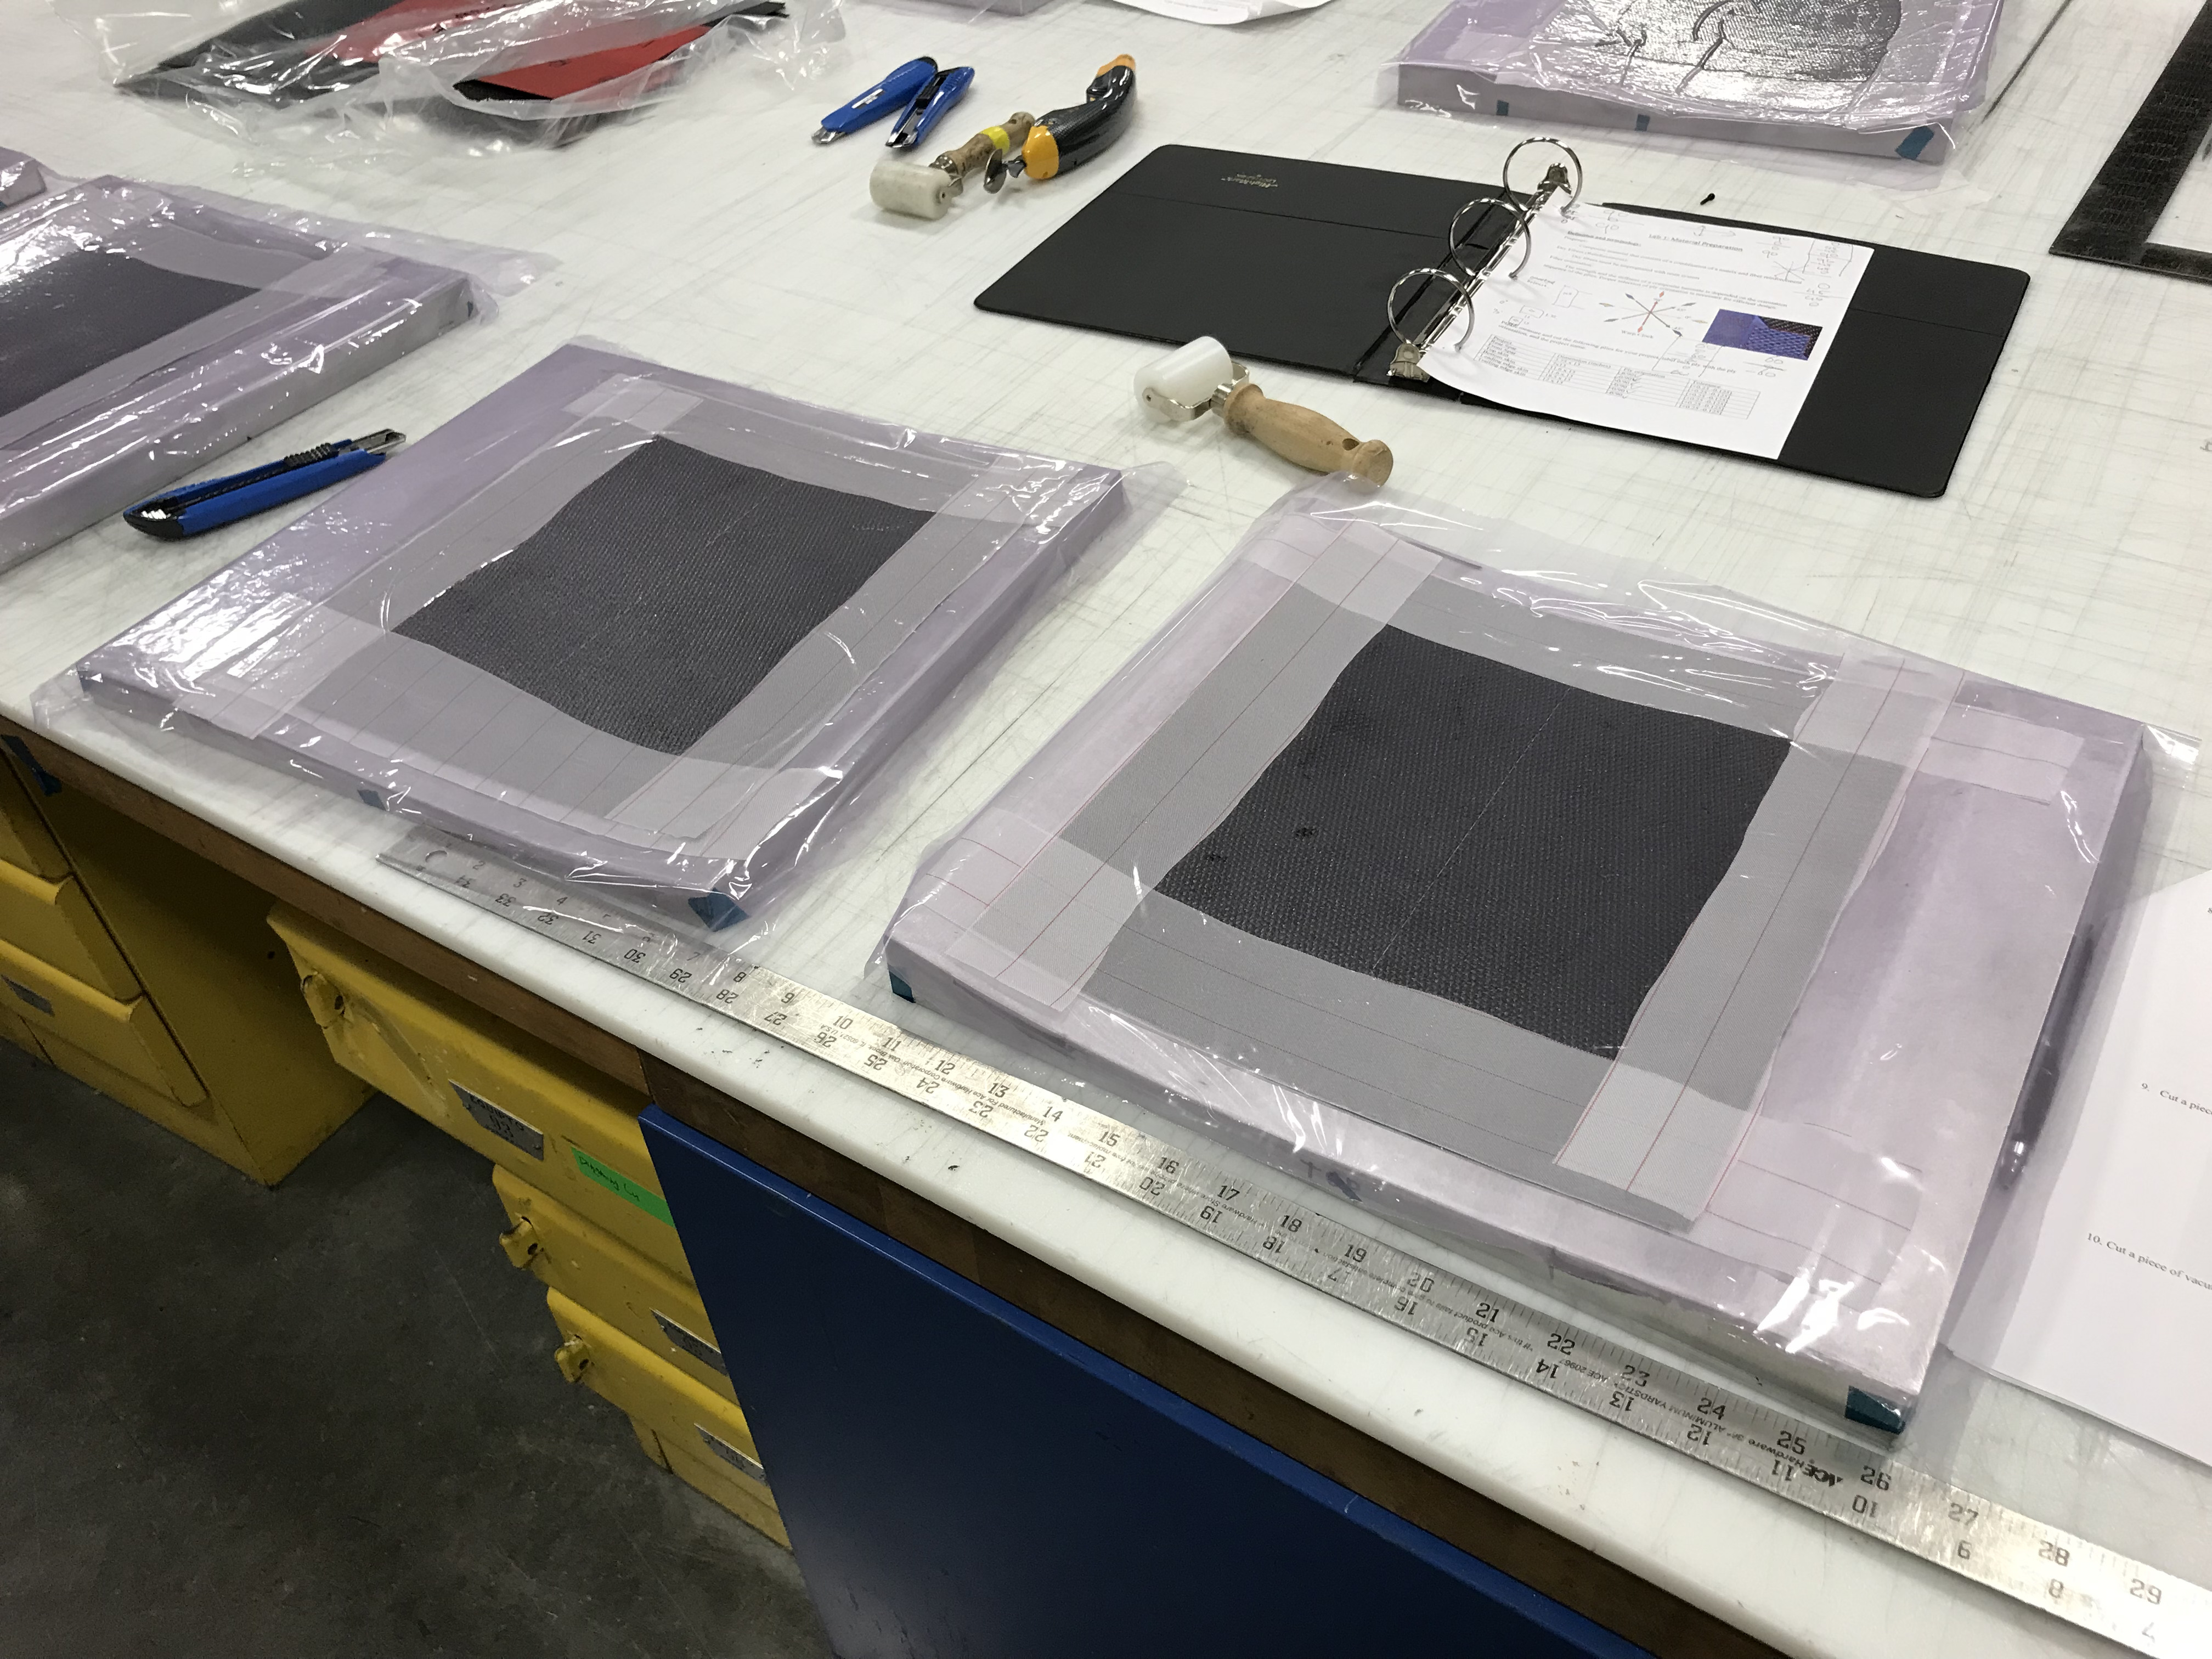
Figure 1: the material we cut last time.
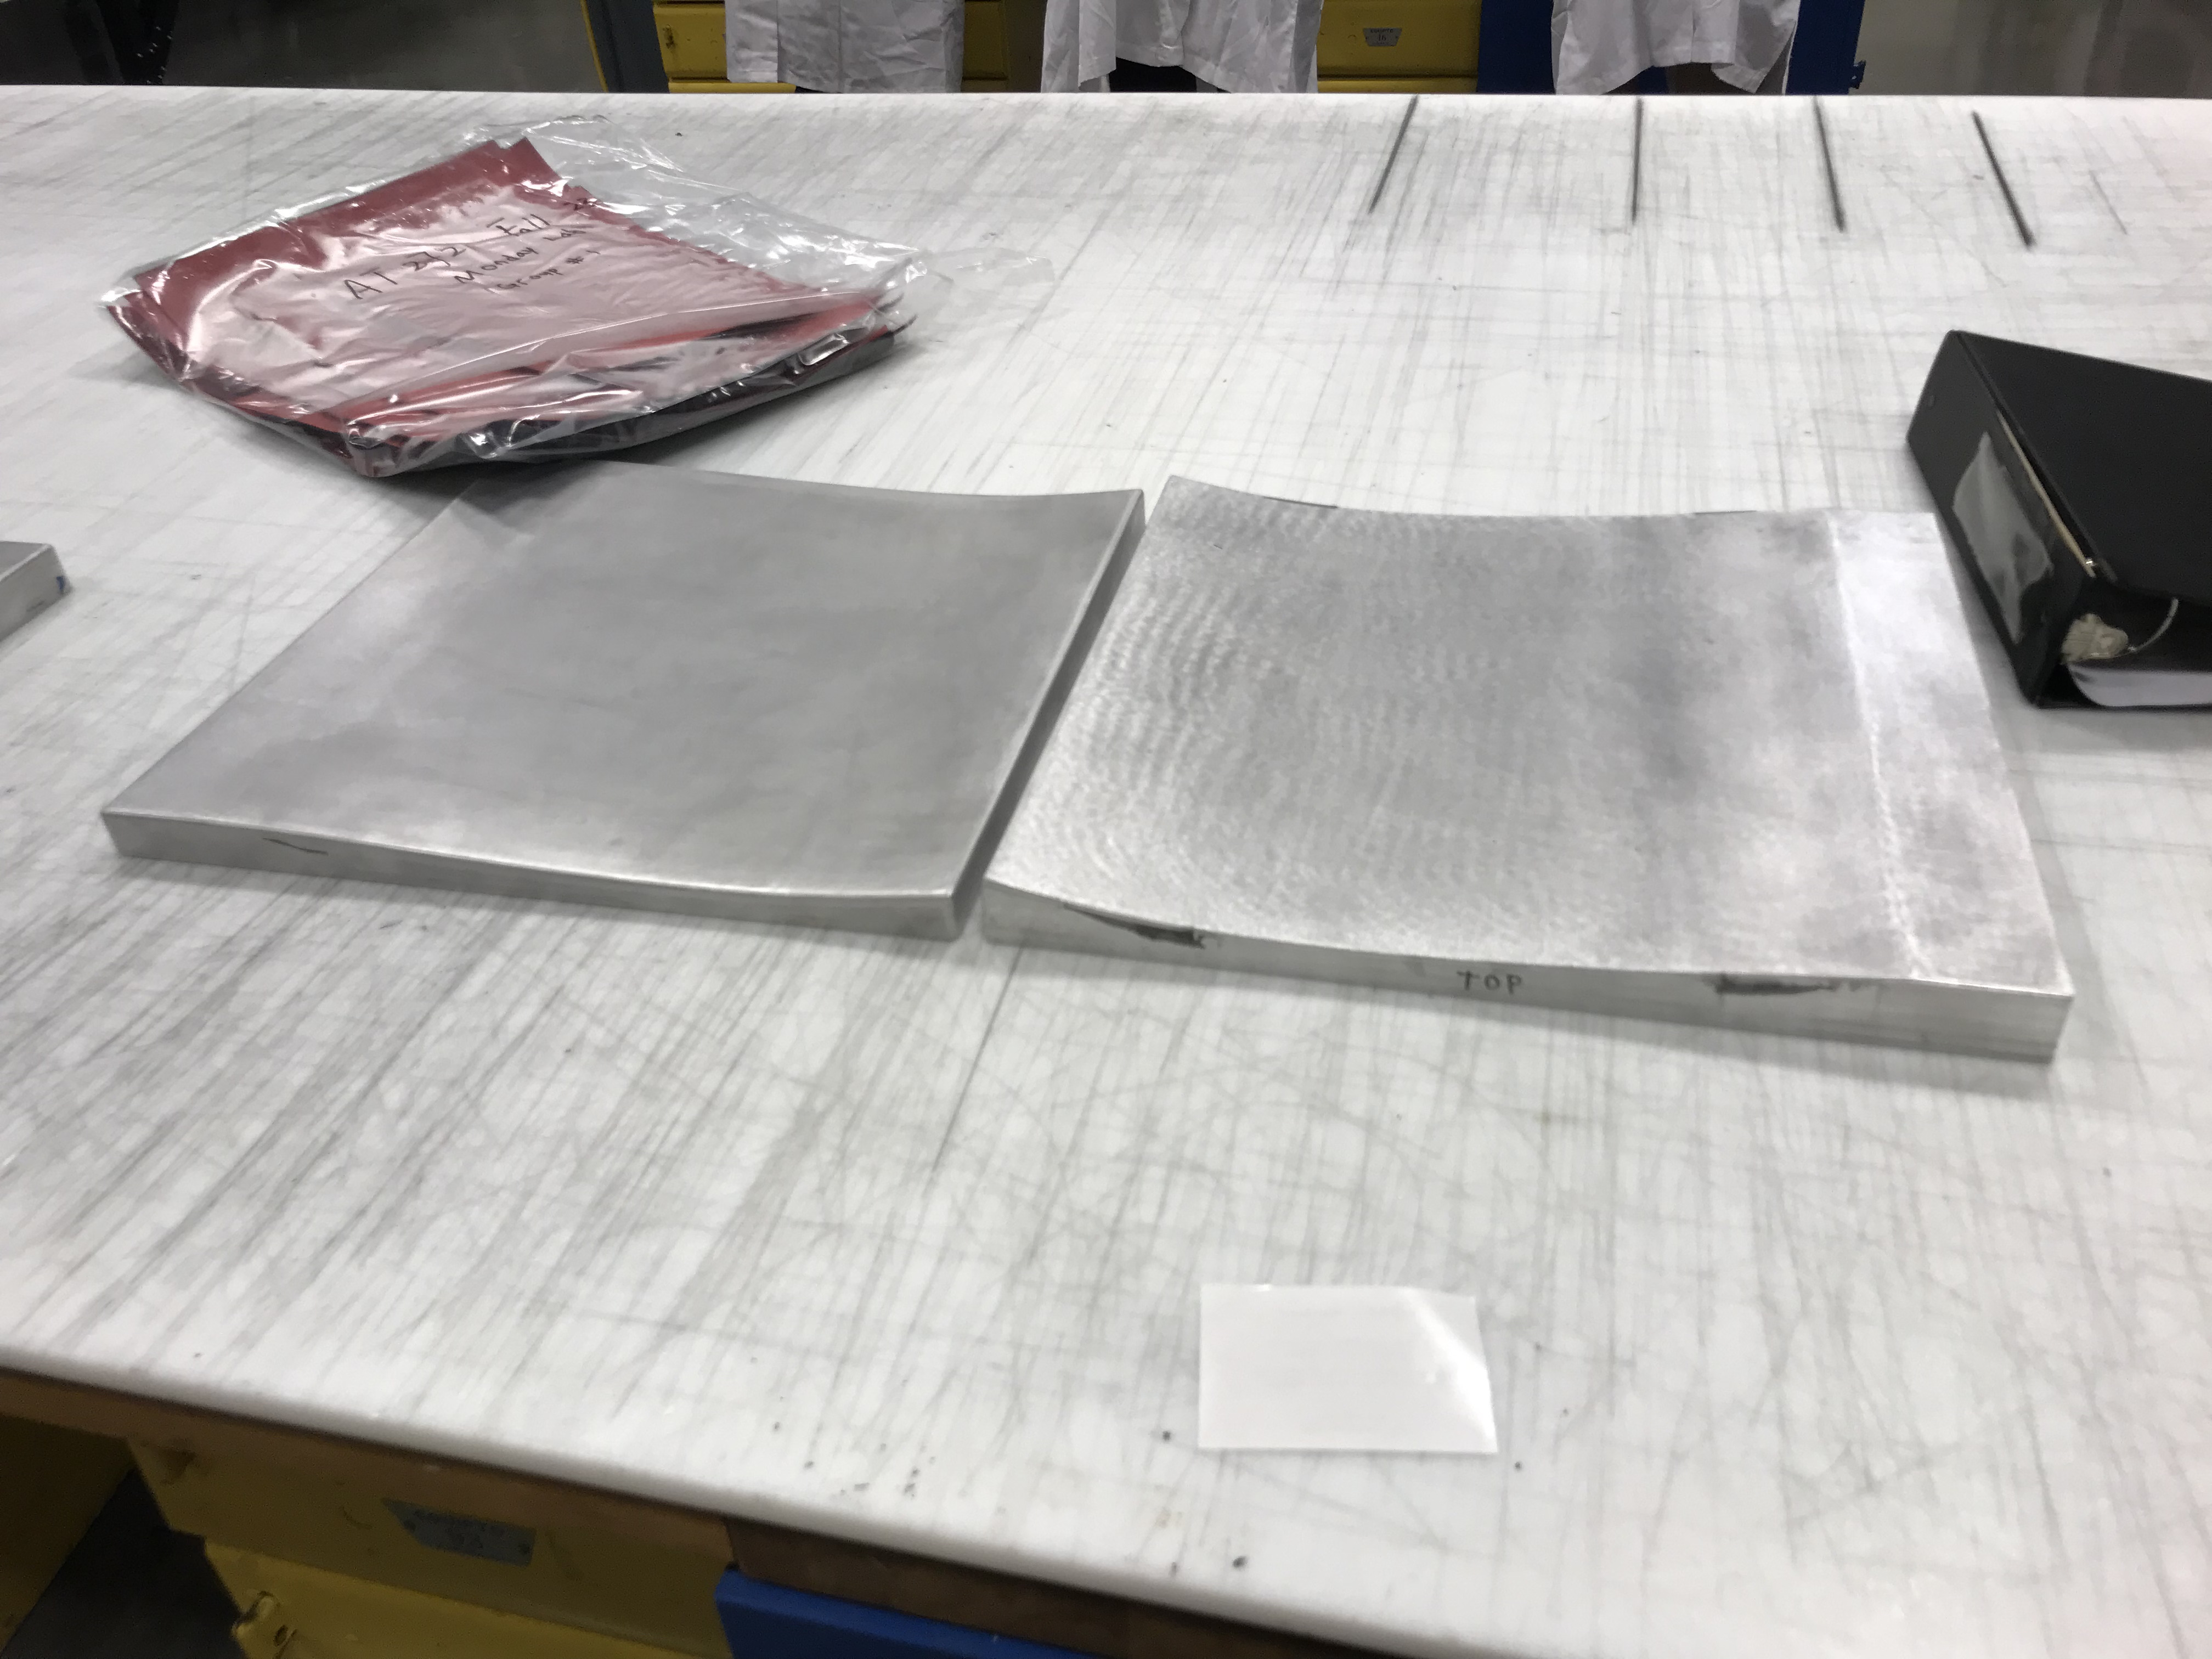
Figure 2: The aluminum molds. The left one is for the bottom skin, and the right one is for the top skin.
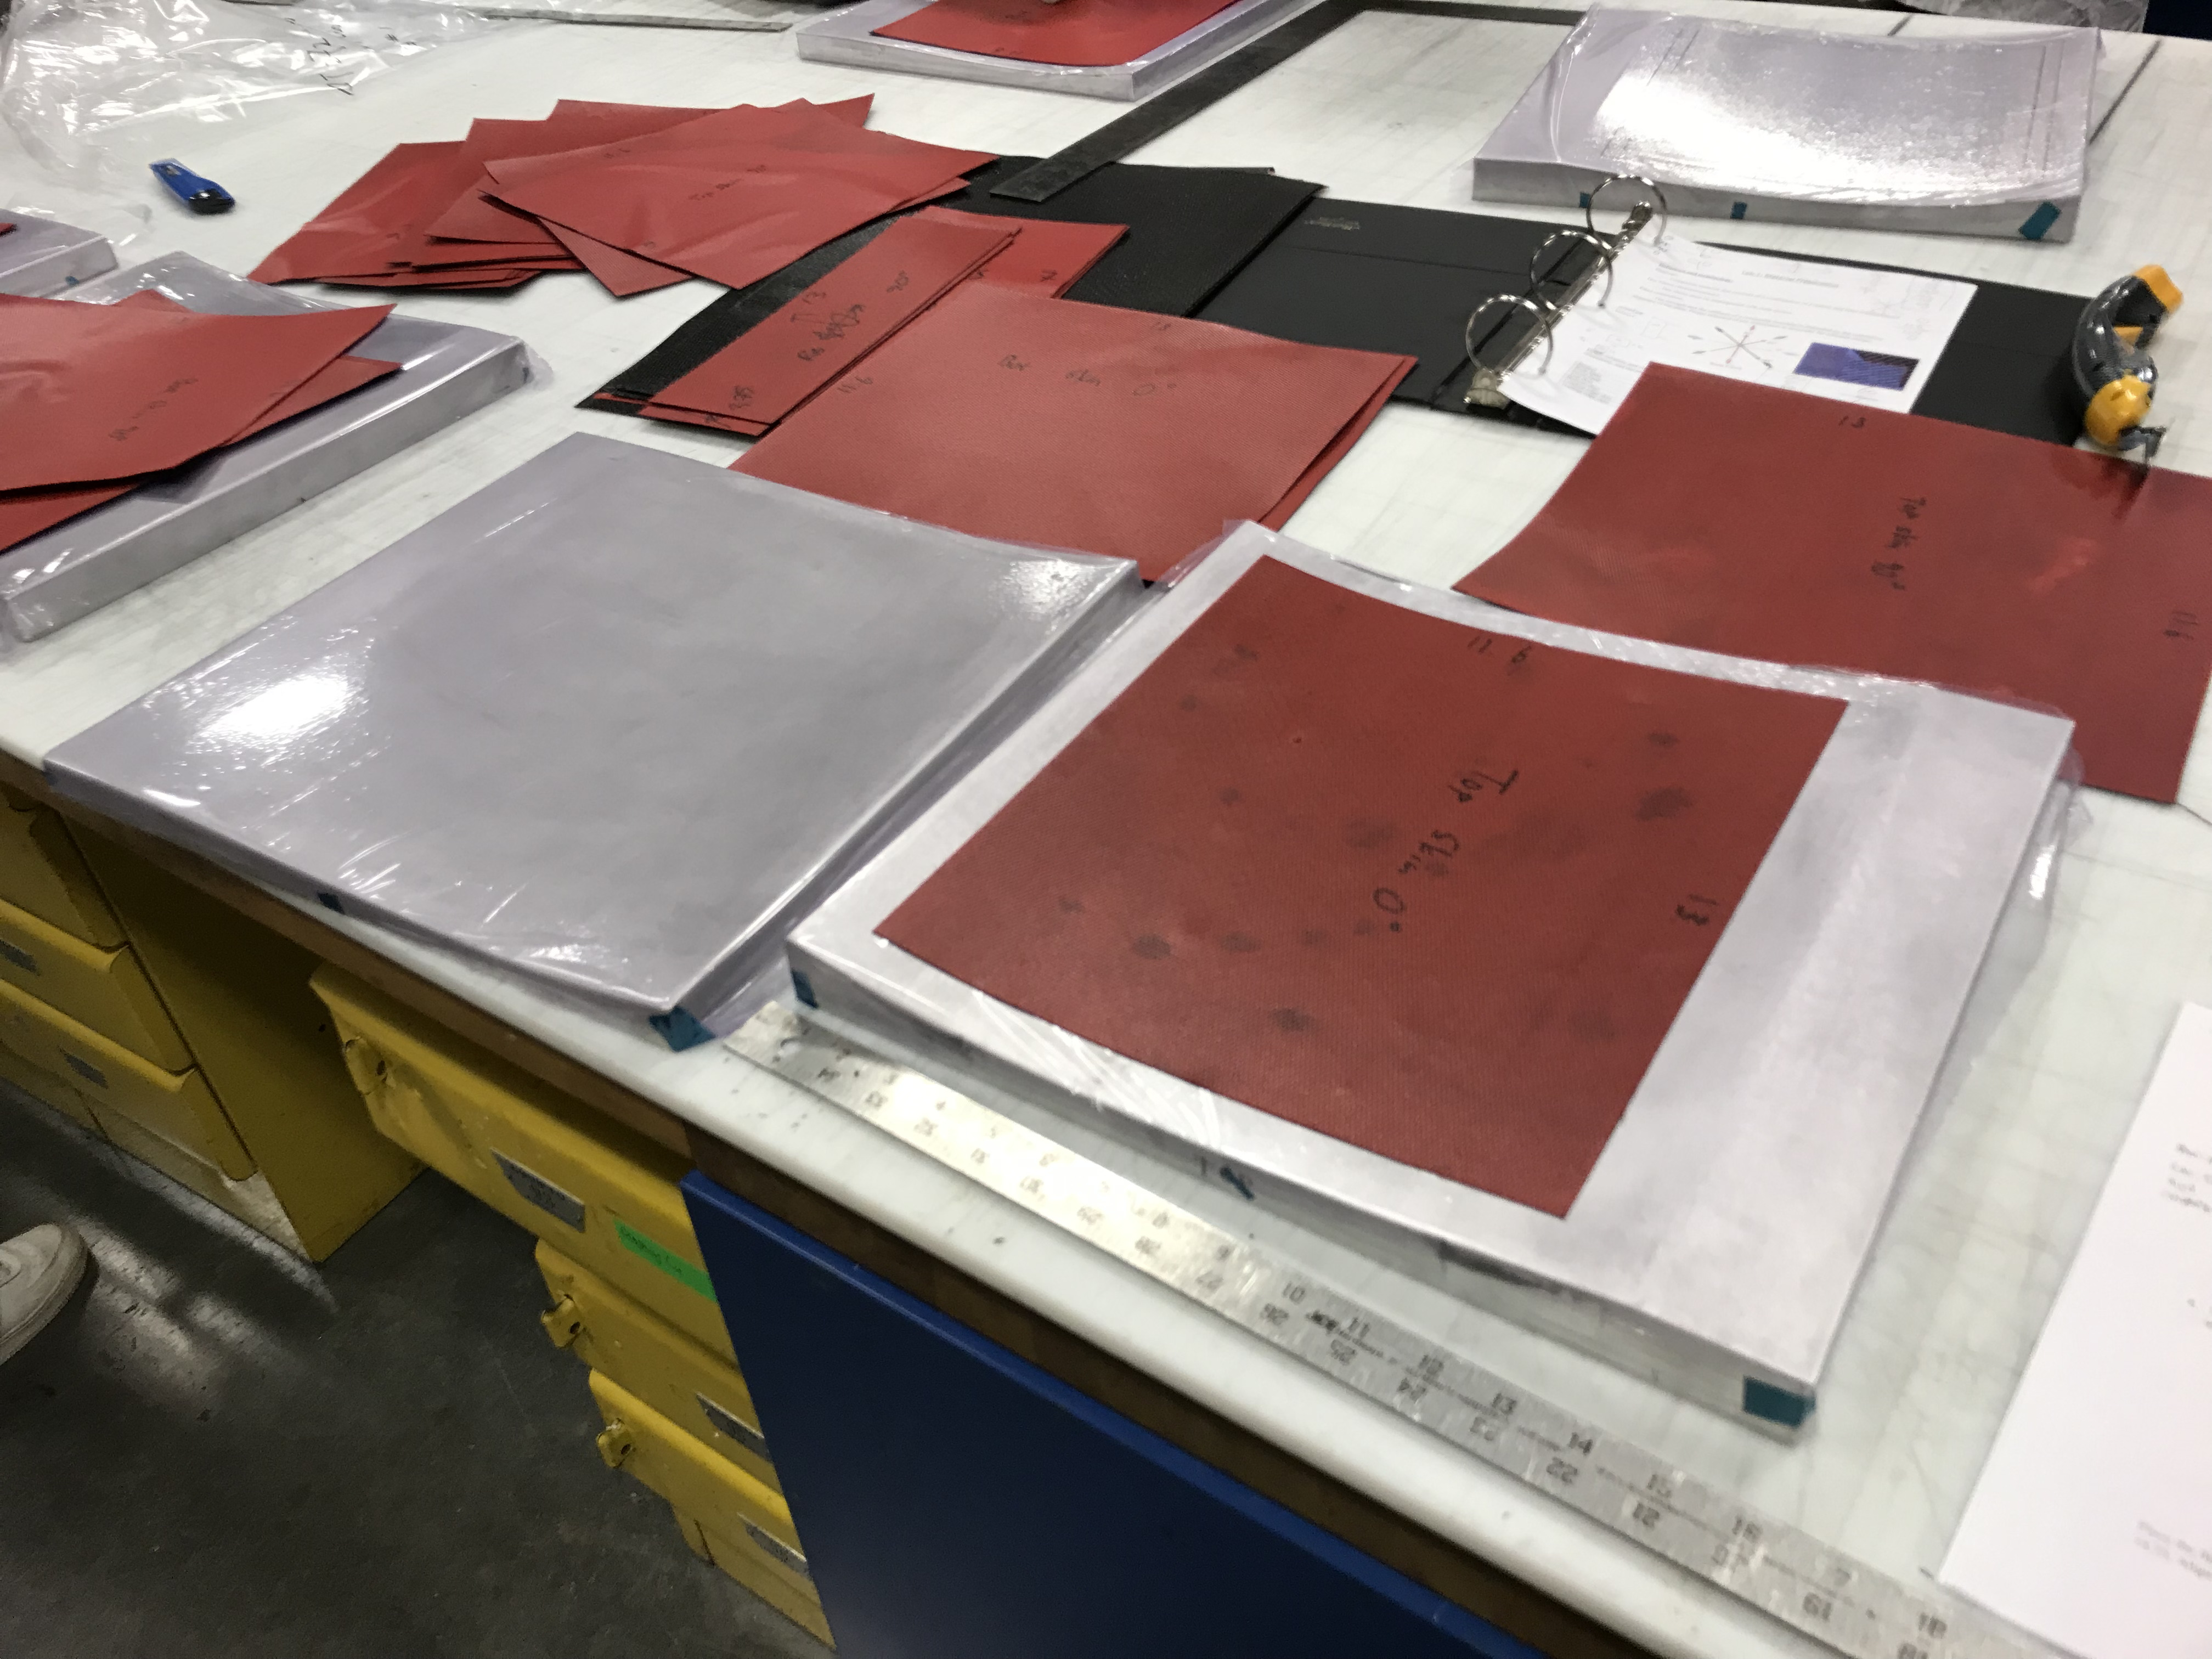
Figure 3: the solid release material ($127/yd) is taped to the corner of the mold by $100/roll blue flash tape. The 0 degree ply was placed first, the 11.6” side is align with the 15.76” side on the mold. Then used a roller to consolidate. Never used the roller directly on the material. Peel off the red backing film, and placed the 90 degree ply and roll.
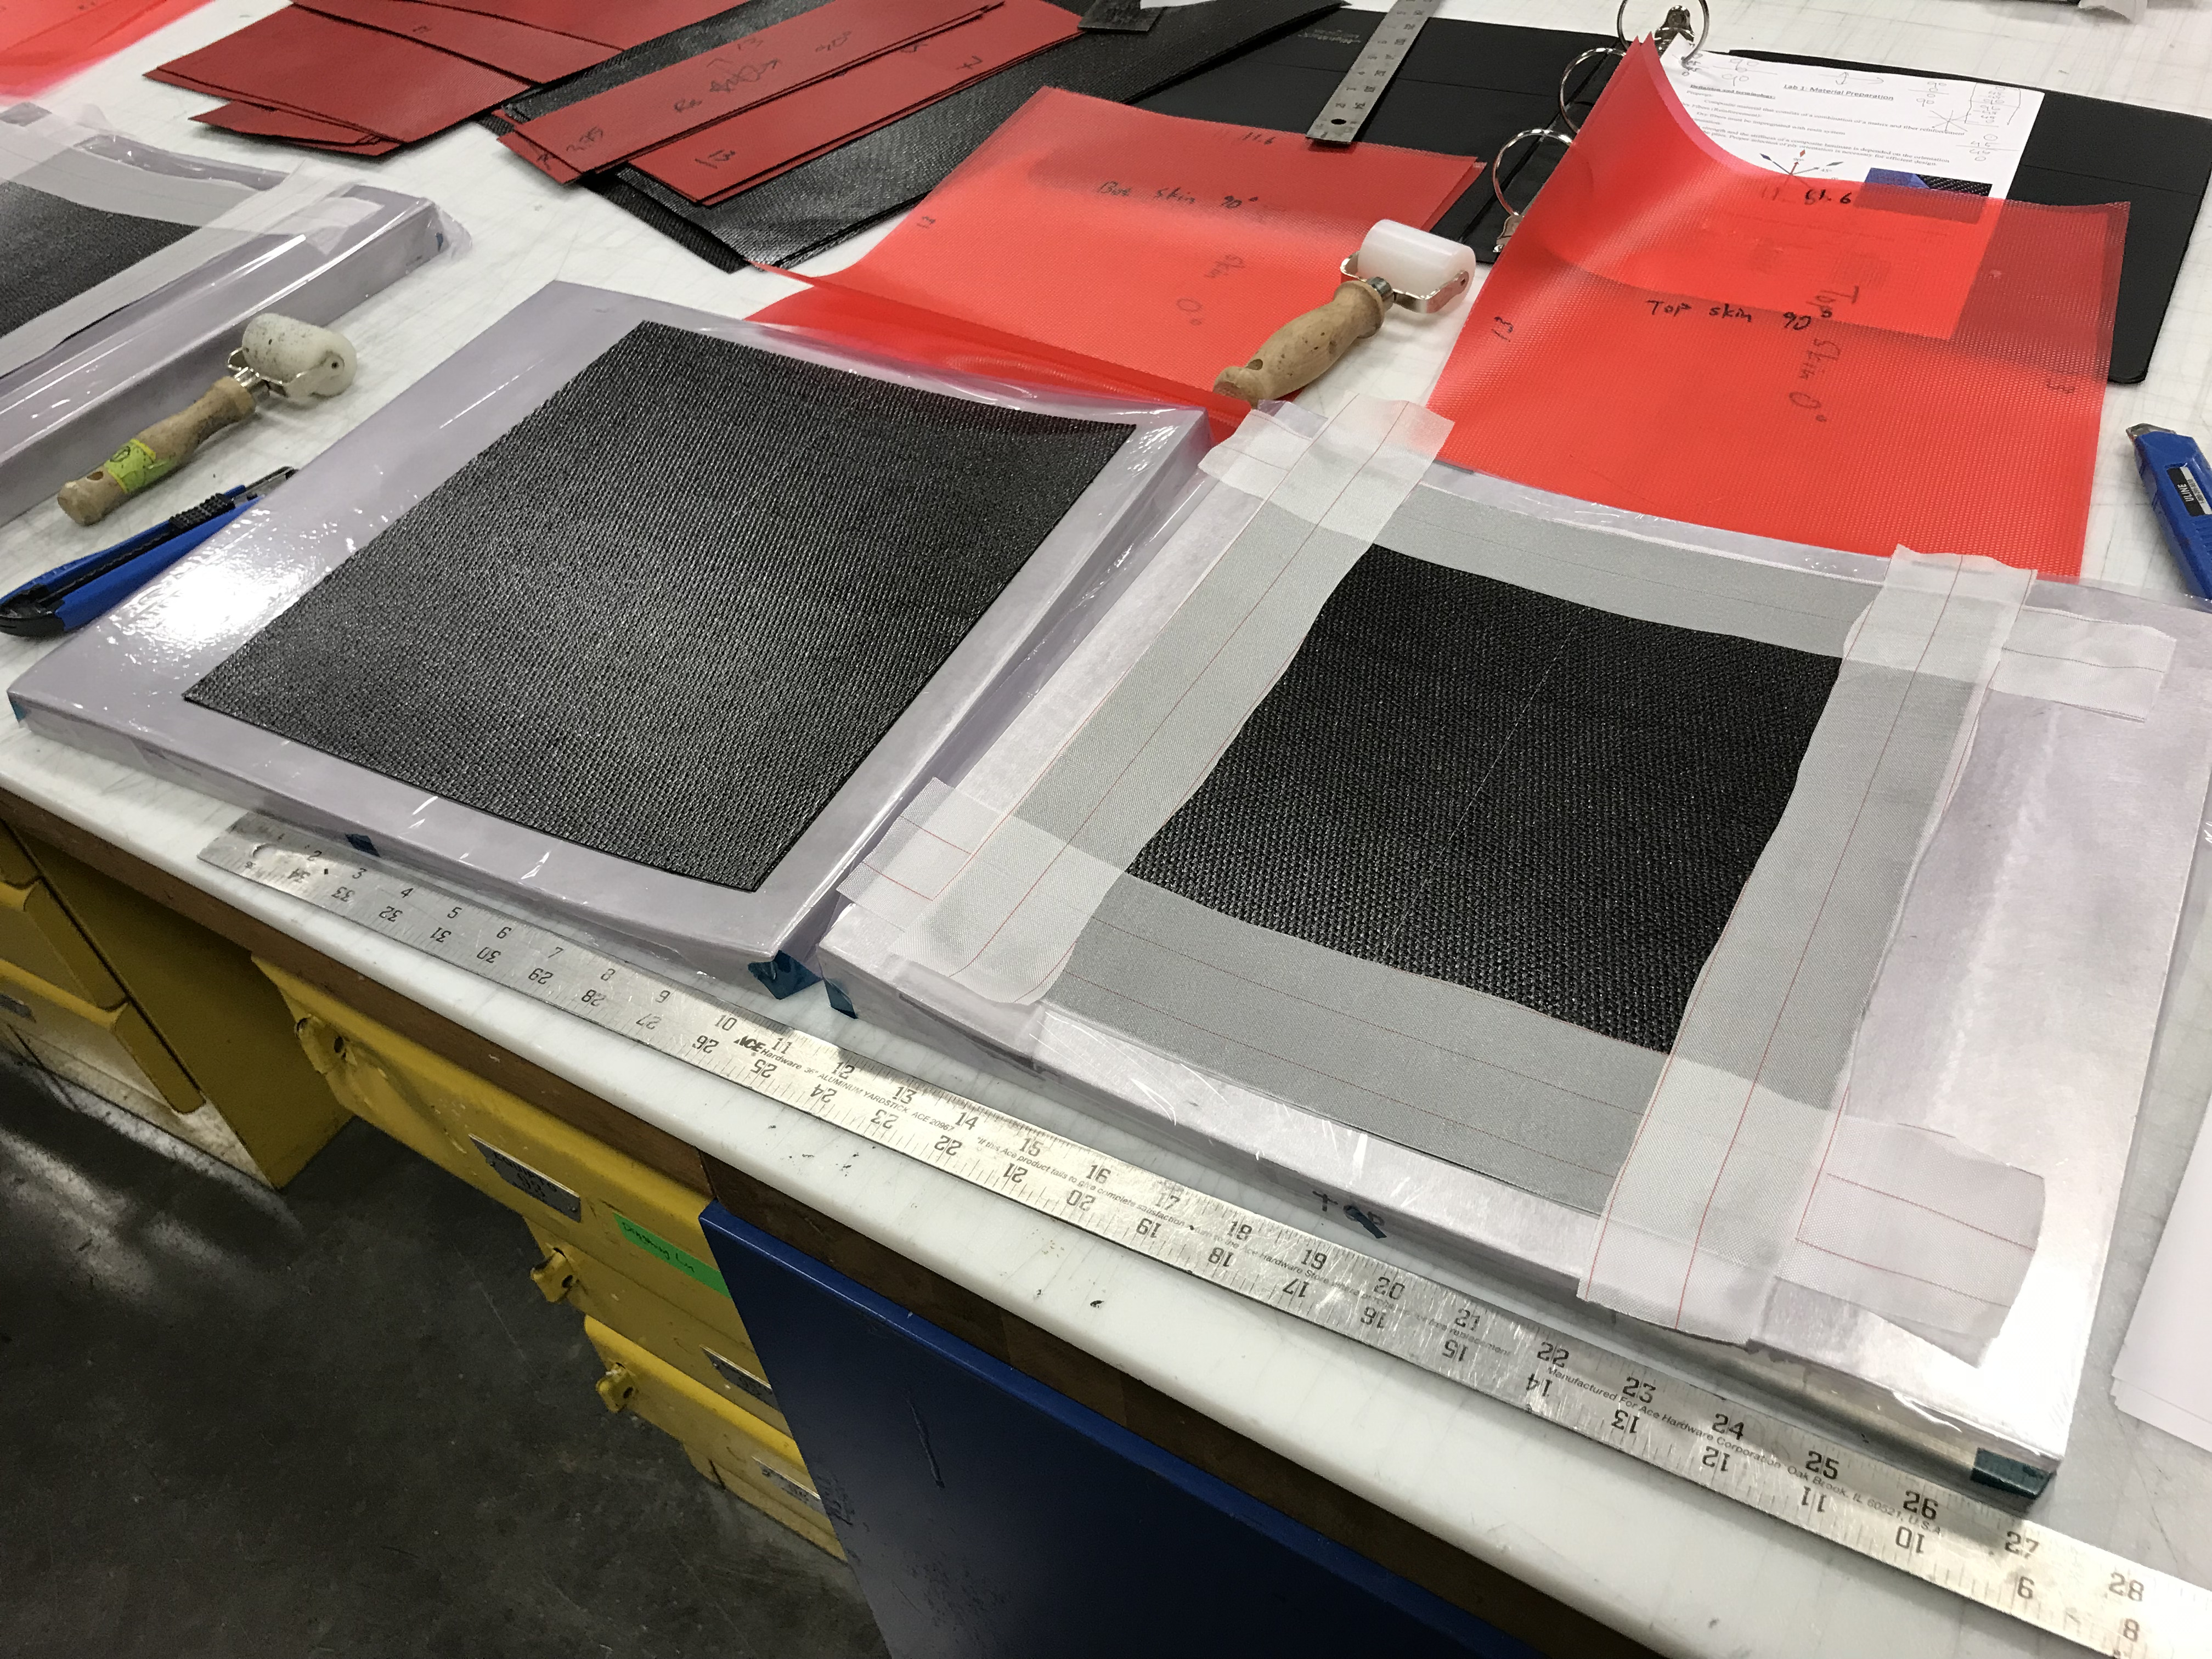
Figure 4: Then we put the peel ply along the sides to make rough surface. This makes pieces easier to be gluded together. Cut the extra peel ply so the resin won’t follow the peel ply and touch the aluminum mold.
Figure 5: after all peel ply are placed, put on another layer of the high temperature solid release. Use a roller to eliminate the air bubbles between the material and the release.
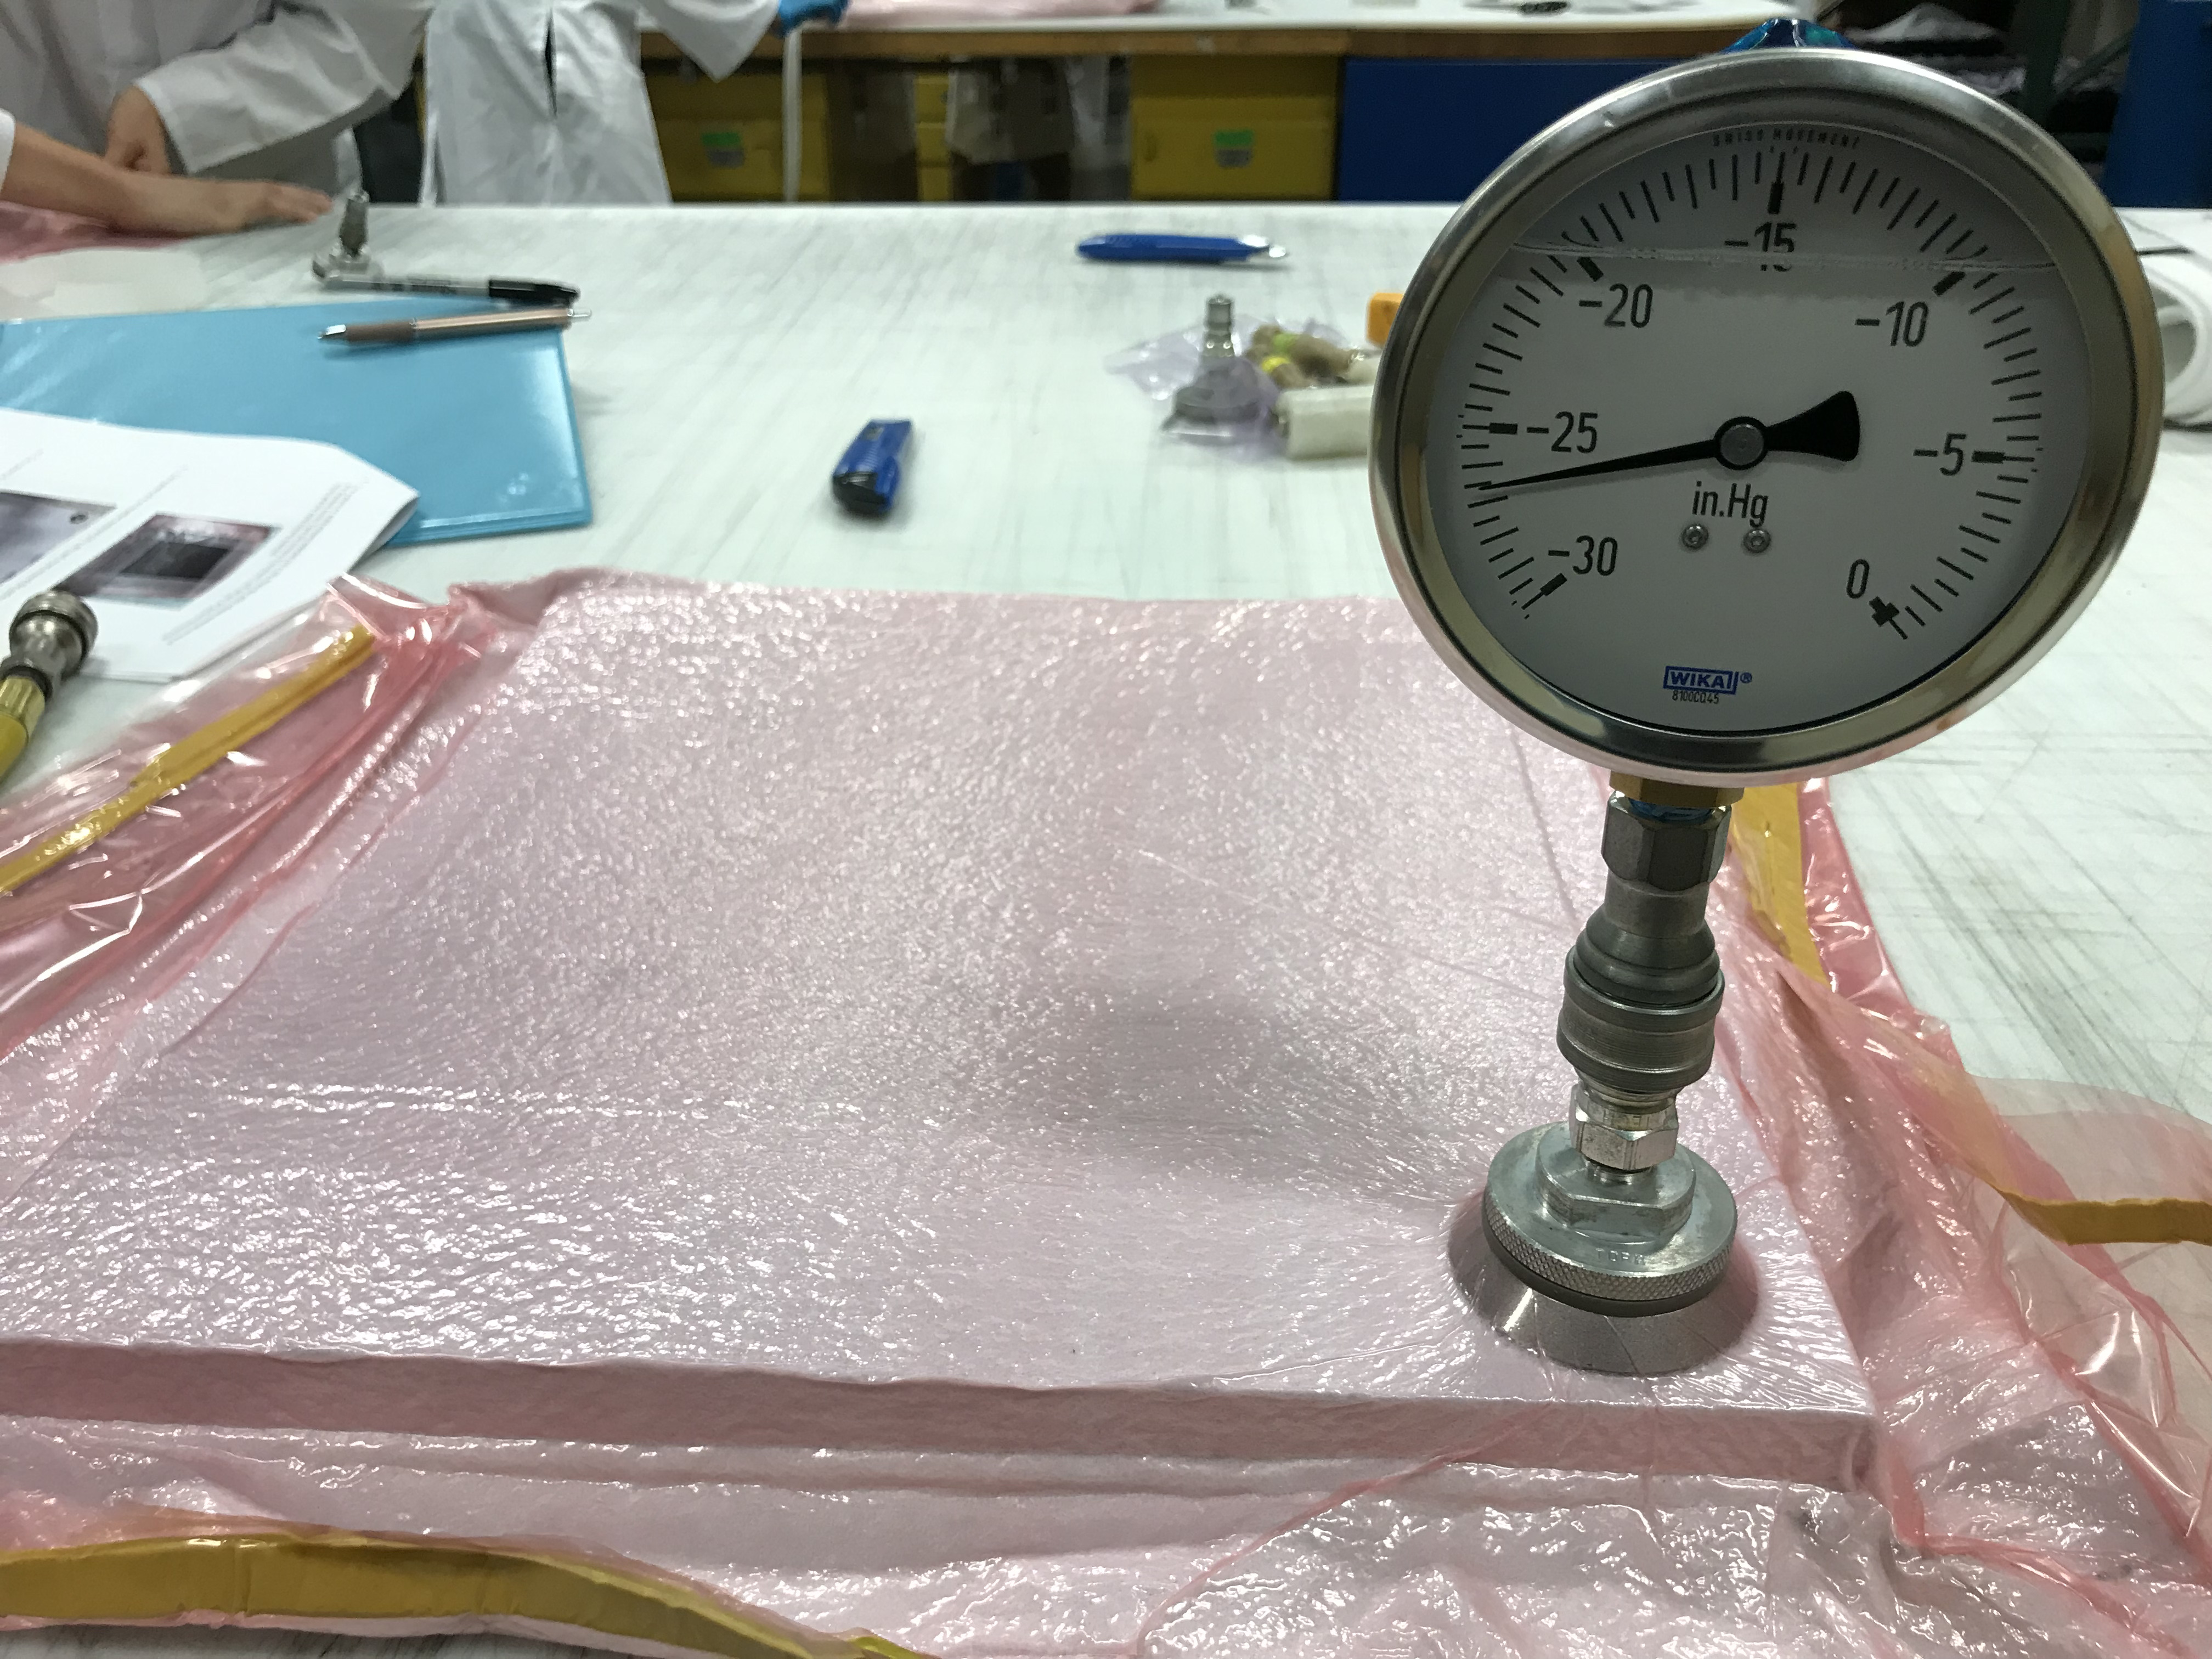
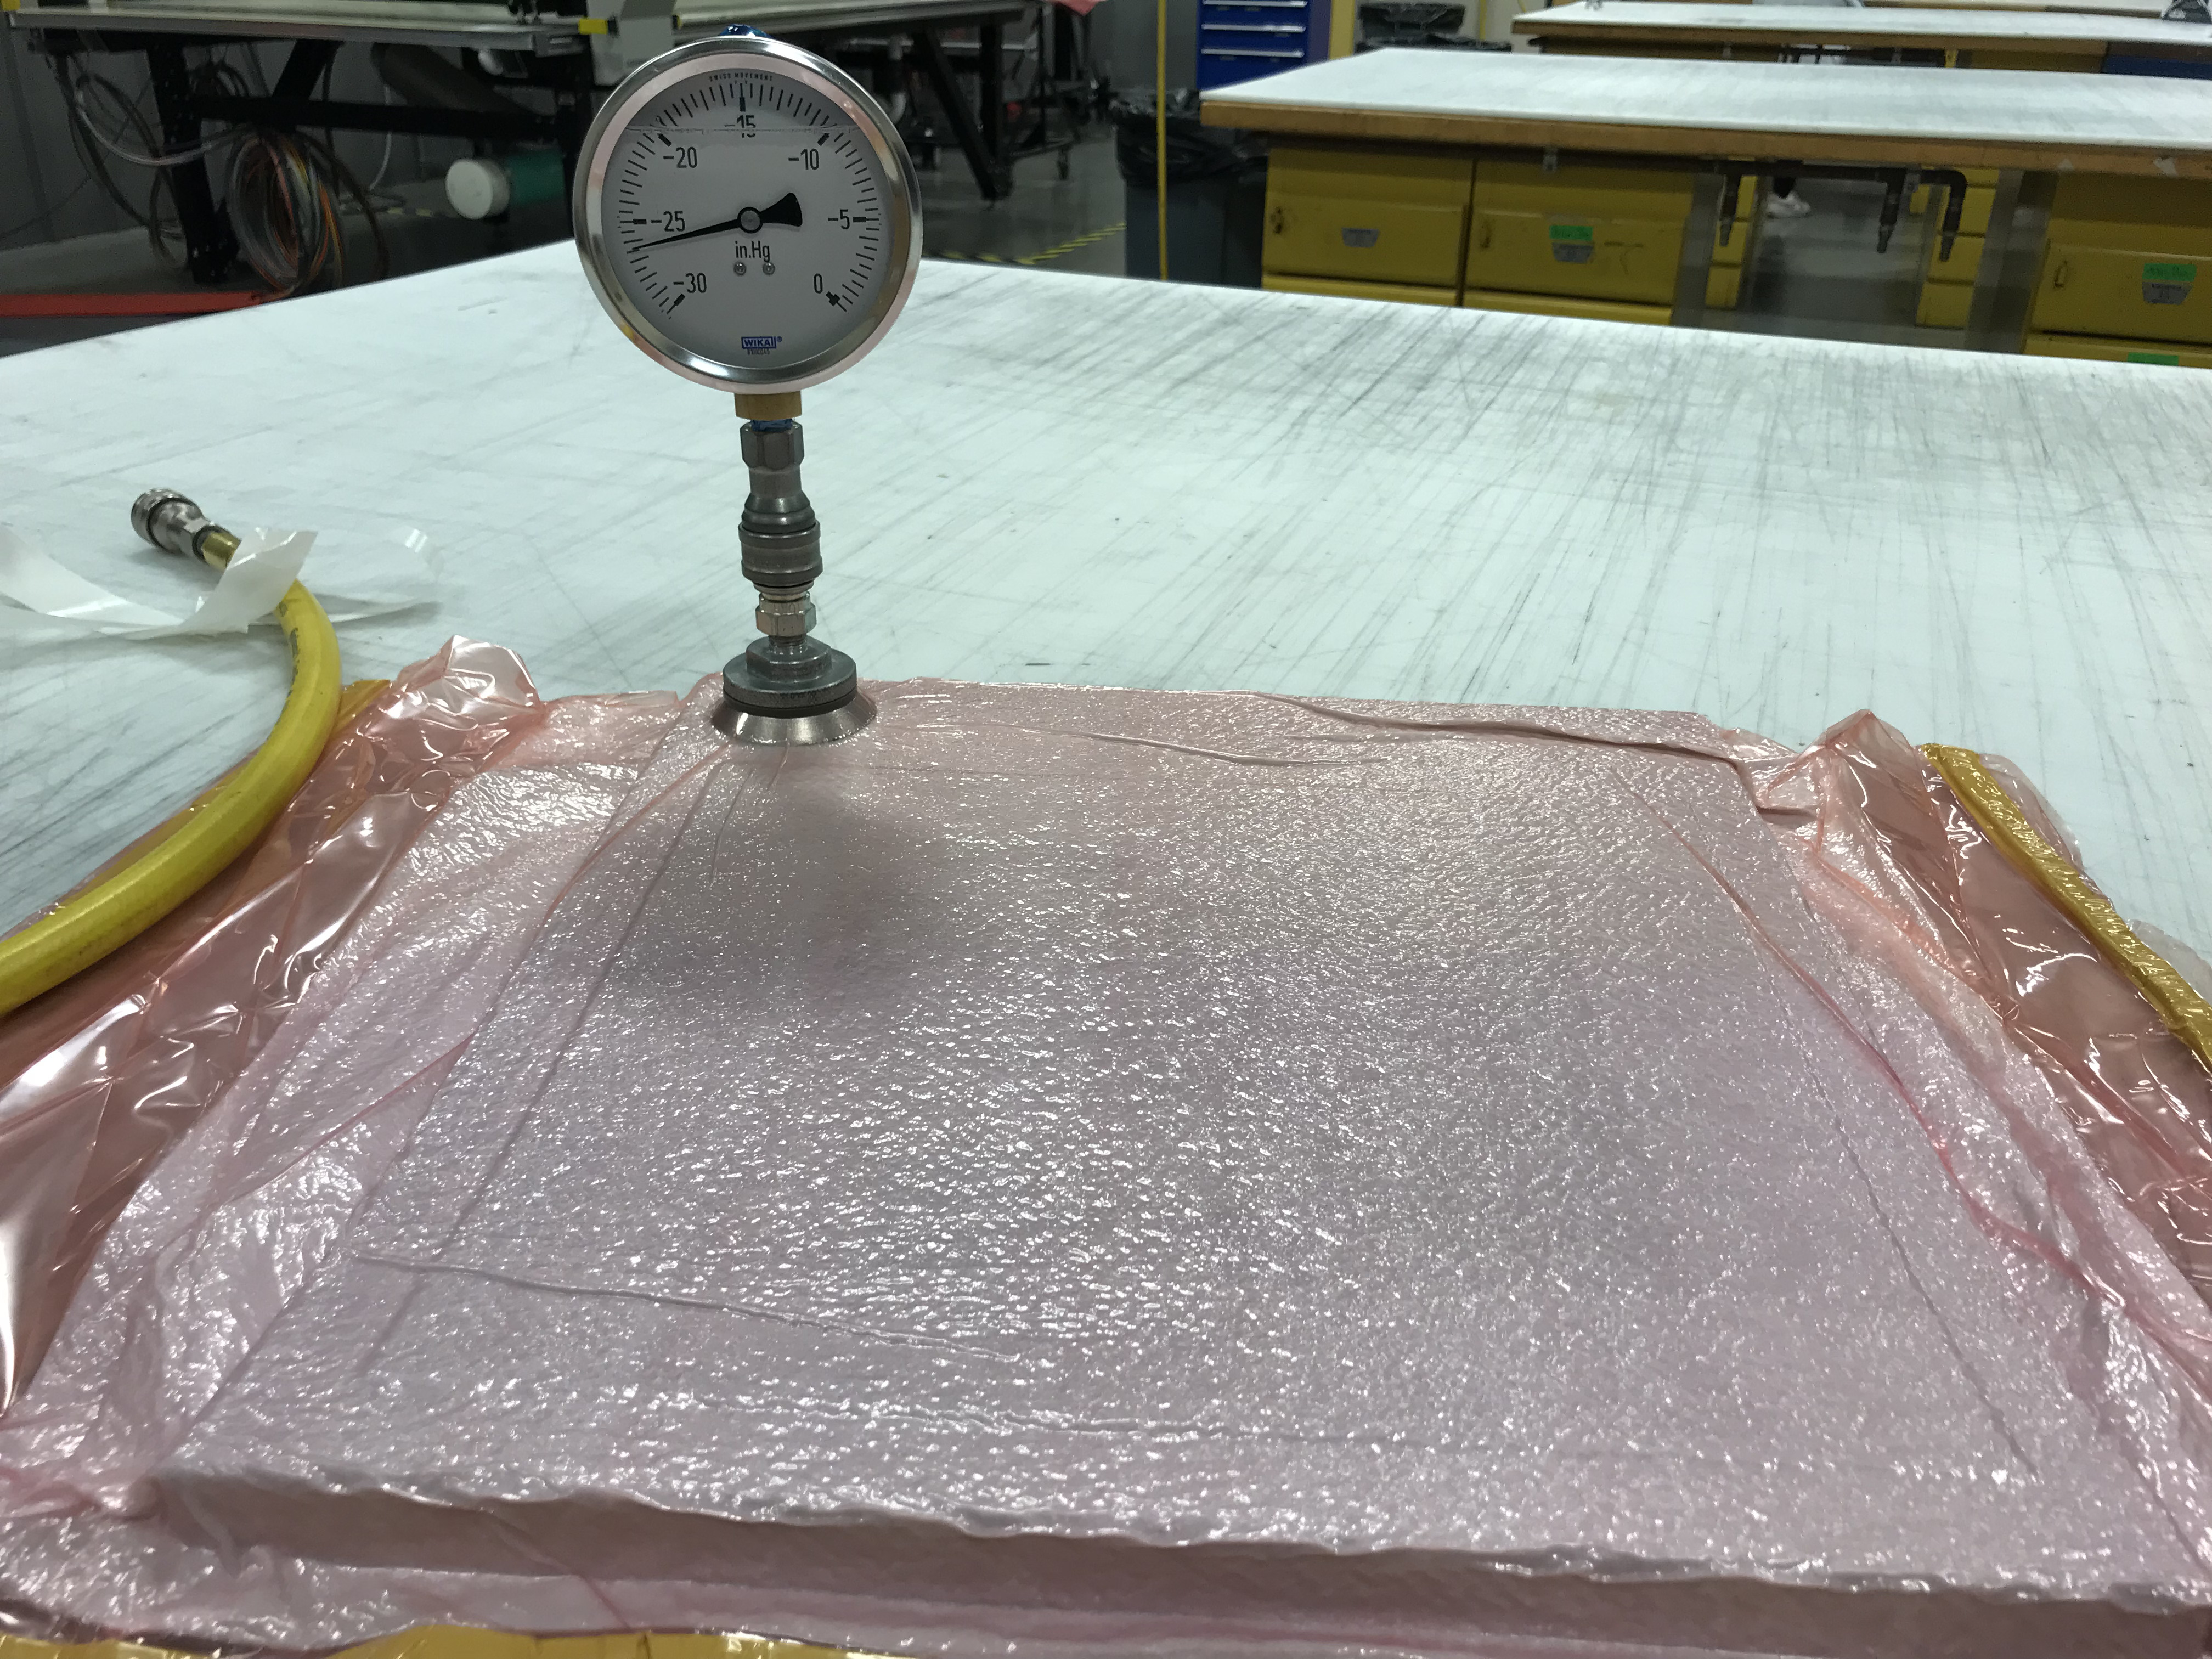
Figure 6: use breather material to warp around the entire mold, put a vacuum port on the horizontal part of the mold, put the entire mold on the vacuum bag, put one long piece of the seal tape at the edge of the bag, warp around the bag, tape the corners first, seal the two sides, then seal the middle edge. cut the vacuum bag at the vacuum port, put on the other half of the port, and connect the vacuum hose. Check any leaks and ripples, make sure the gauge reading is over 25 in Hg and not moving at all. To fix ripples, stretch the bag and tape, so every millimeter of the bag is taped to the seal tape.
Figure 7: bottom wing. All parts were put into an oven, and hoses are connected together. If one part has leaks, all parts will be damaged.

Leave a Reply

Your email address will not be published. Required fields are marked *