I. Intro
Date: 08/21/2023
We are going to make a carbon fiber wing section:
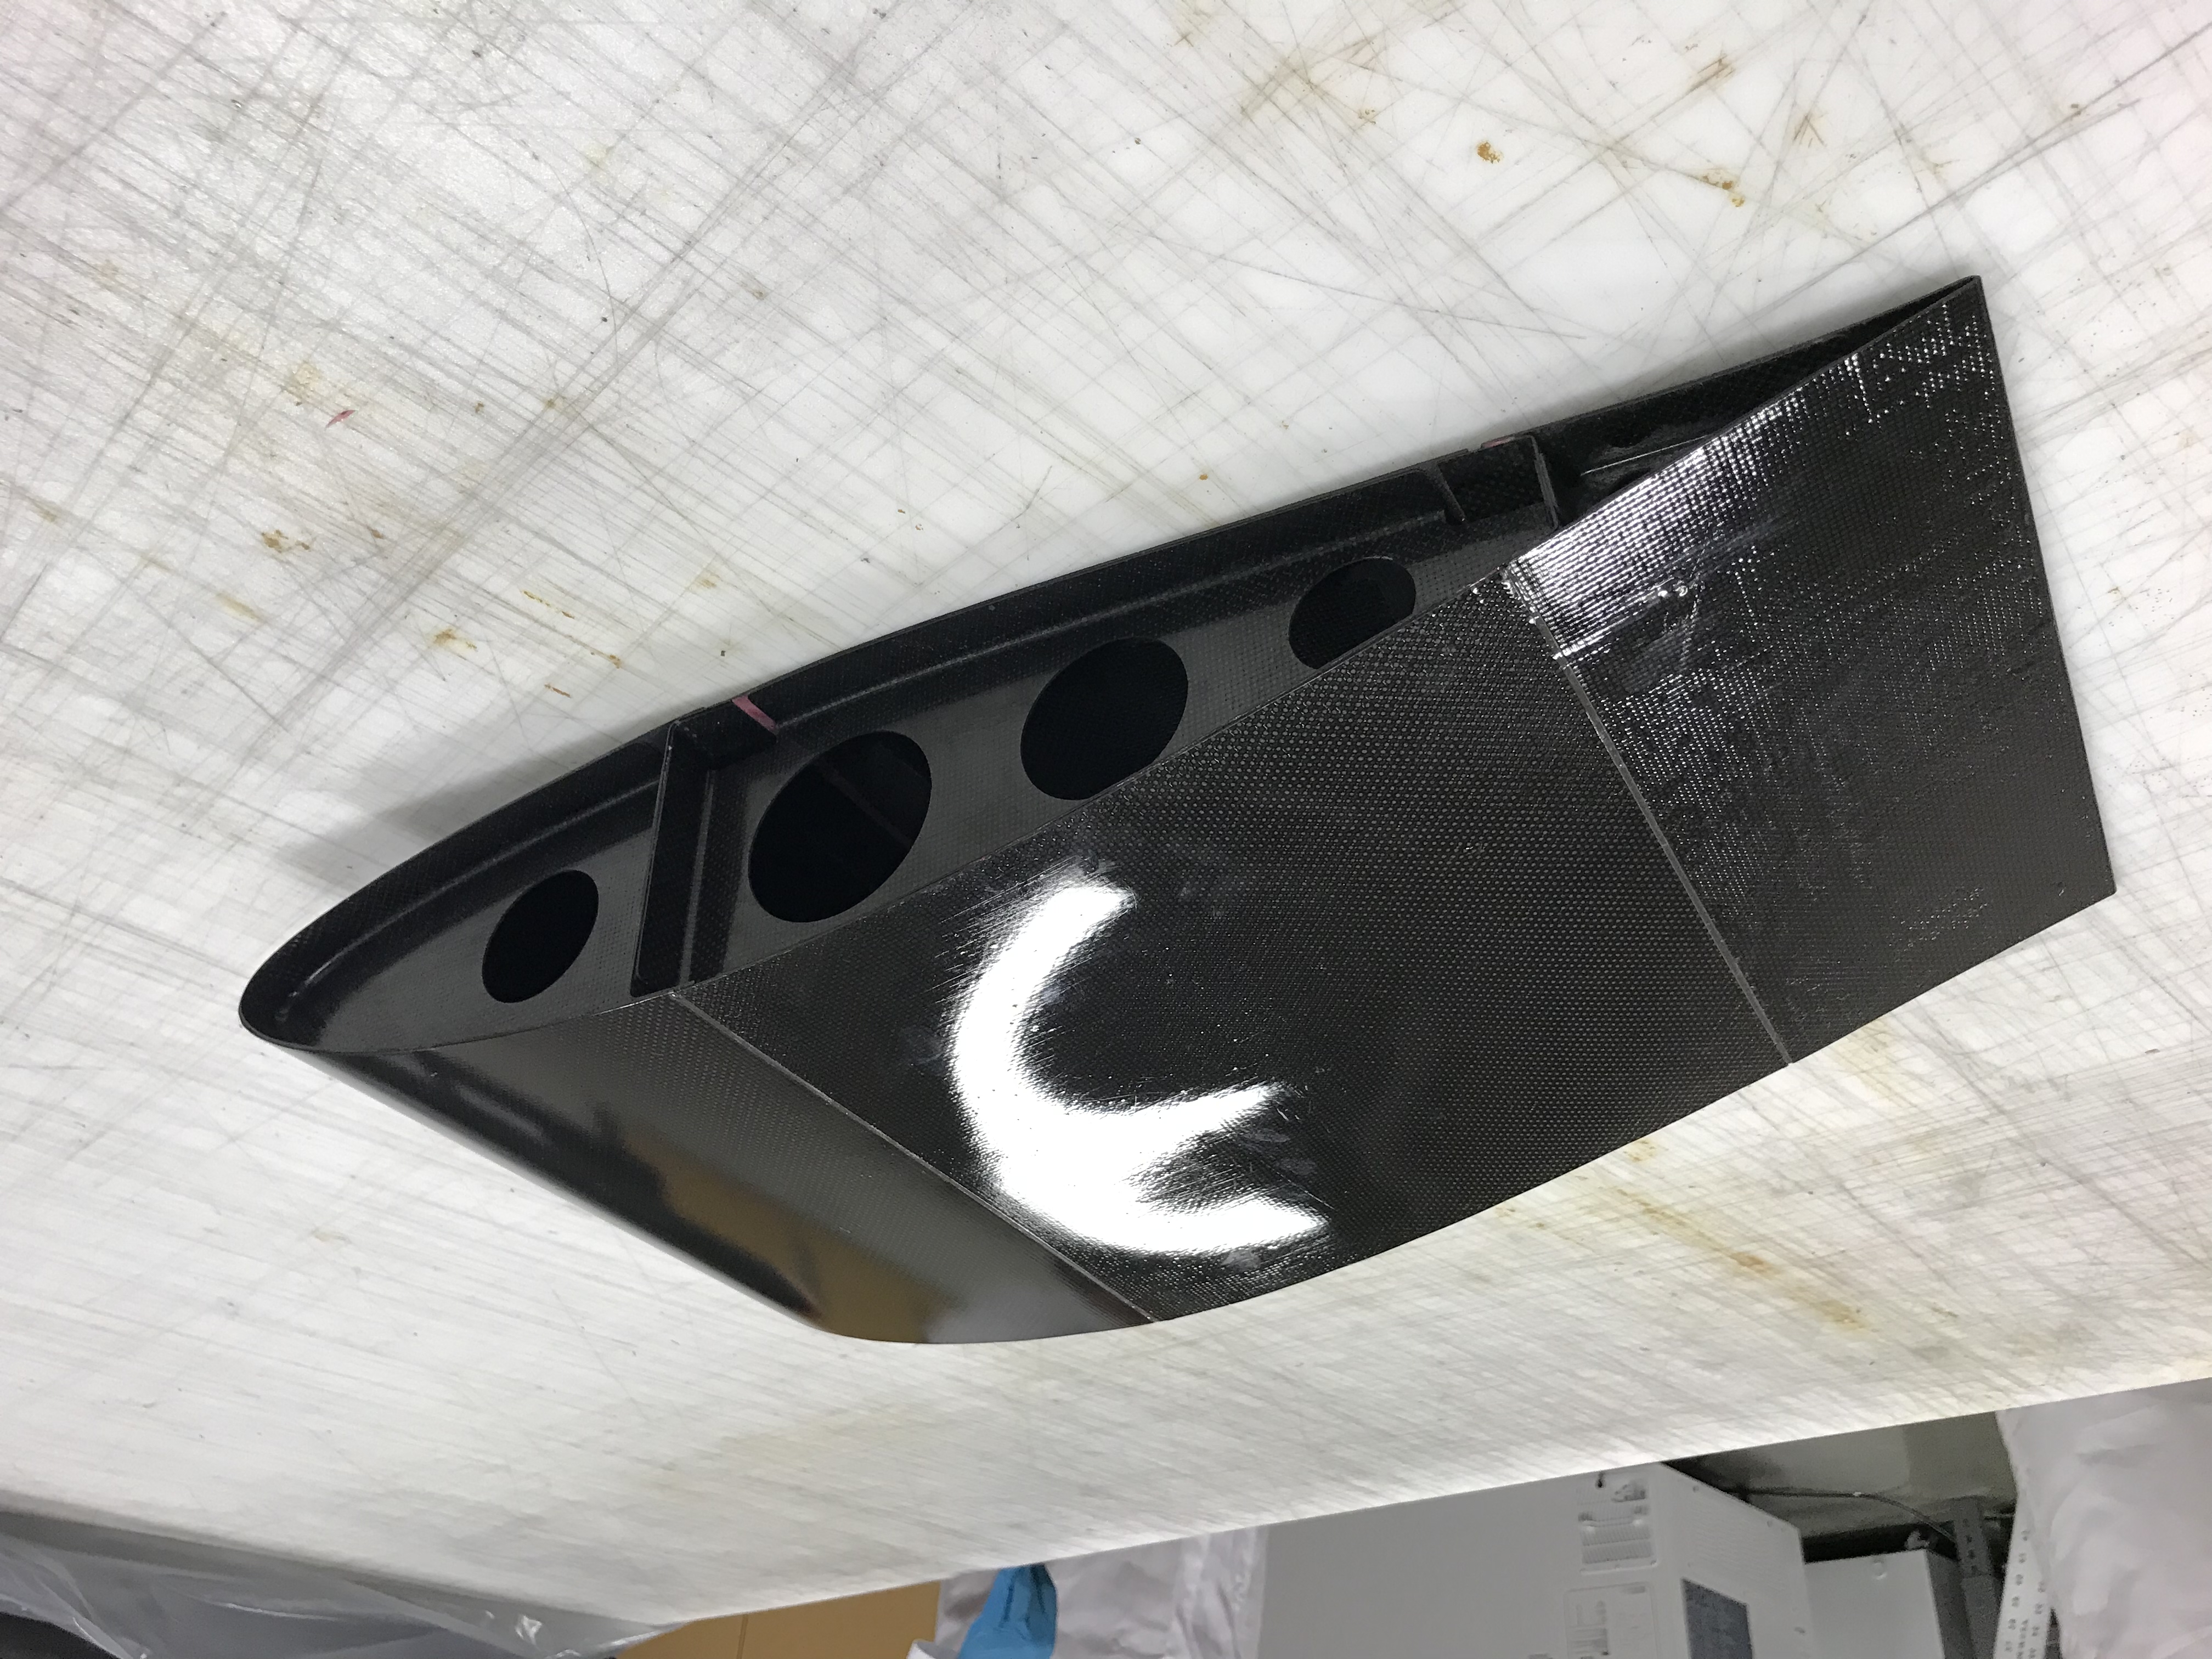
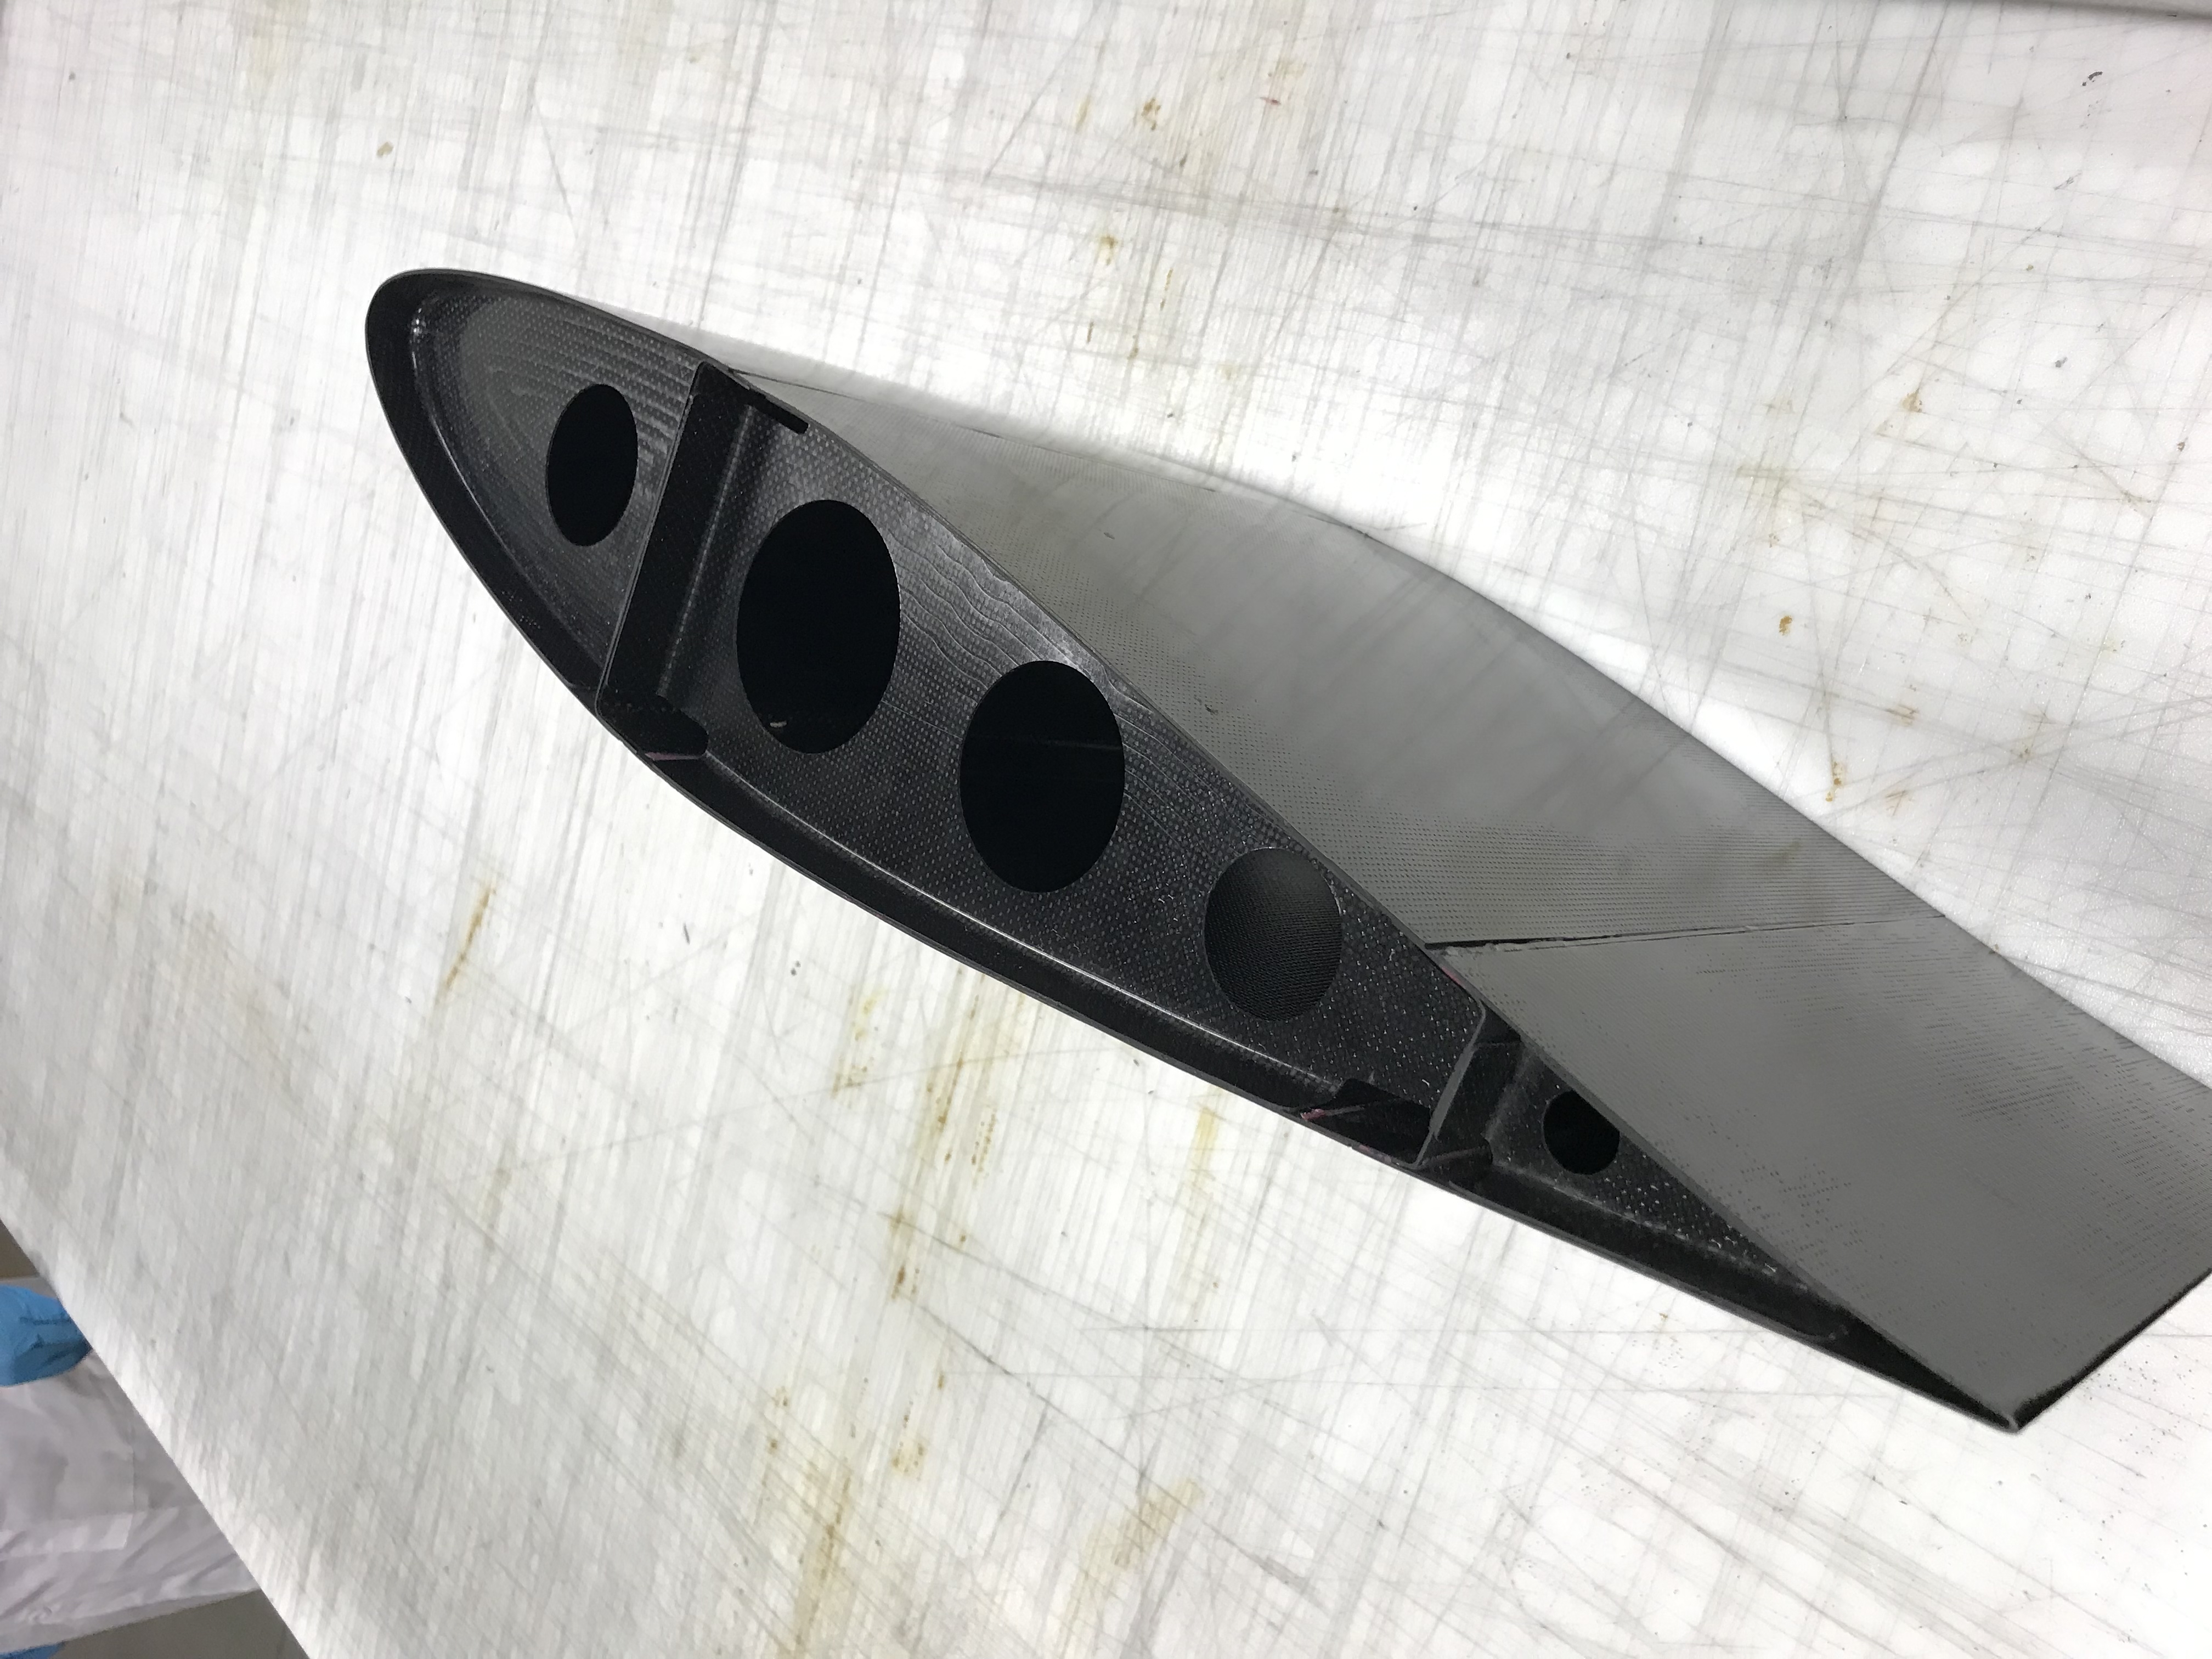
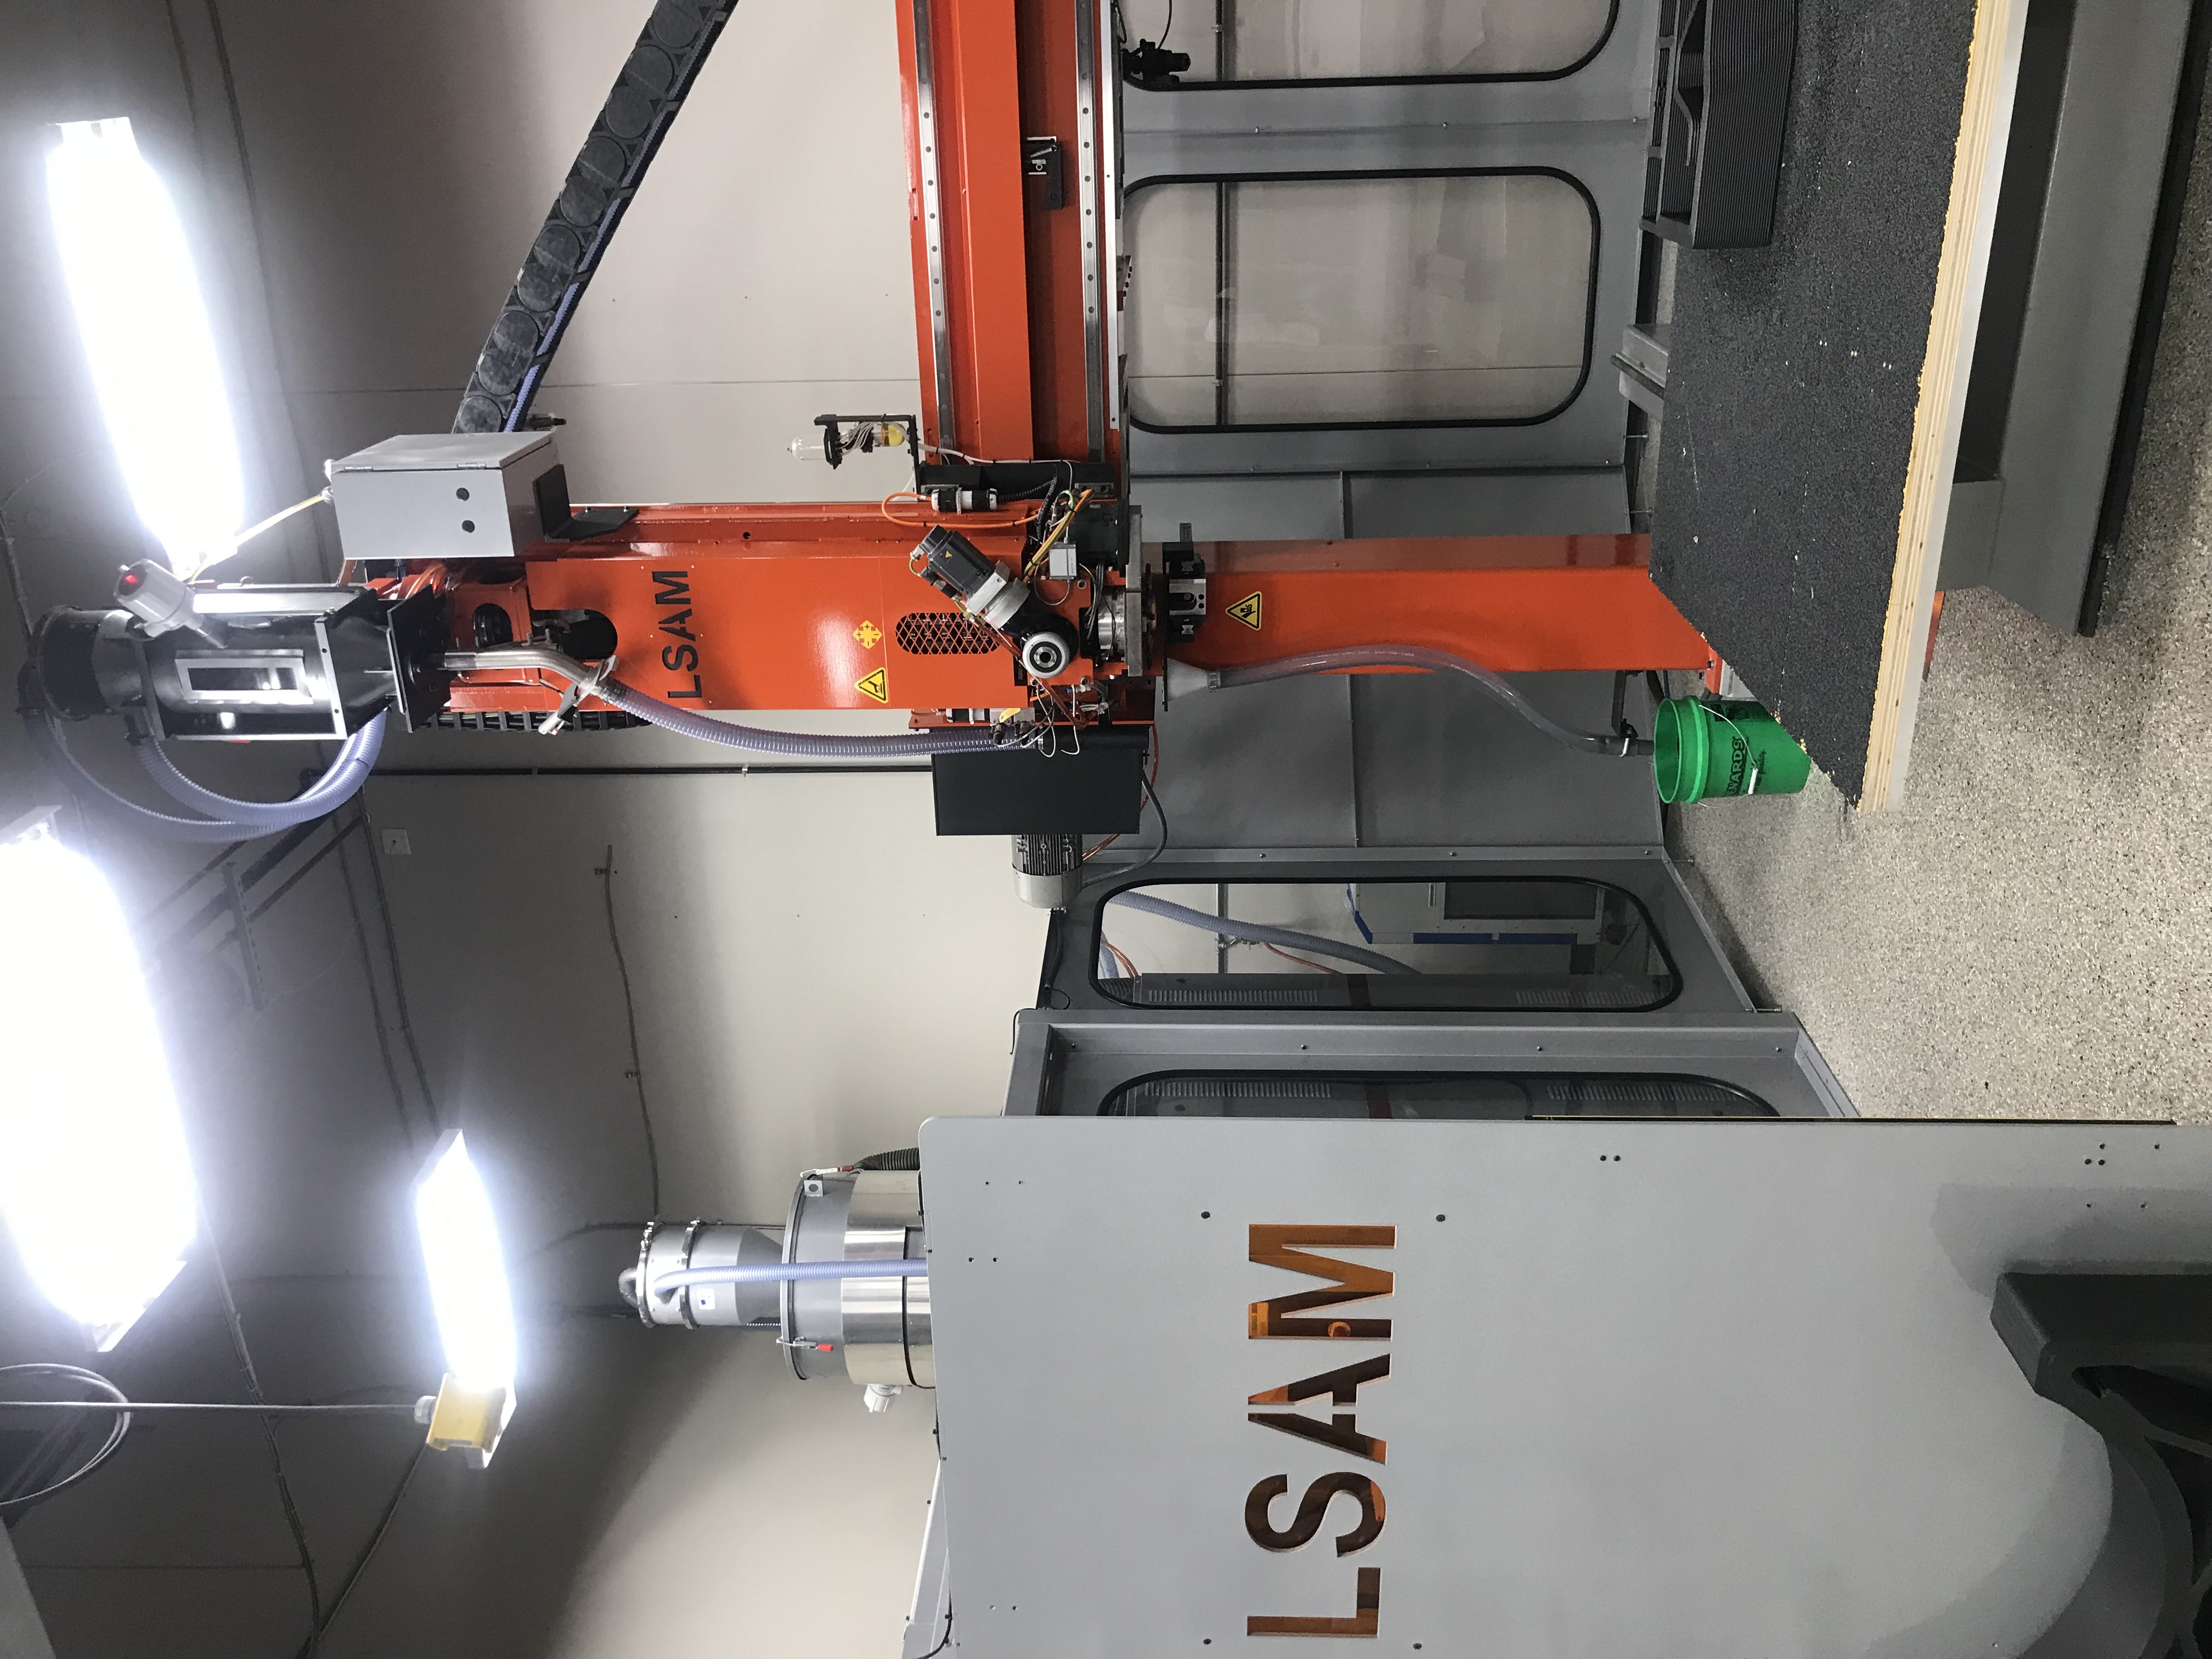
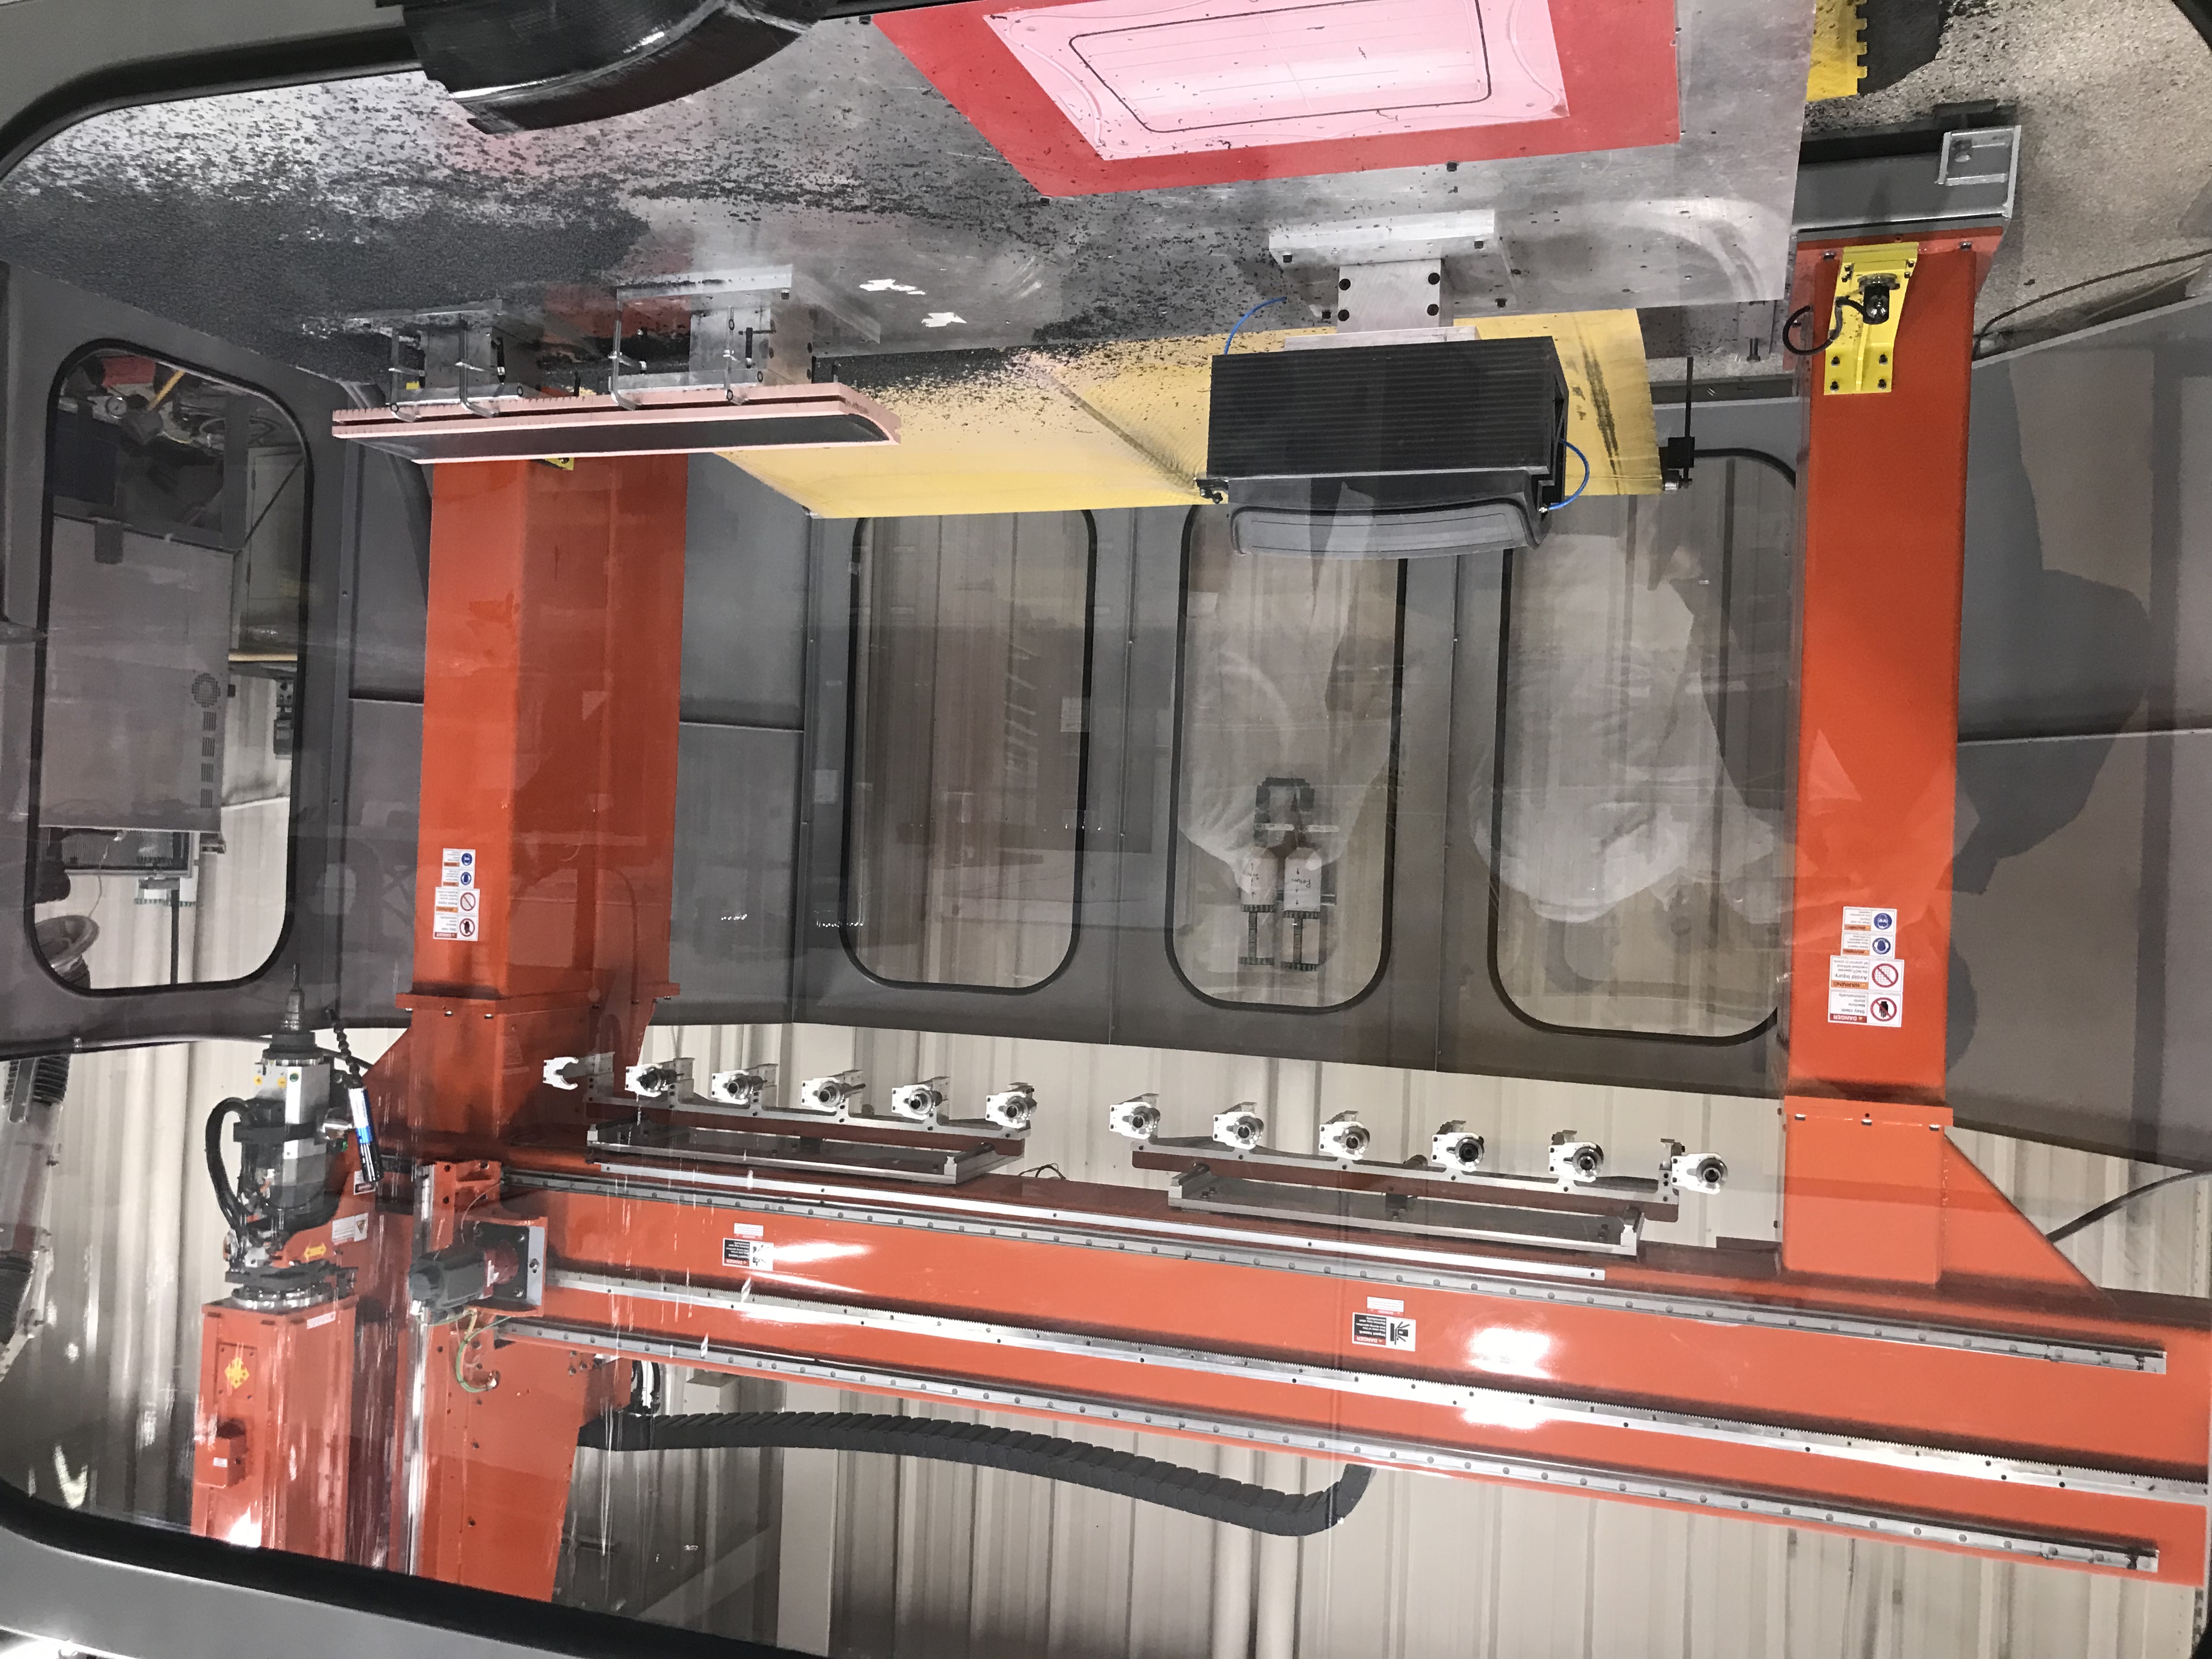
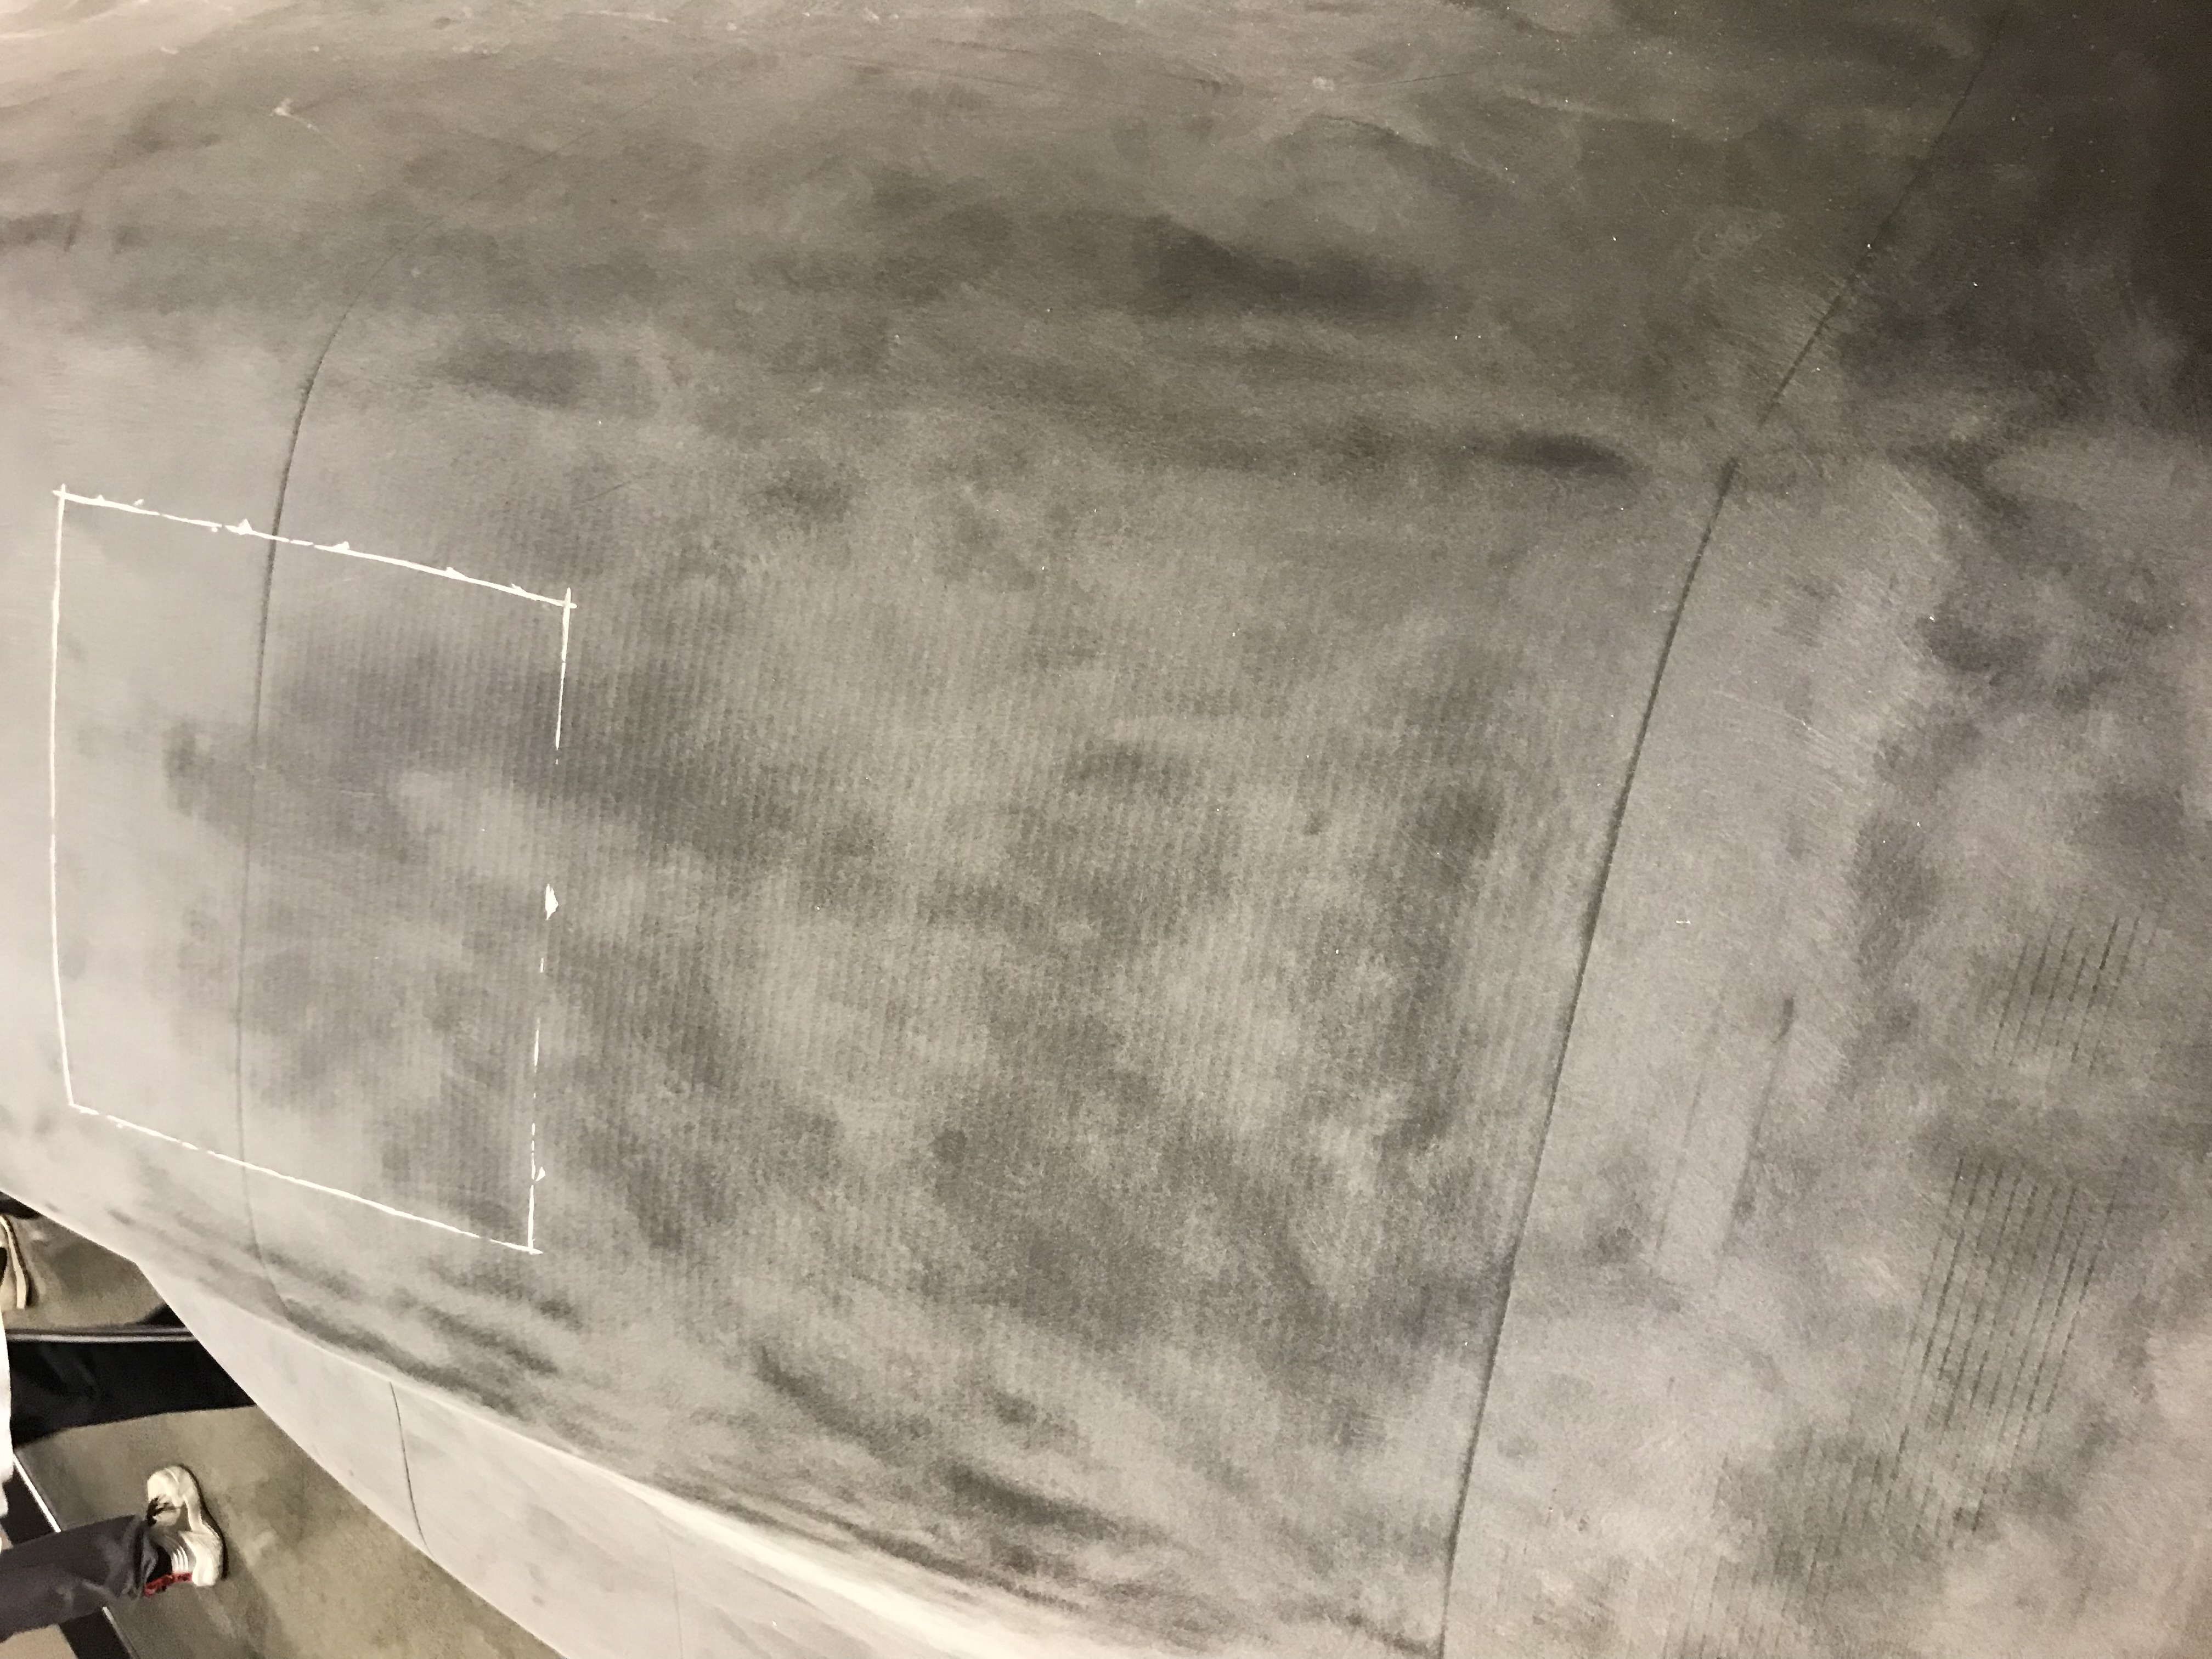
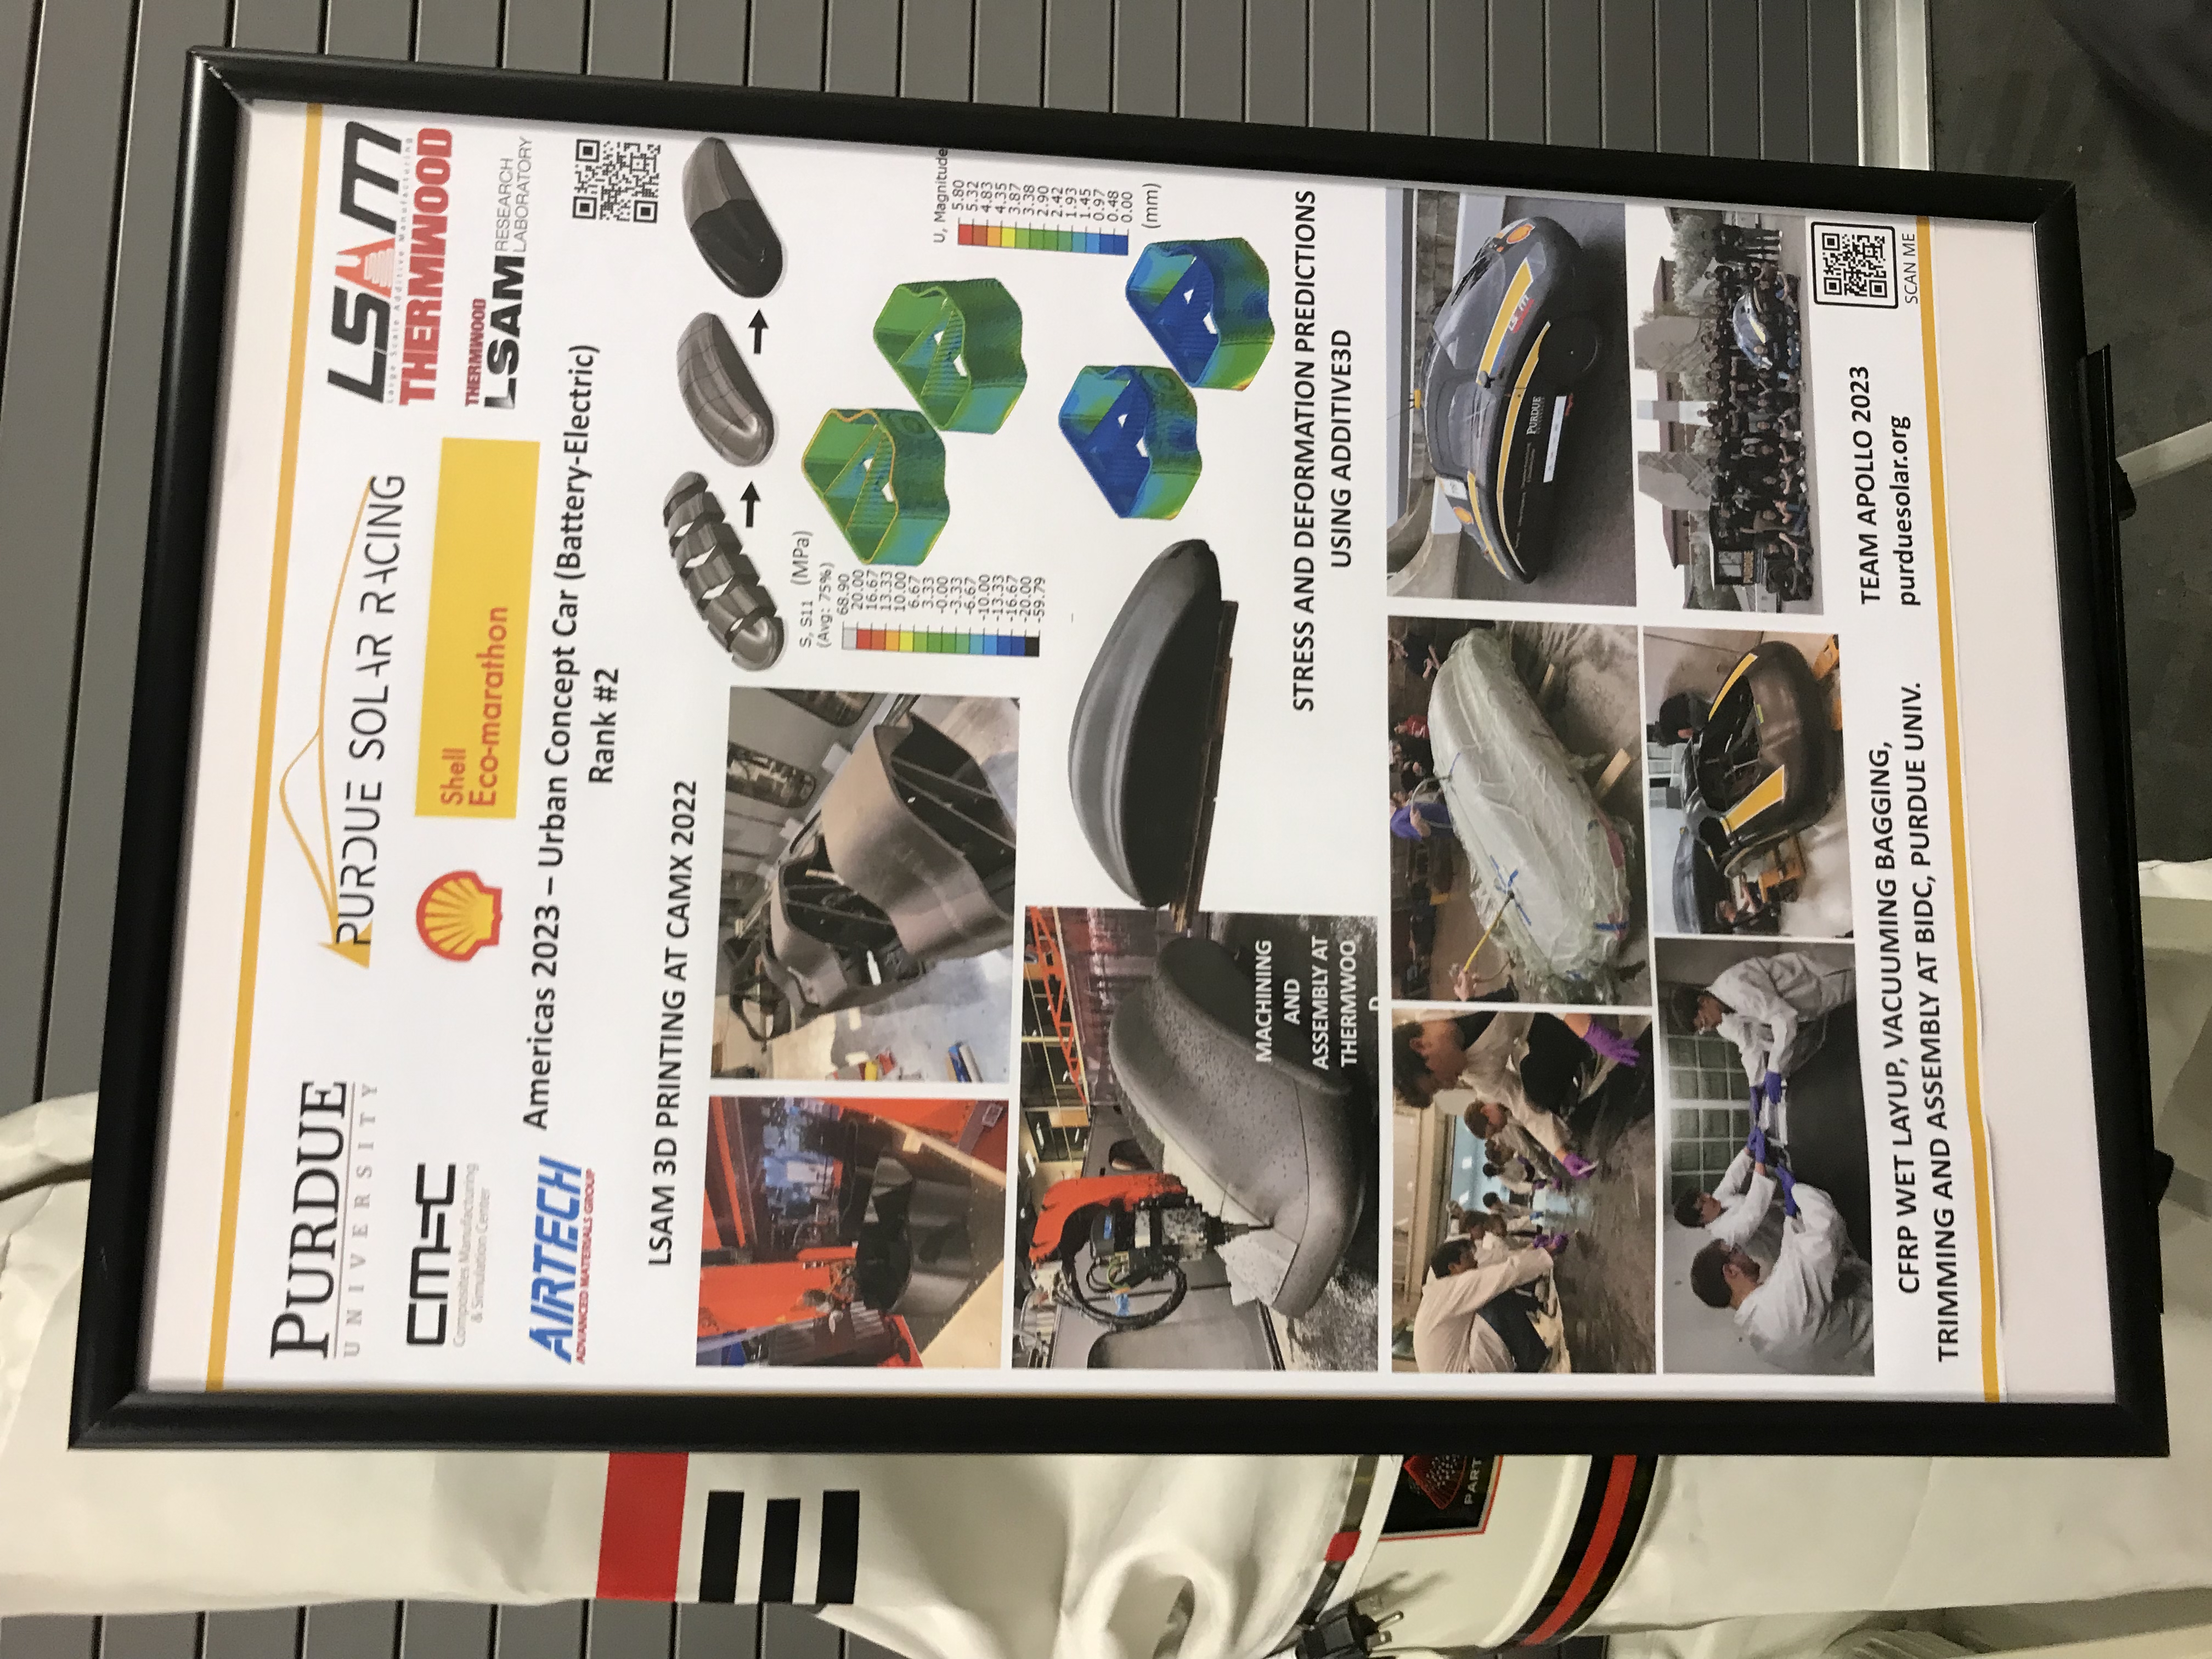
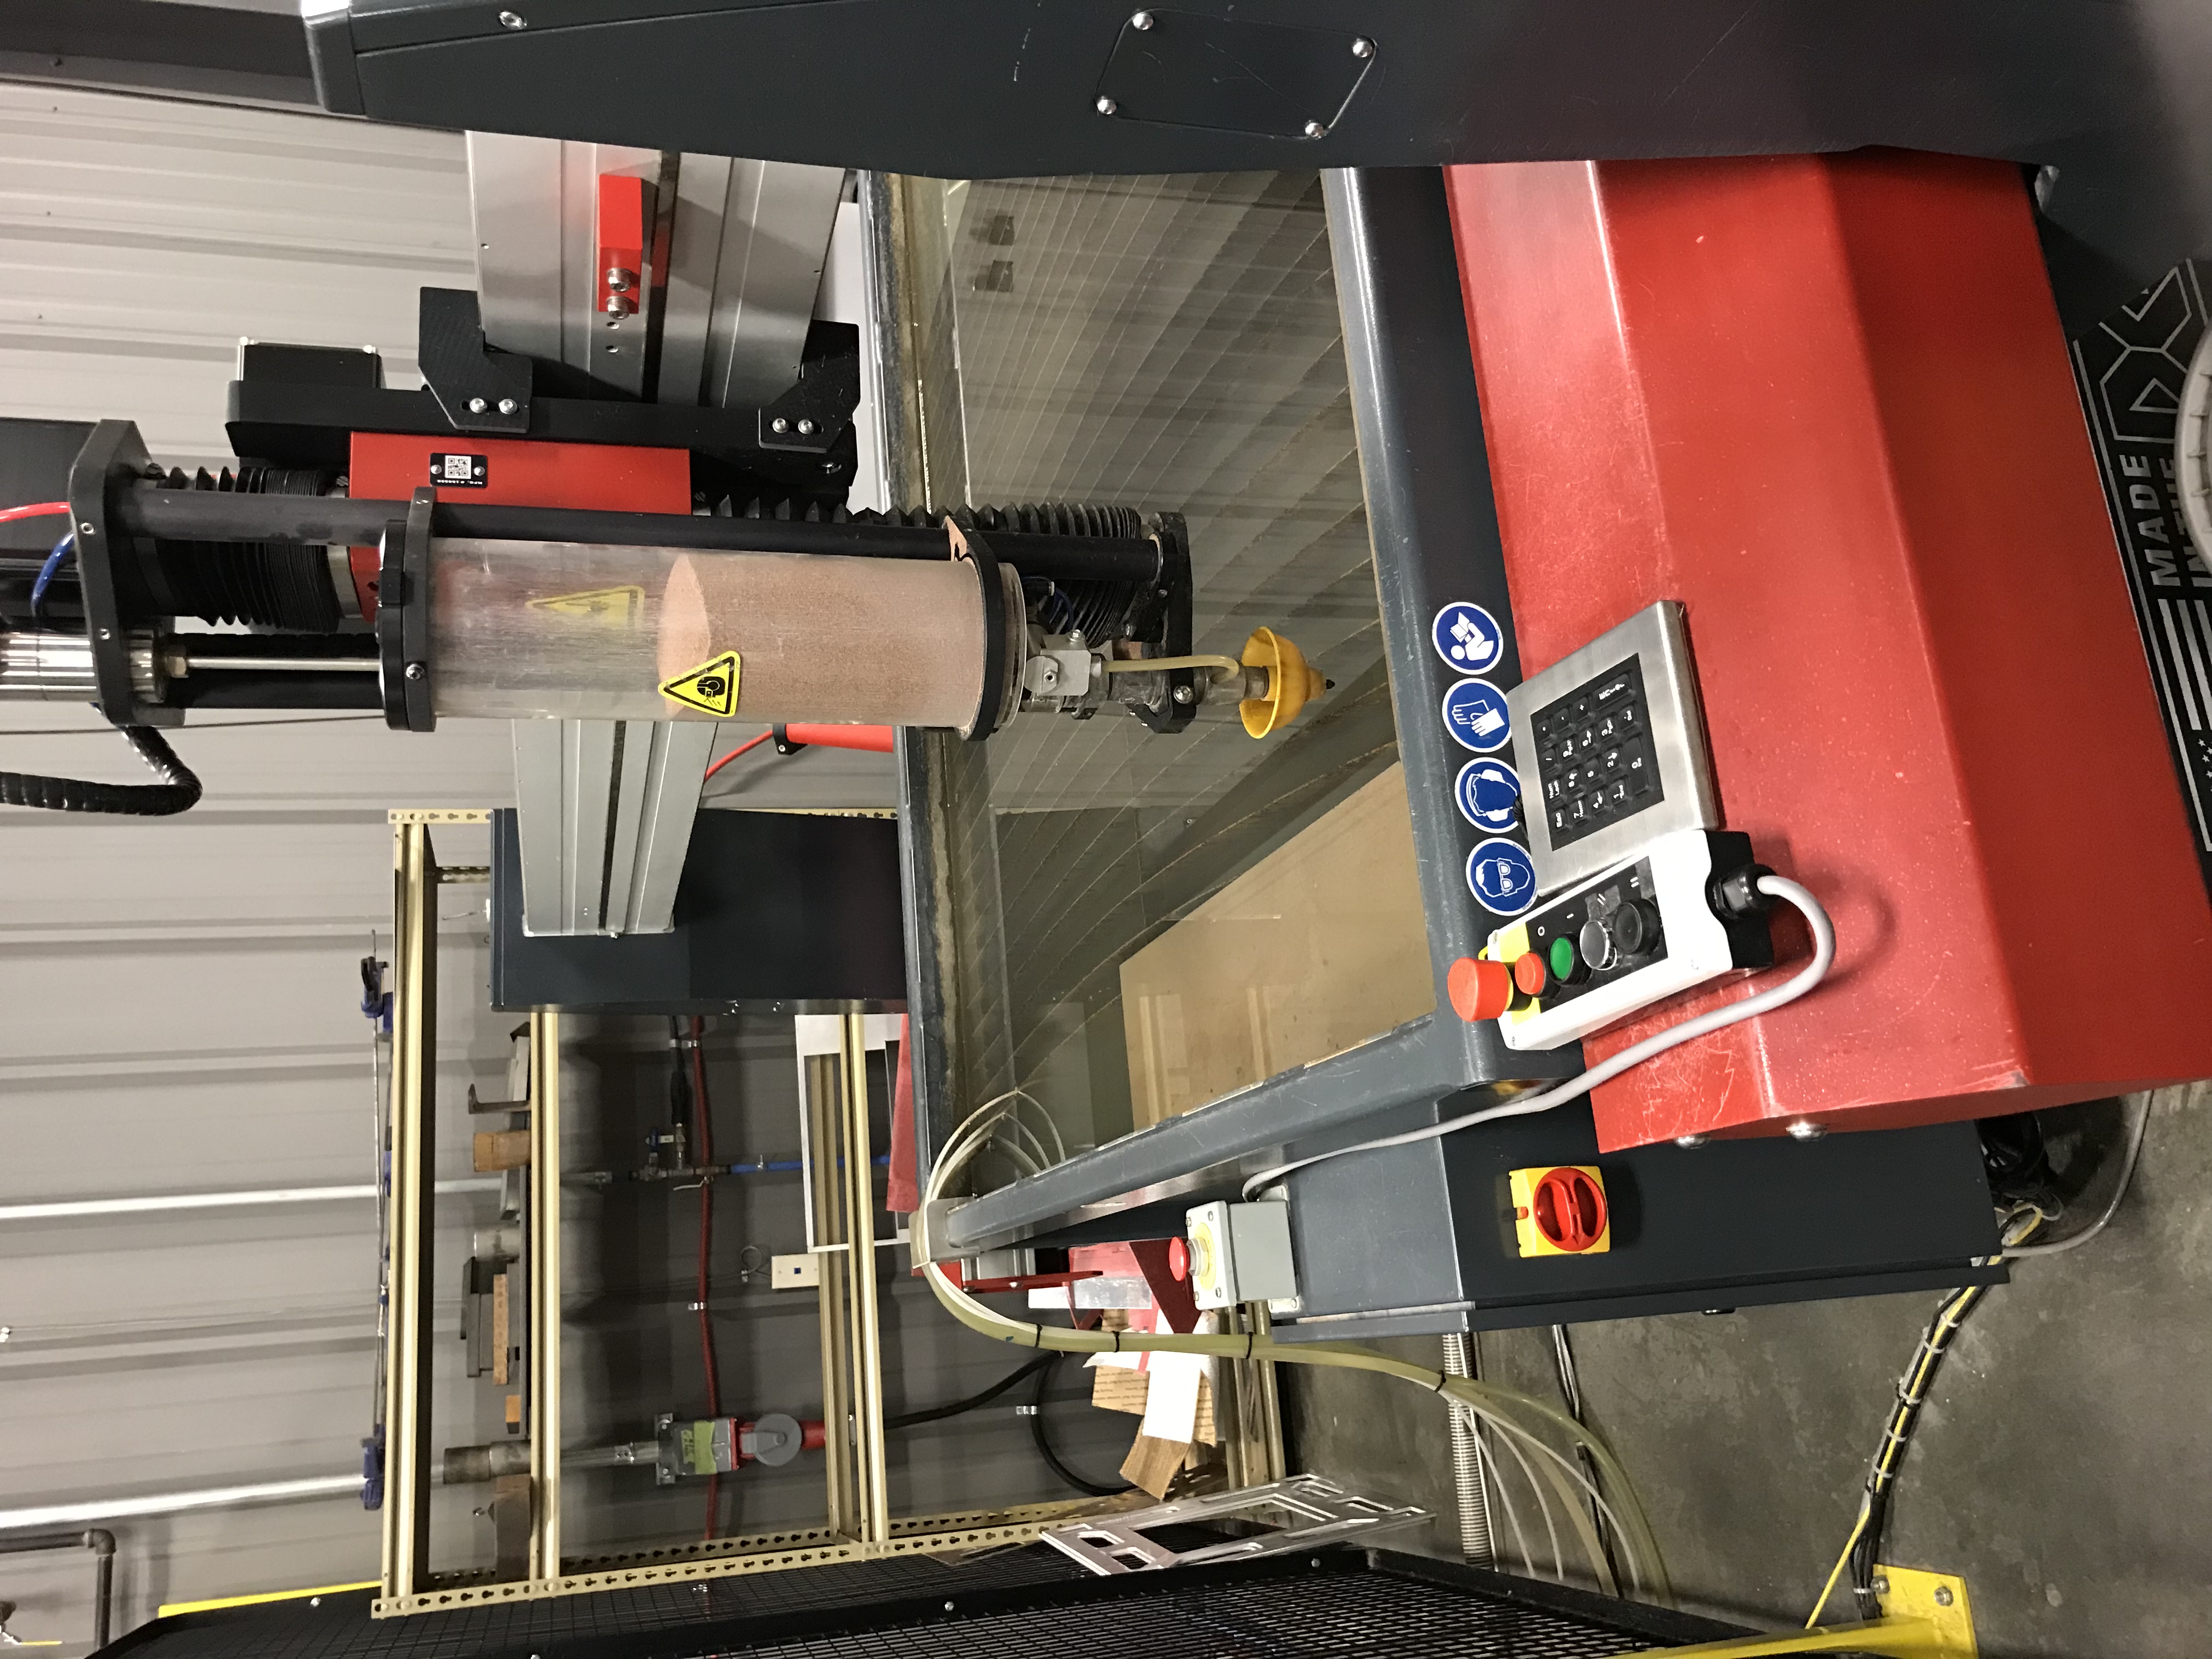
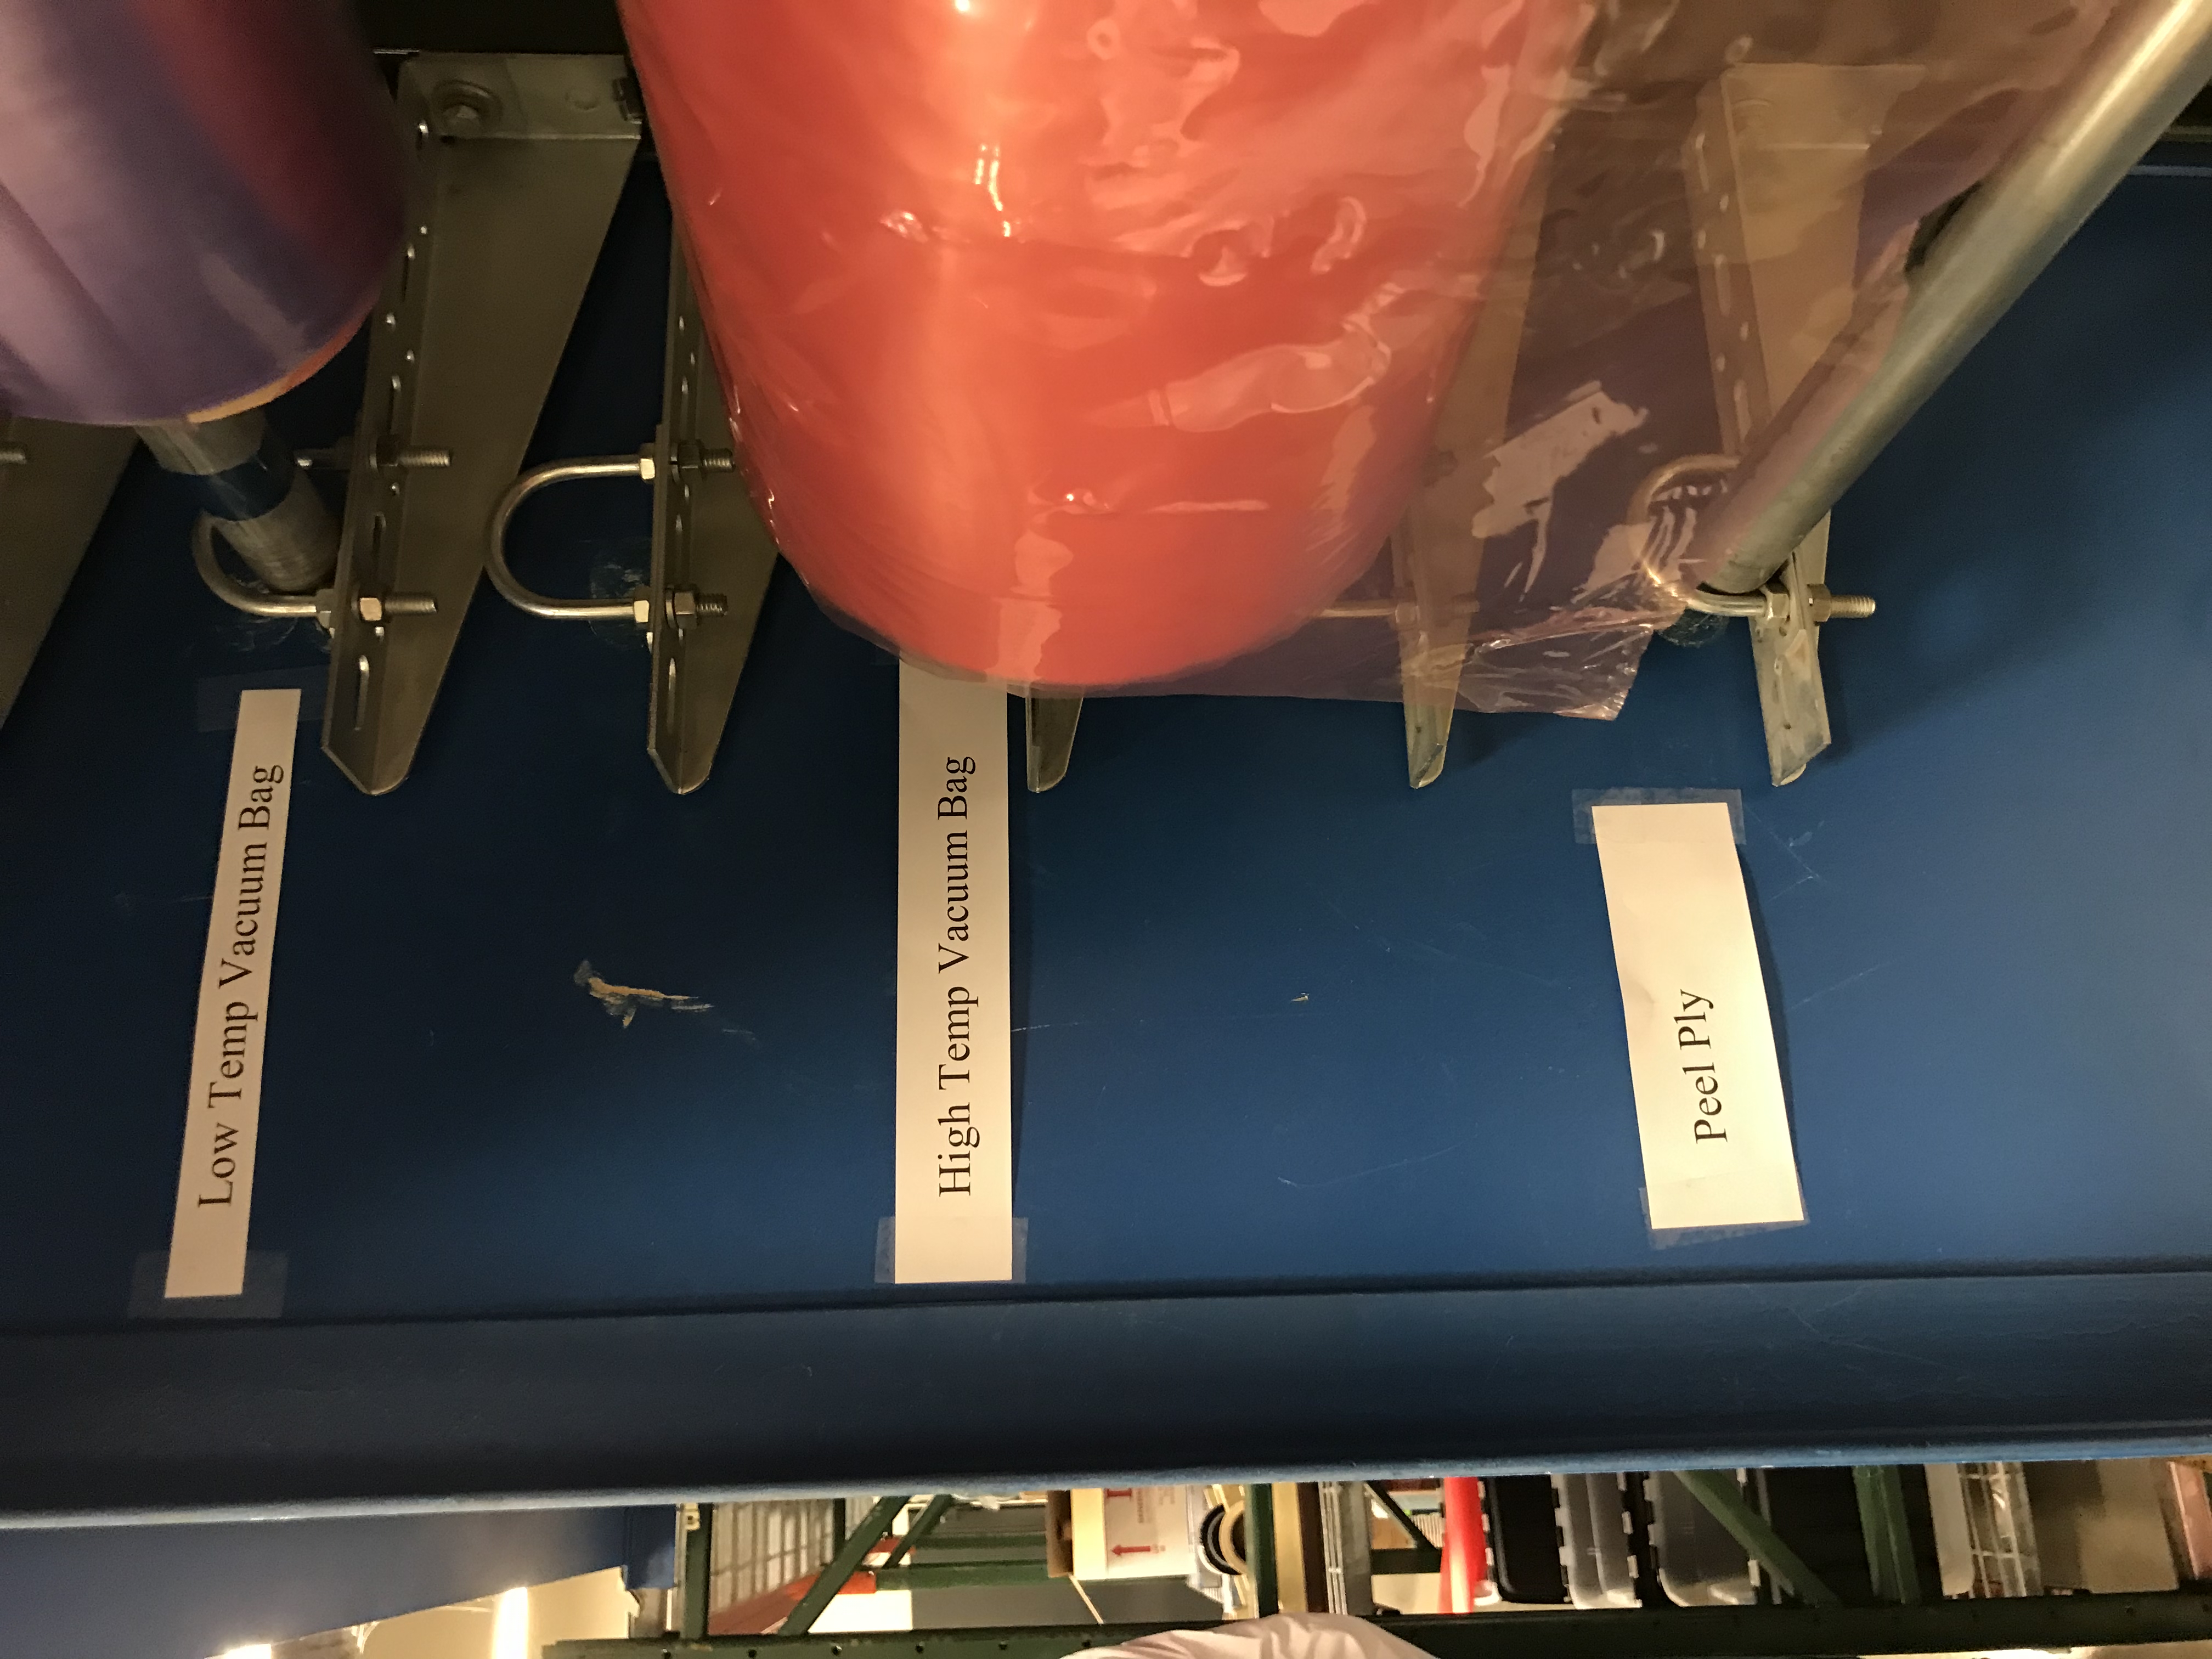
But before we start the lab, let’s have a tour of the entire facility.
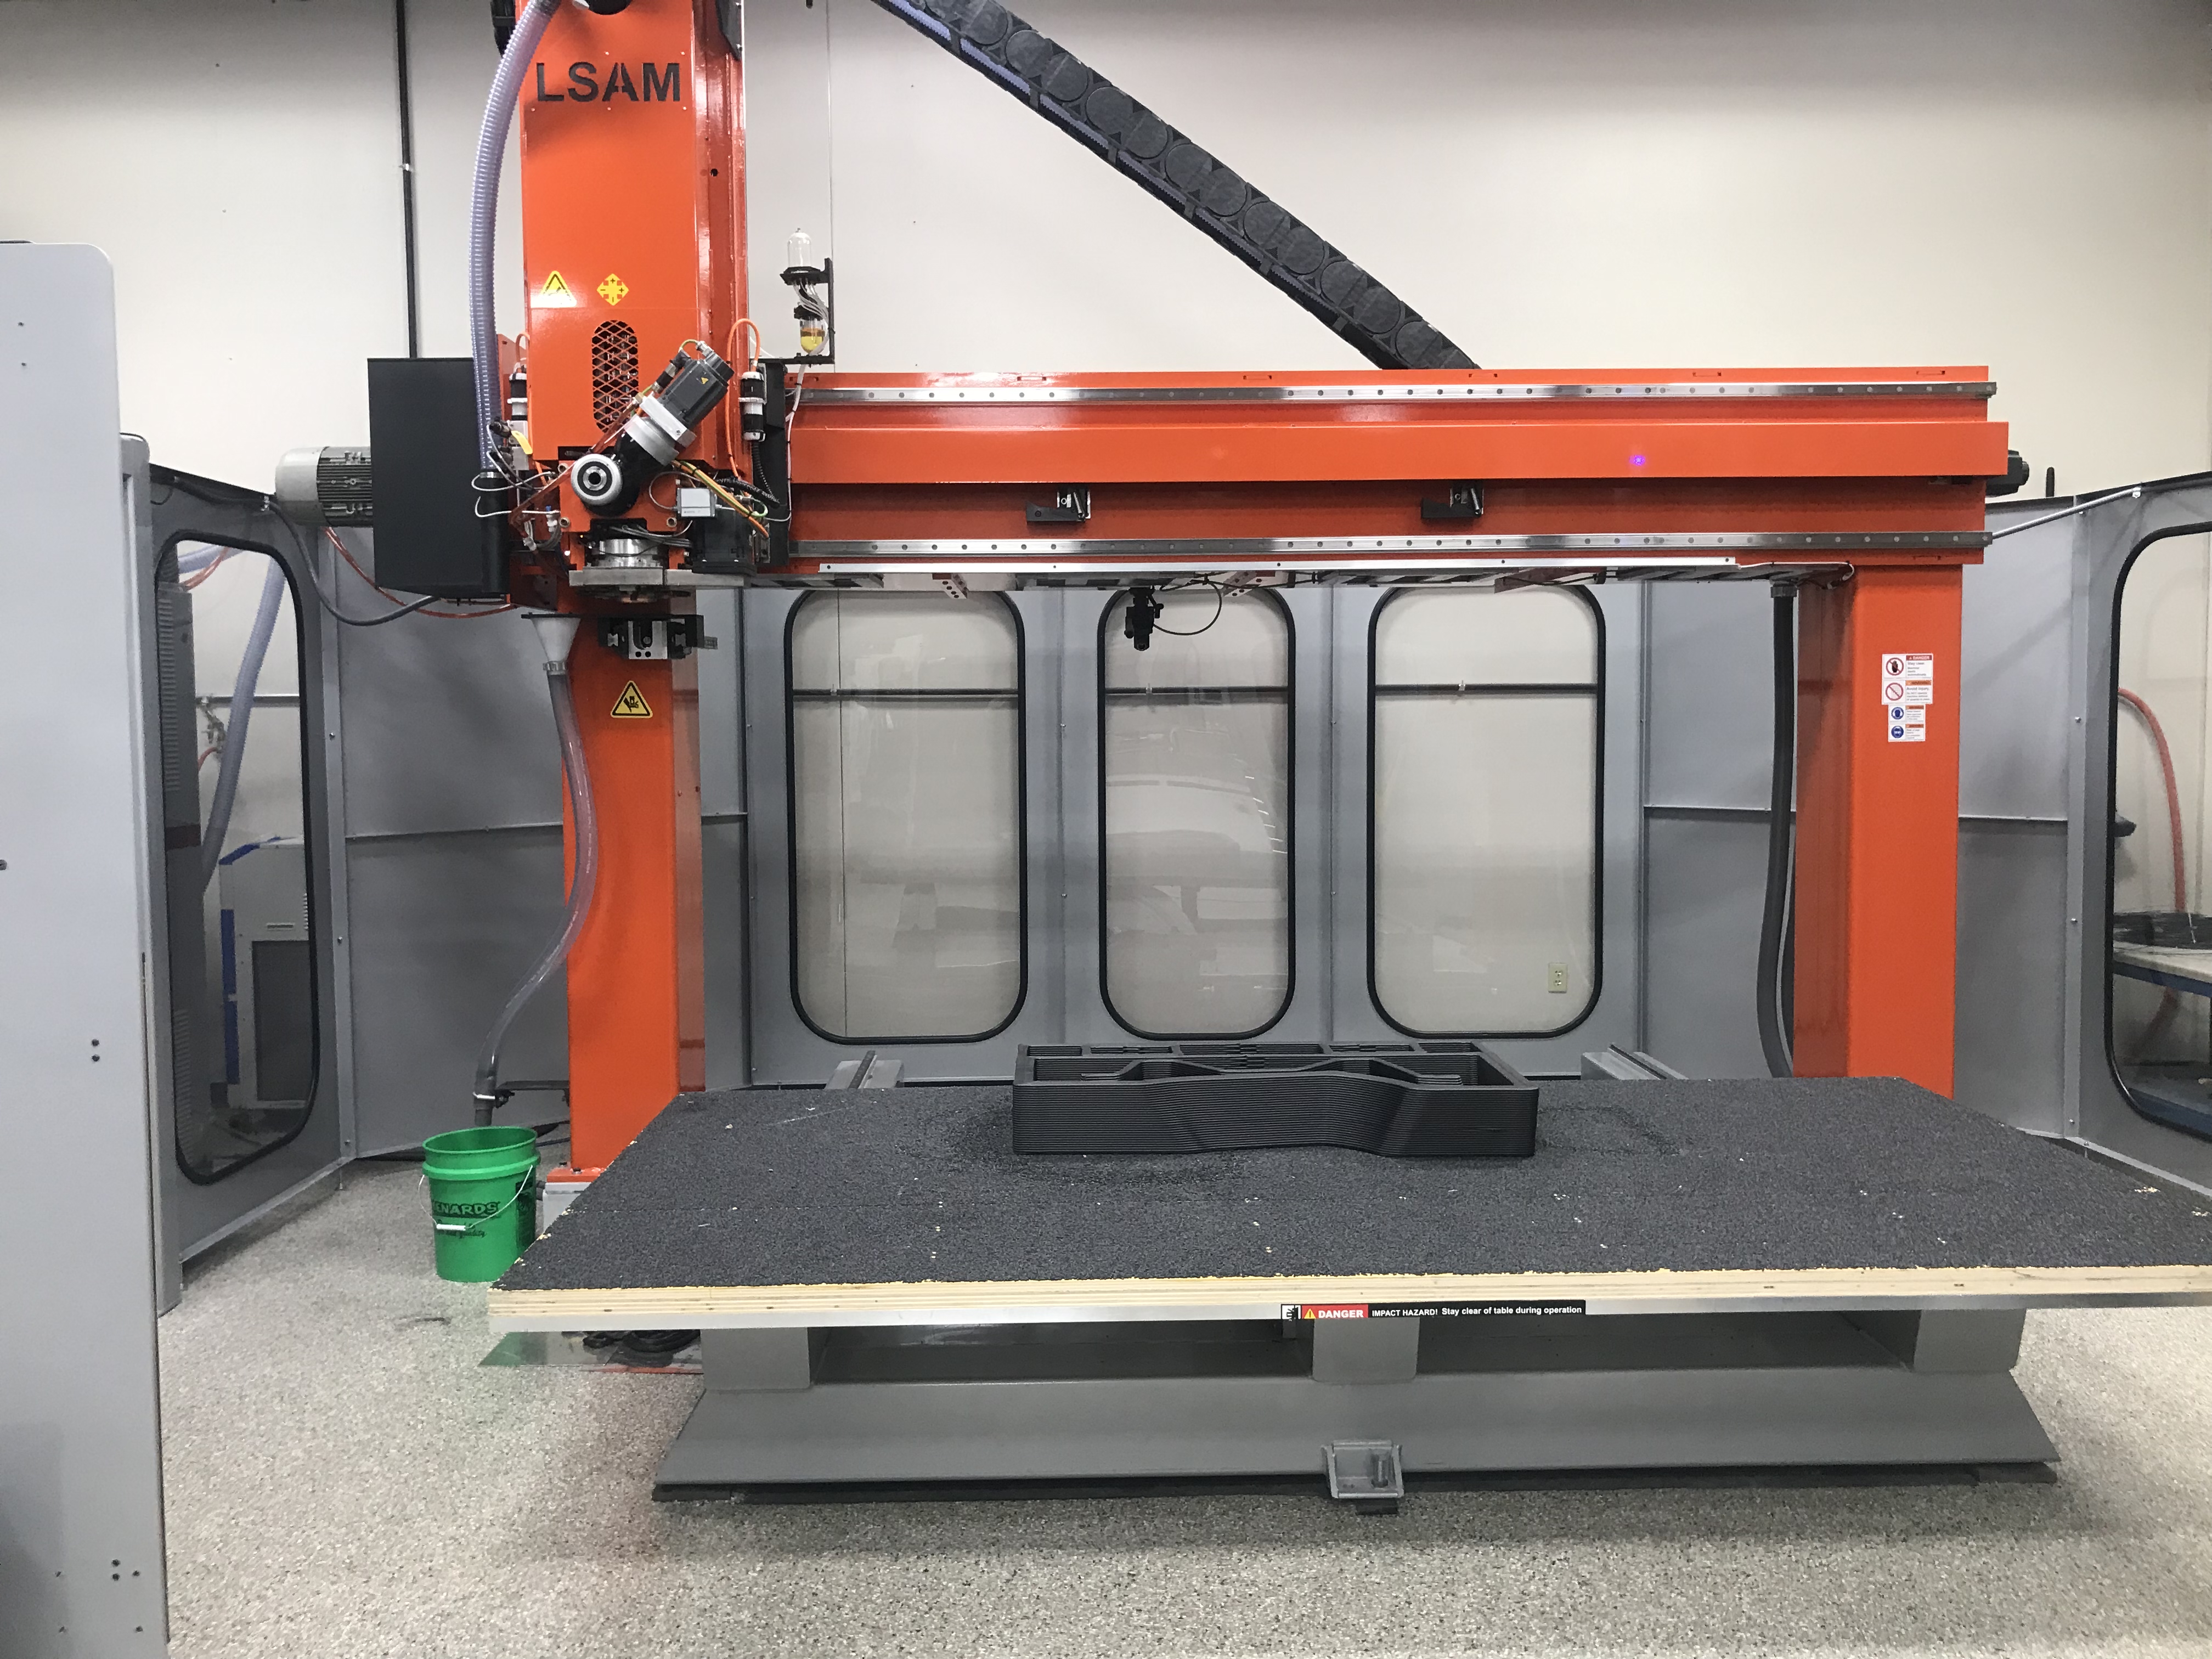
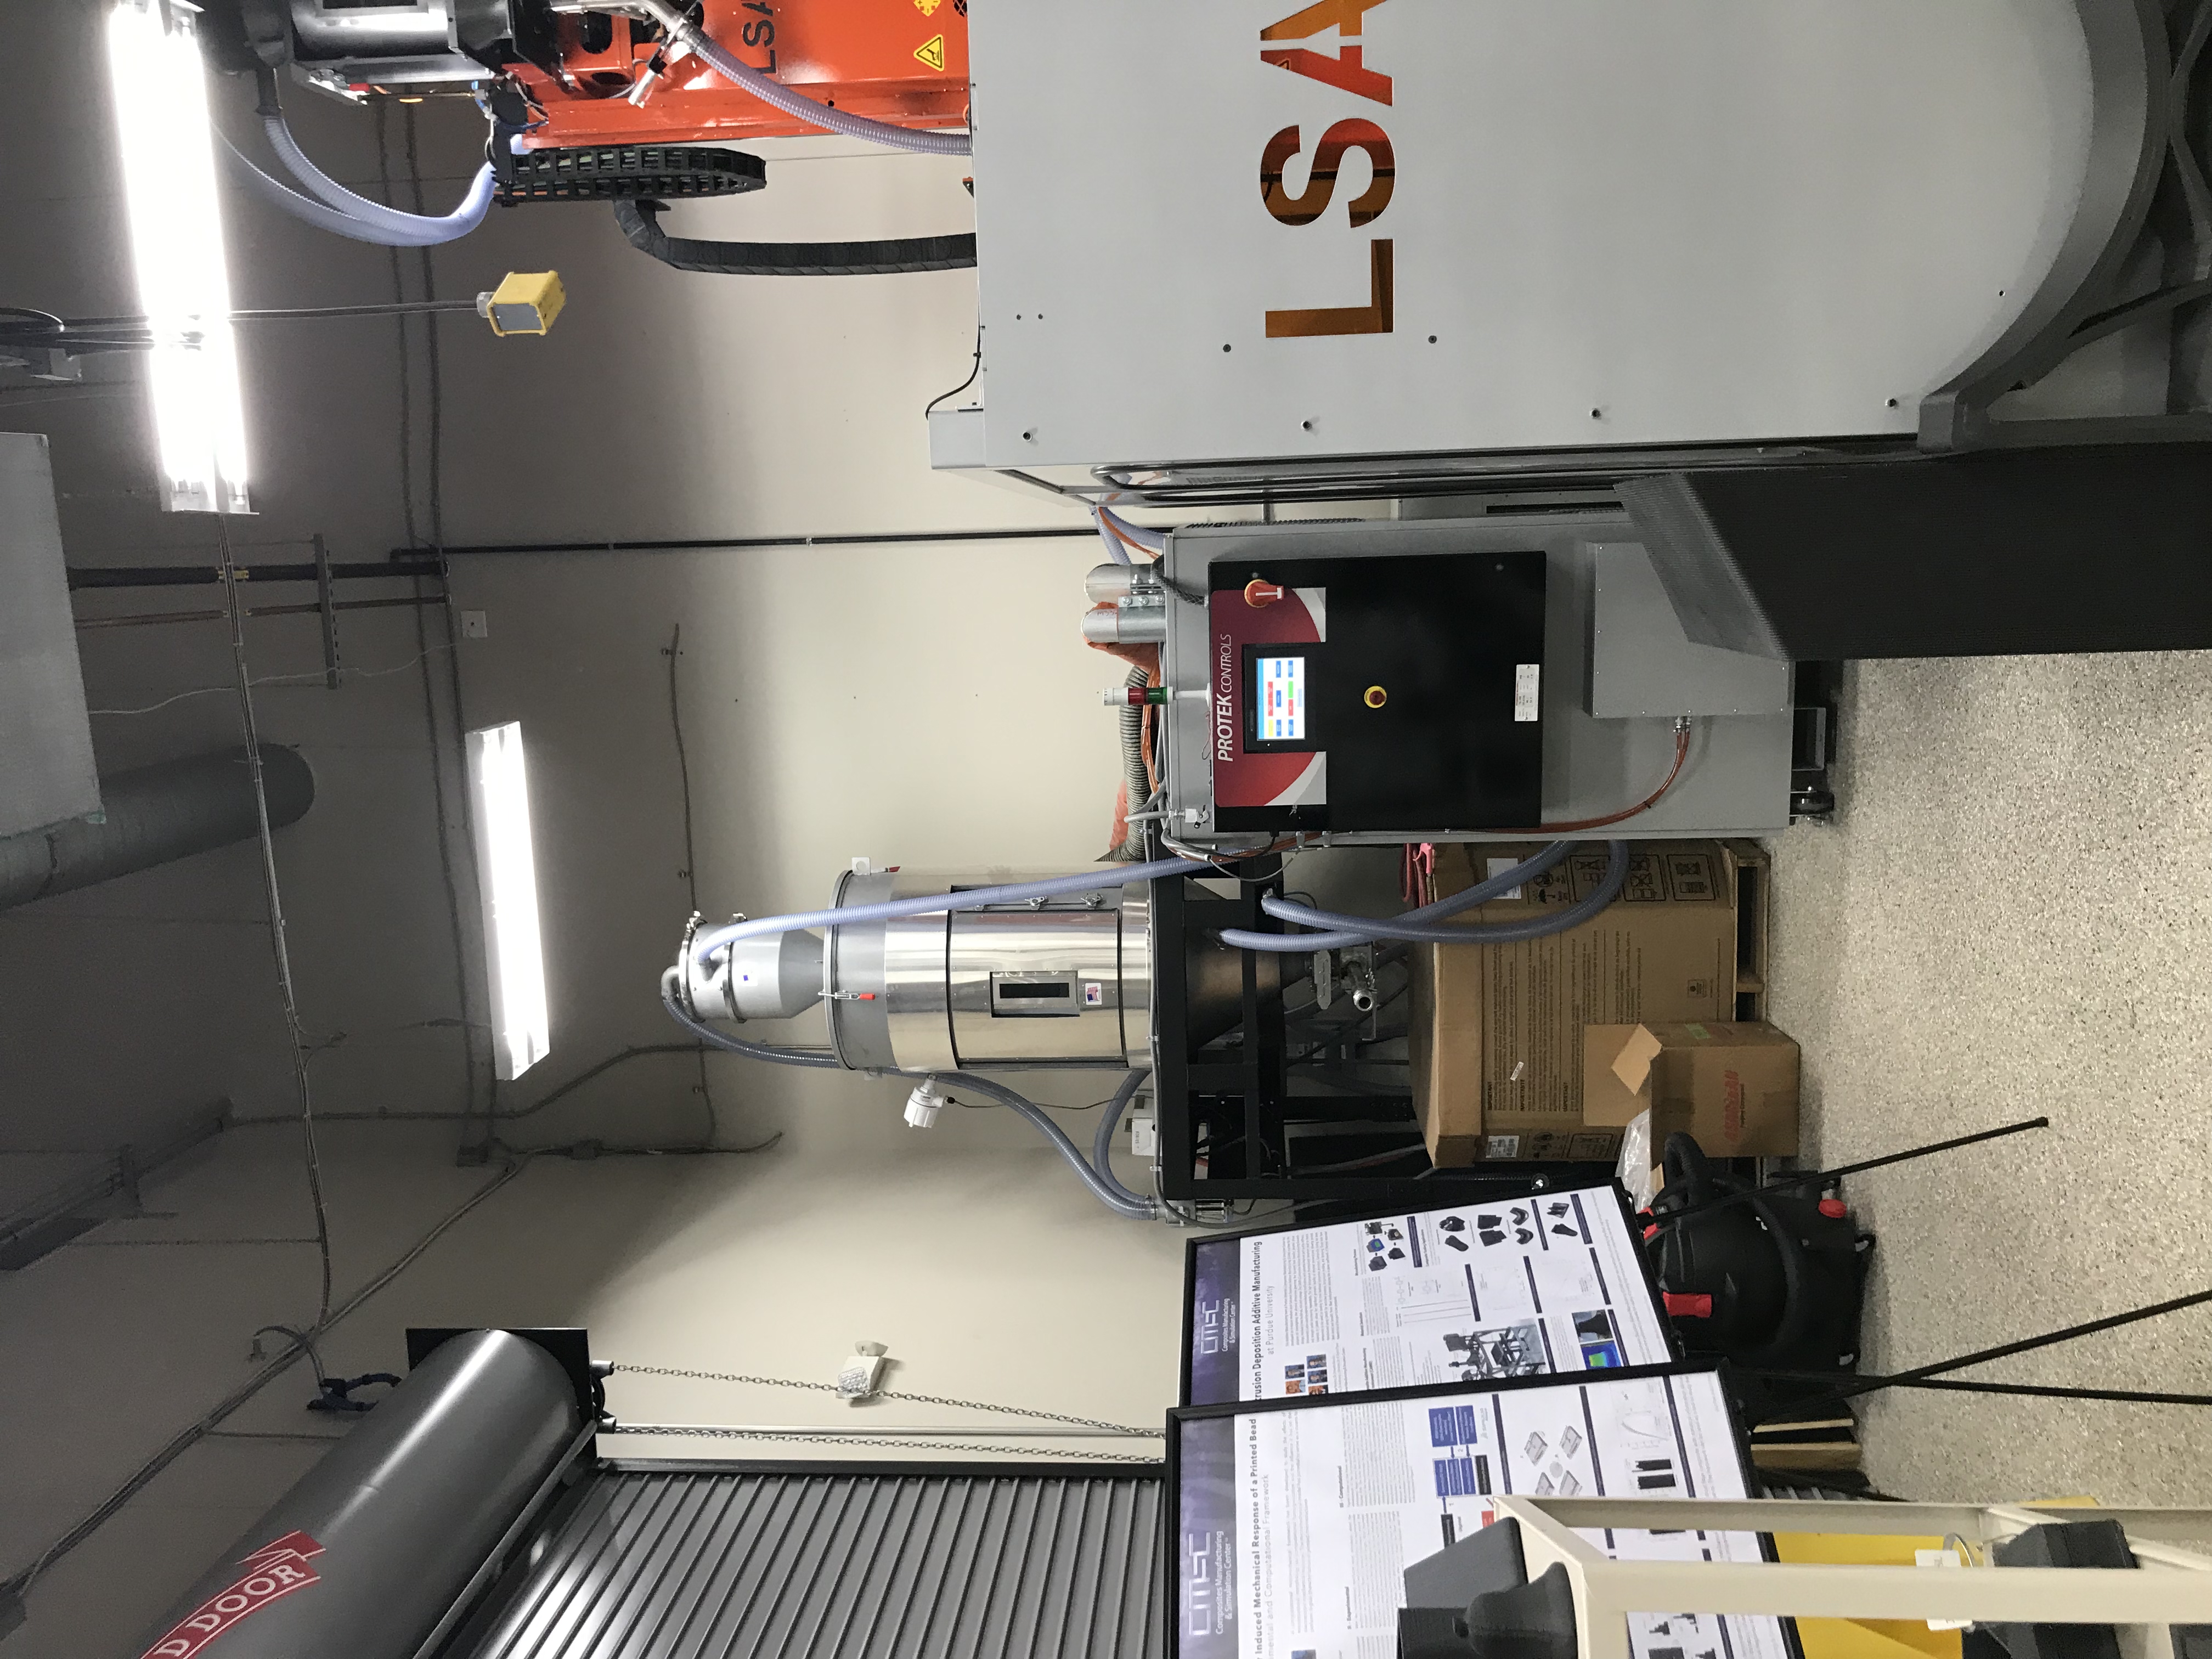
II. Lab Procedure
We put on the lab coats, gloves, and safety goggles.
A. Orientation, Symmetry and Balance
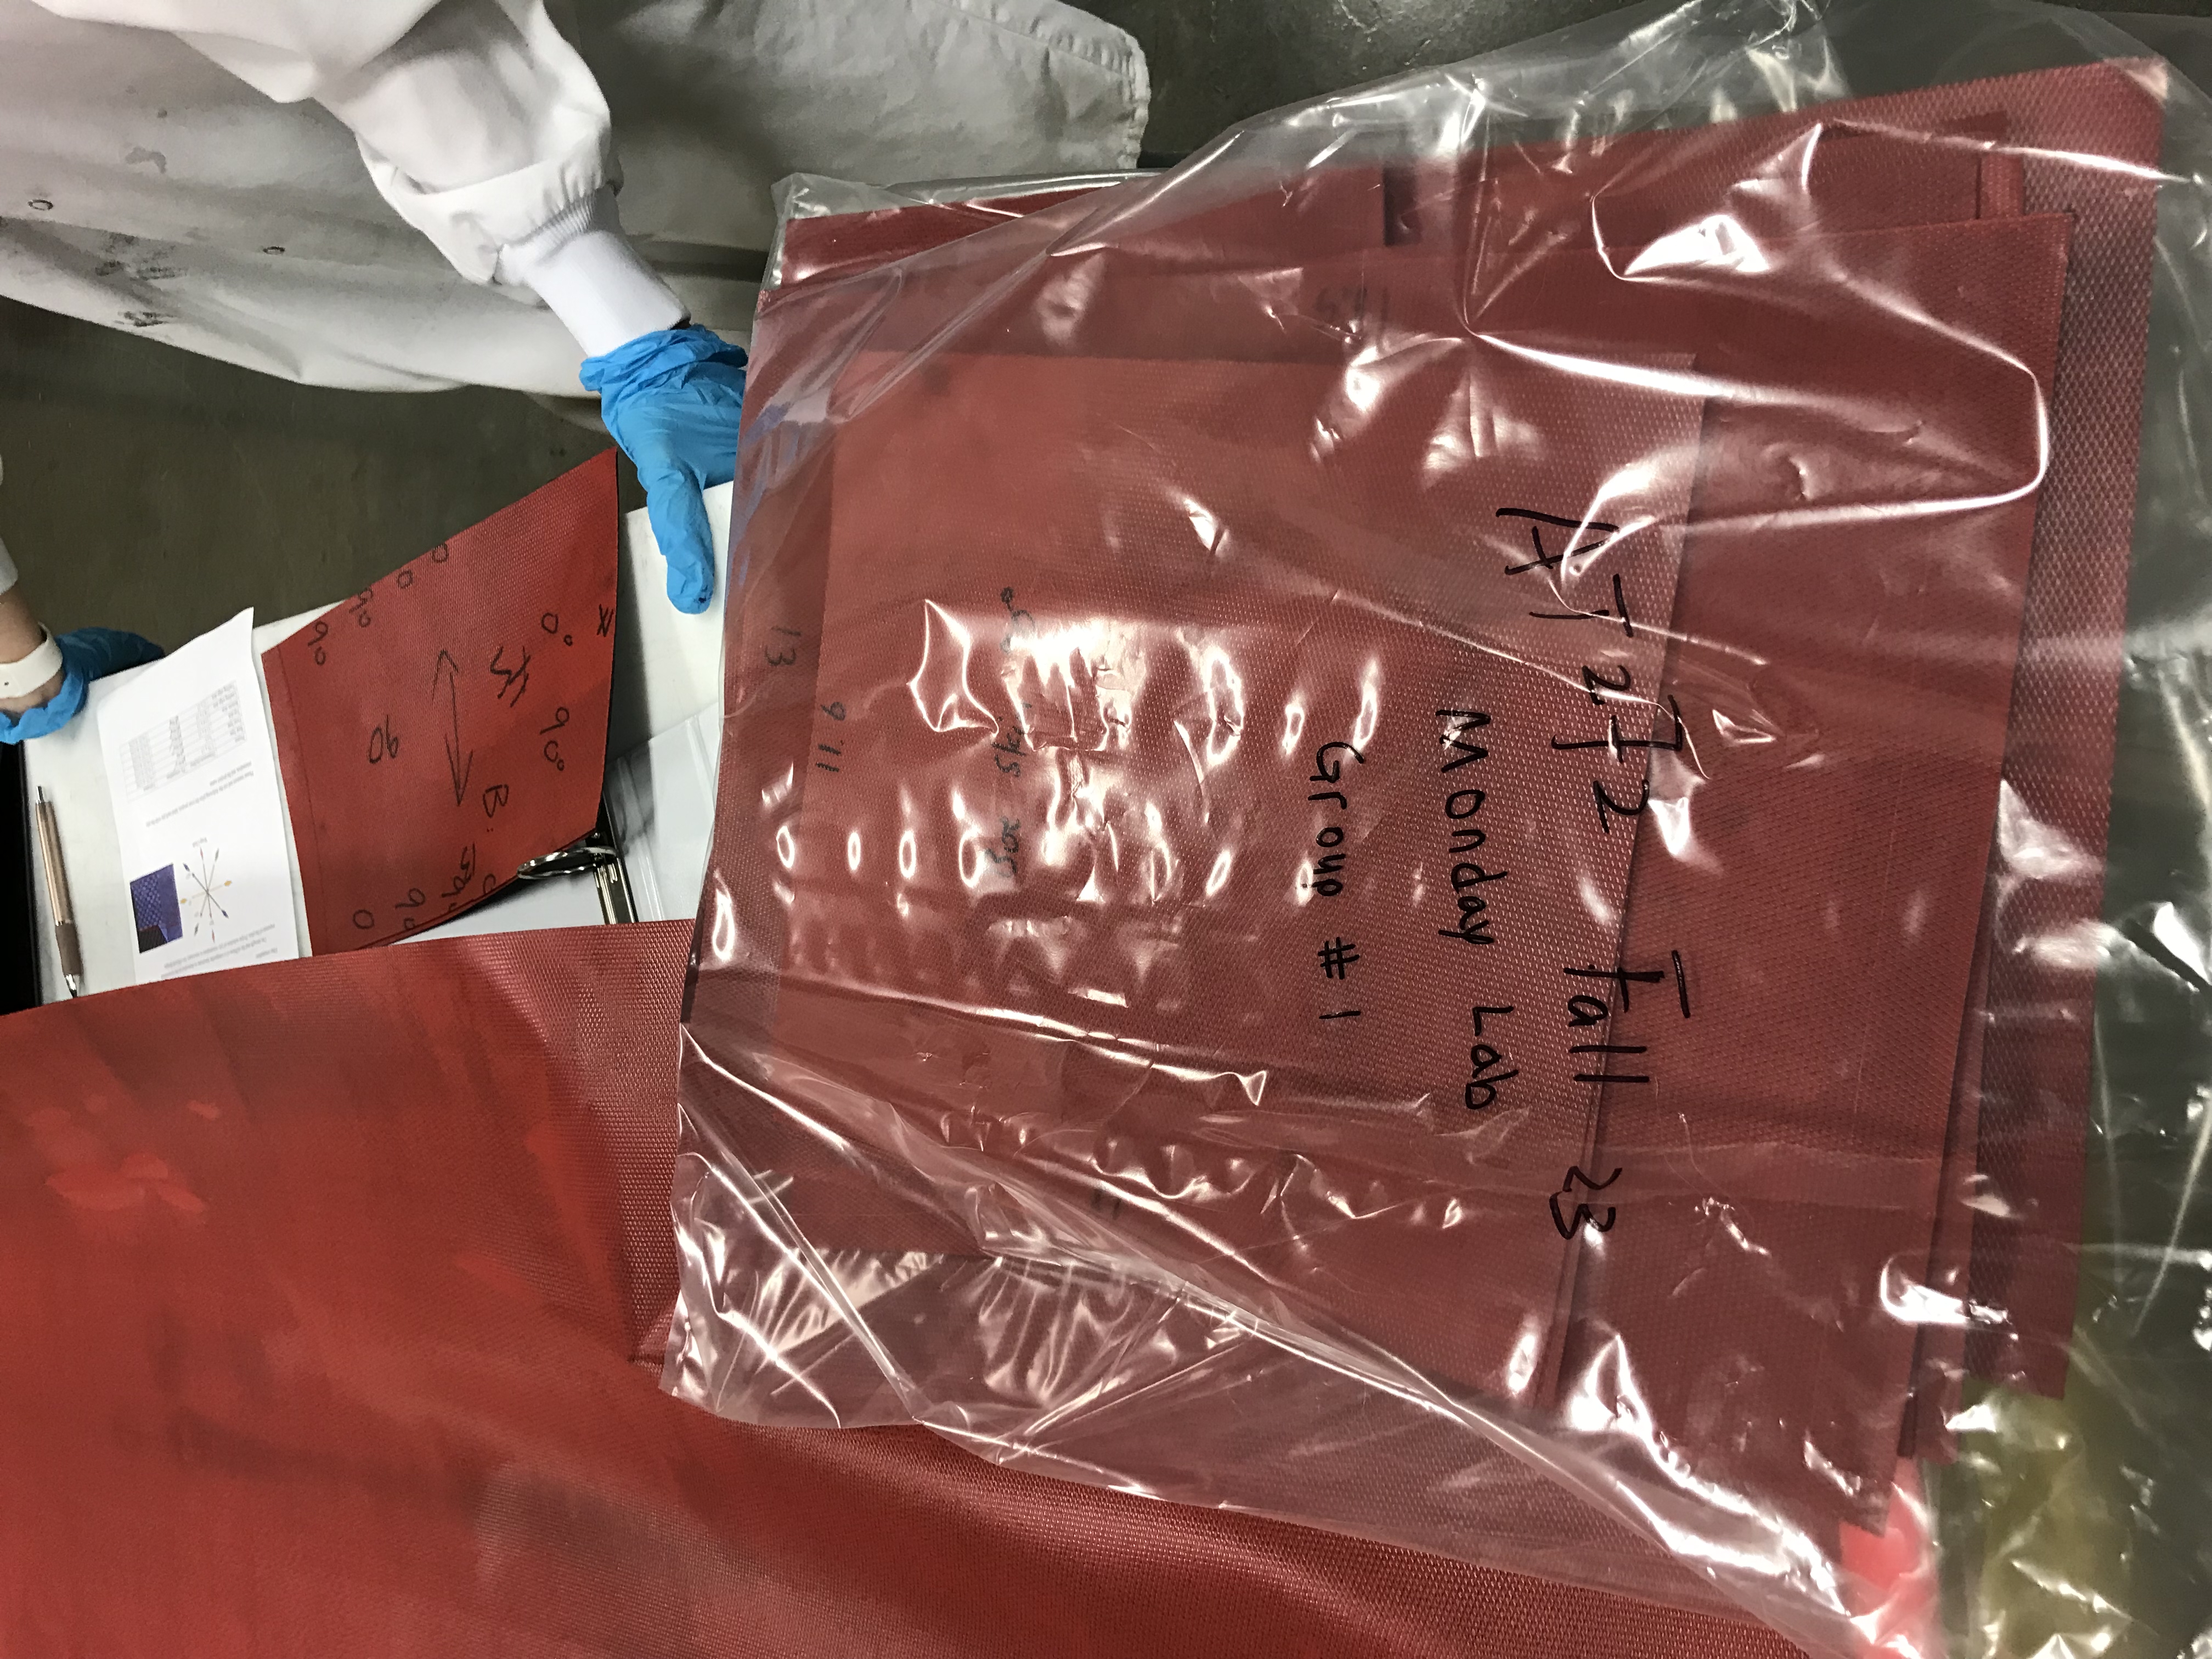
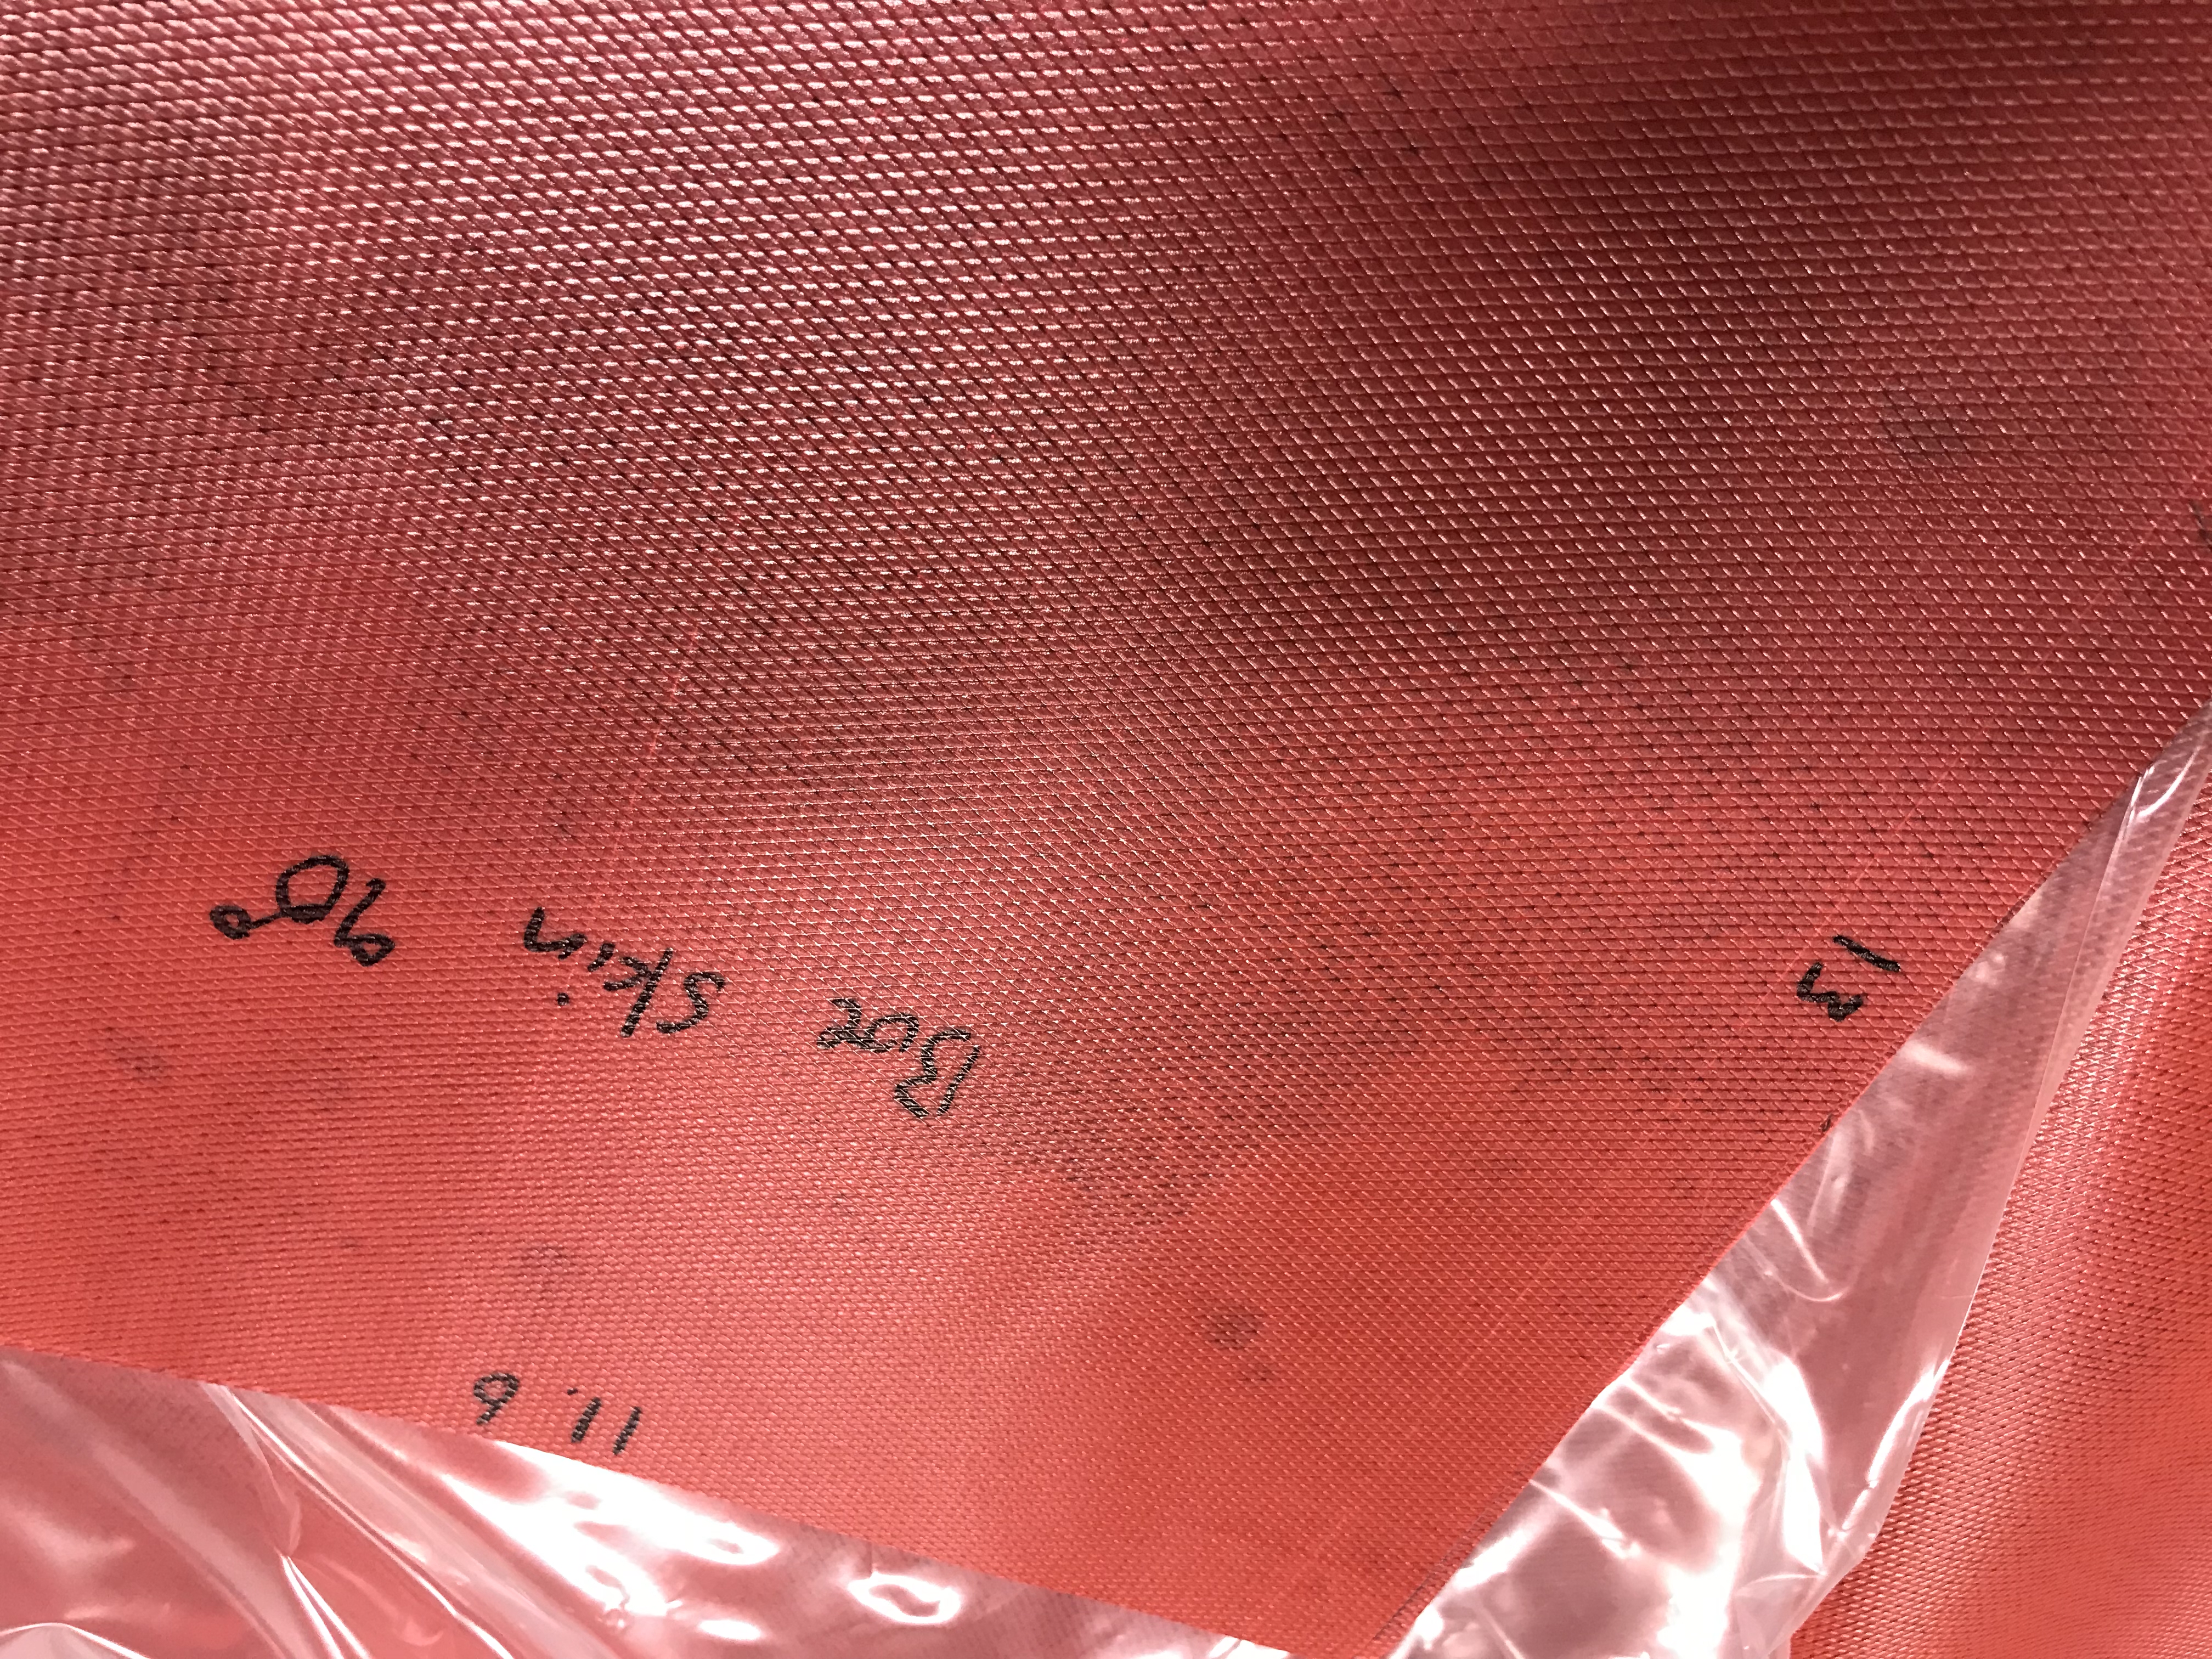
The prepreg carbon fiber has small diamond sheps on it. The long axis in the diamond is pointing 0 degrees, which is also perpendicular to the entire roll.
When we put the sheets together, the orientation of each layer matters. If I name the four layers from top to bottom as A, B, C, and D, symmetry means the orientation of B and C should be the same, and the orientation of A and D should be the same. Balanced means the orientation of A and C should be off by 90 degrees, and the orientation of B and D should be off by 90 degrees. A combination of 90, 0, 0, and 90 should meet the requirement. A combination of 0, 45, -45, 90, 90, -45, 45, 0 also meets the requirement.
The piece for the rear spar is 3.75*13 inches, and we need one piece for the 0 degree orientation and another one for 90 degrees. When it’s 0 degrees, the diamond should be pointing at the 3.75” side, or the long diagonal of the diamond is parallel with the 13” side. When it’s 90 degrees, the long diagonal of the diamond should be parallel with the 3.75” side. The tolerance is [+0.25, -0.125].
B. Cut the Material
We used a super long aluminum ruler and two squares to cut the prepreg carbon fiber from a big roll. The squares were lined up with the yellow line on the edge, and the long ruler was lined up with the other side of the square. Then we used the knife to cut it. Each group got two large pieces.
The roll was stored in the fridge and pre-unfreezed several hours before we could use them.
Yuwei, the PhD lab instructor, was so un-patient and unfriendly. When she was trying to explain the orientation of the material, first, she asked us questions like we should have known them already, but we didn’t even know what the diamonds meant on the lab manual (it’s just a piece of paper).
Second, when we were talking about the symmetry and the balance of the layer orientation, every student was asked to answer which combination was both symmetry and balanced. When it was my turn, I asked a small question (or expressed a different thought if you will), and she QUESTIONED me back “Is this balanced? Is this symmetry?” She was forcing me to answer the right one without any explanation. (After the lab I asked Professor Sterkenburg and solved the problems.)
Third, she told us to get closer to the material in a certain position (to see the diamonds and their orientation), but she didn’t explain why, and then when we (people who were not able to get to the “right” position) were trying to see the diamond, her tone was so un-patient and angry as if she was saying “I told you before to come here!”. The table was small and we had so many, how could we all squeeze together like a Zip file?!
Fourth, alright, I was a little bit far from the main table, but I could still see the diamonds on the edge of the big roll. They were very clear to see, and I was not blind. Then Yuwei yelled at me: “I told you to come, and you are not looking at the right thing!” Even I explained and pointed to the red section of the roll, she was not listening. I guess the next step she was going to do was pull me over.
Fifth, when we were cutting the pieces in the group, she came and demonstrated how to use the square. Then I asked “Why are you just putting the square like that? How do you know this edge is parallel to the yellow line?” Then I realized she was aligning the edge we cut. “But how do you make sure the edge is perpendicular to the yellow line?” “You (every student) cut it, that’s your problem.” And she literally threw the square on the table and left the table.
Sixth, when she came back for a routine check, I asked her a question but she didn’t even turn back. Then another TA came and explained the damage on the red coat was not important.